

White Chocolate Covered Oreos
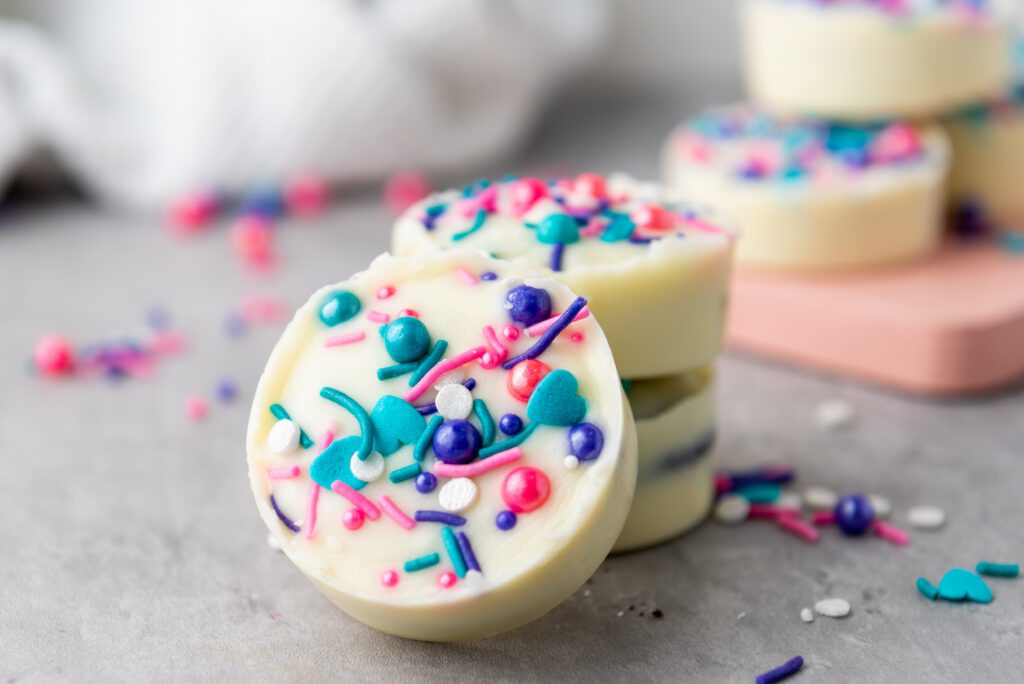
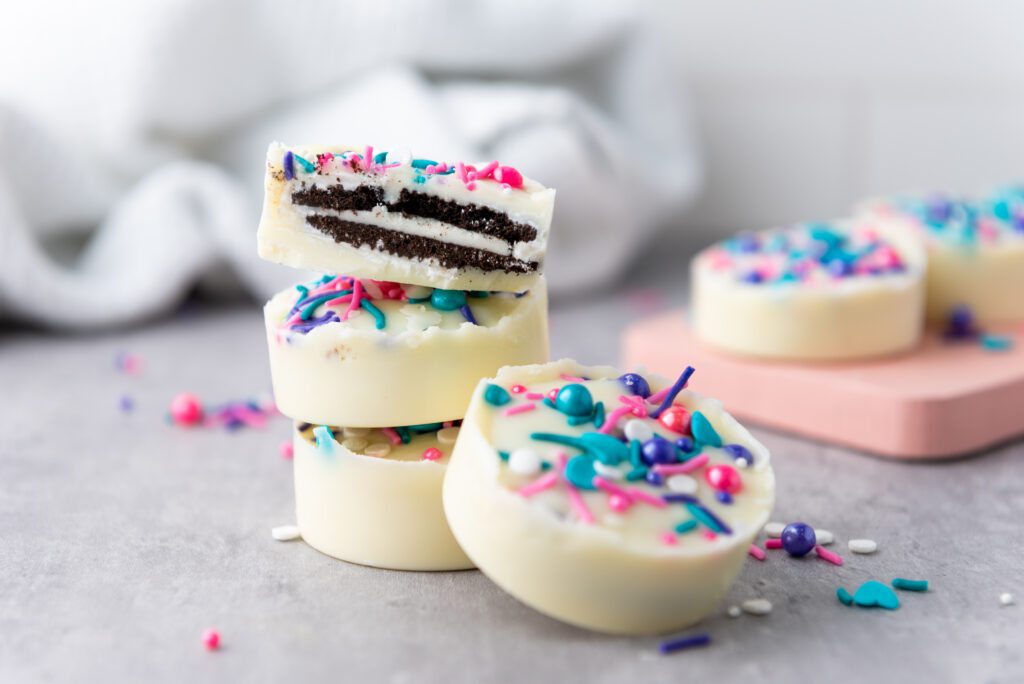
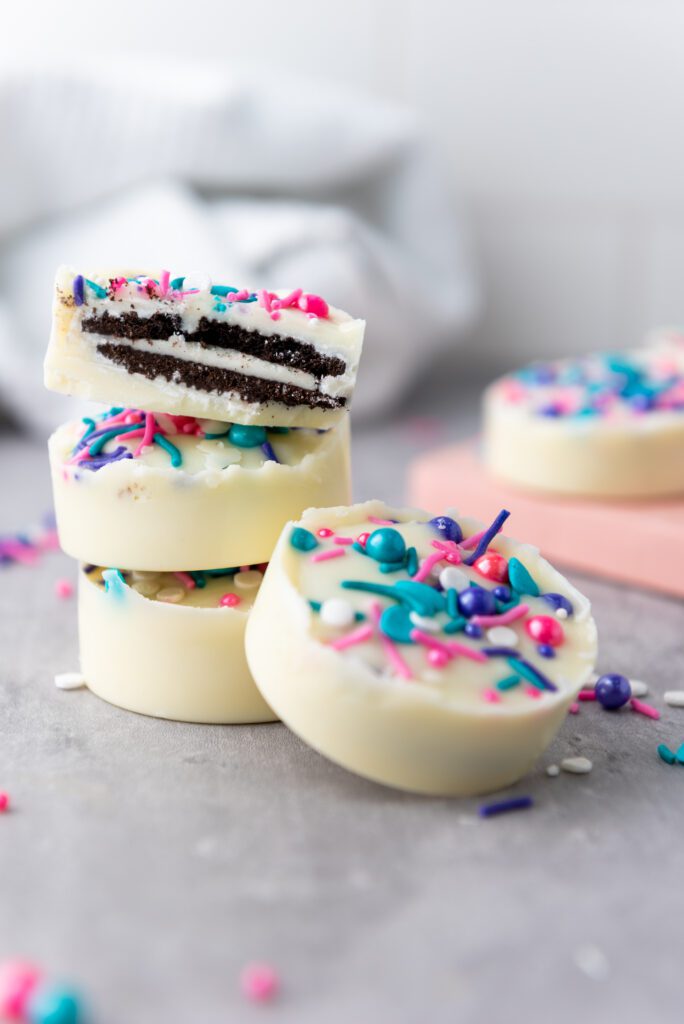
There’s something so simple yet irresistible about chocolate-covered Oreos, and when you swap dark chocolate for creamy white chocolate, they become an absolute treat. These White Chocolate Covered Oreos are one of those recipes that feel fancy but take almost no effort – my favorite kind! Whether I’m making them for a party, a fun after-school snack for the kids, or just to satisfy my own sweet tooth, they always disappear fast. Plus, with just three ingredients, they’re the kind of easy treat I can whip up on a whim.
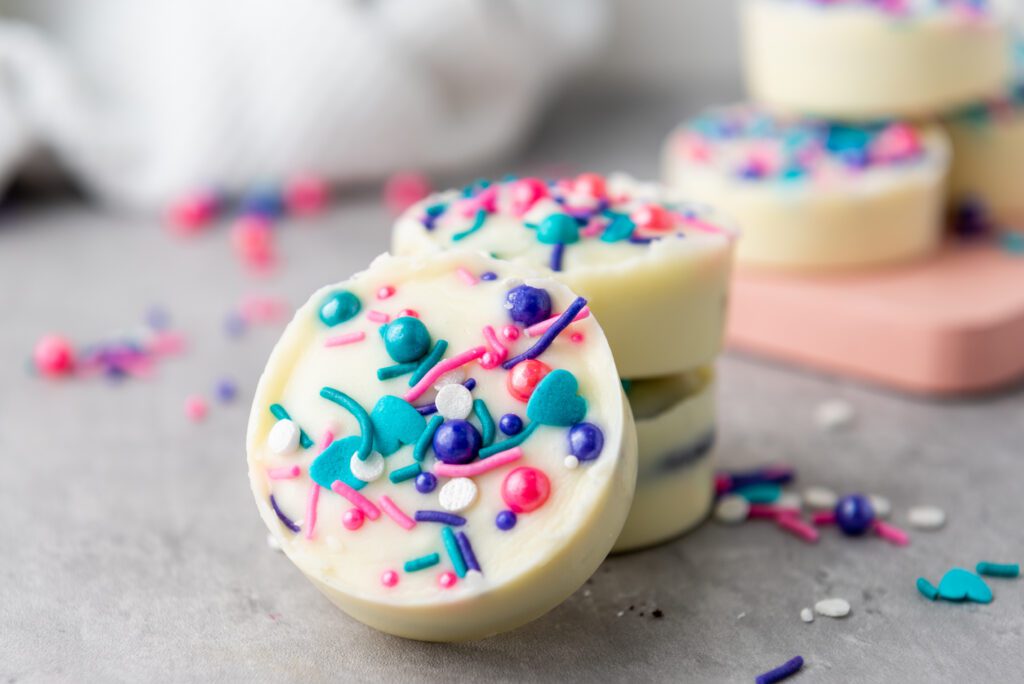
One of the things I love most about these is how customizable they are. The white chocolate makes the perfect blank canvas for any sprinkles, from bright and colorful for a birthday to red and pink for Valentine’s Day. I’ve even used themed sprinkles for holiday gatherings, and they always look like they took way more effort than they actually did. And if you ever want to switch things up, you can use different flavors of Oreos – golden, mint, or even the seasonal varieties.
When I make these, I like to get my kids involved. They love picking out the sprinkles and helping with the chocolate (even if it gets a little messy). It’s a quick, no-bake recipe that gives us time to be creative in the kitchen without any stress. And the best part? Once they’re chilled and ready, we all get to enjoy that first bite together – crunchy, creamy, and just the right amount of sweet.
Ingredients
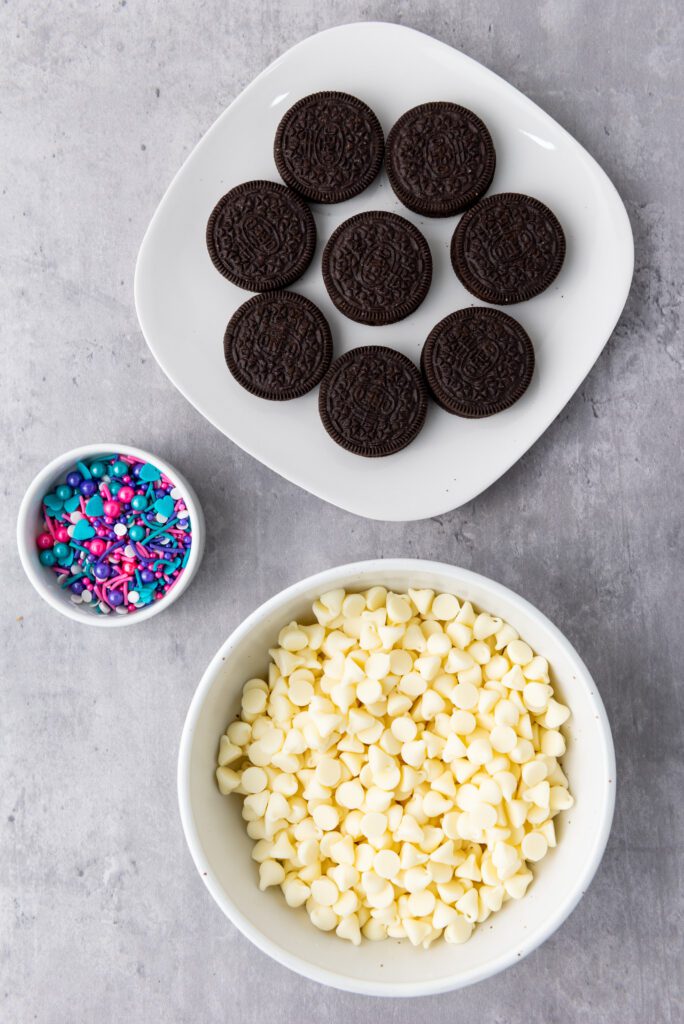
- 8 Oreos – The classic chocolatey crunch that pairs perfectly with creamy white chocolate.
- 8 oz White chocolate chips – Melted into a smooth, sweet coating that makes these treats extra indulgent.
- 2 tbsp sprinkles, of your choice – A fun and colorful way to add personality and a festive touch to every bite.
Step-by-Step Instructions
You can find a printable recipe card at the bottom of this post.
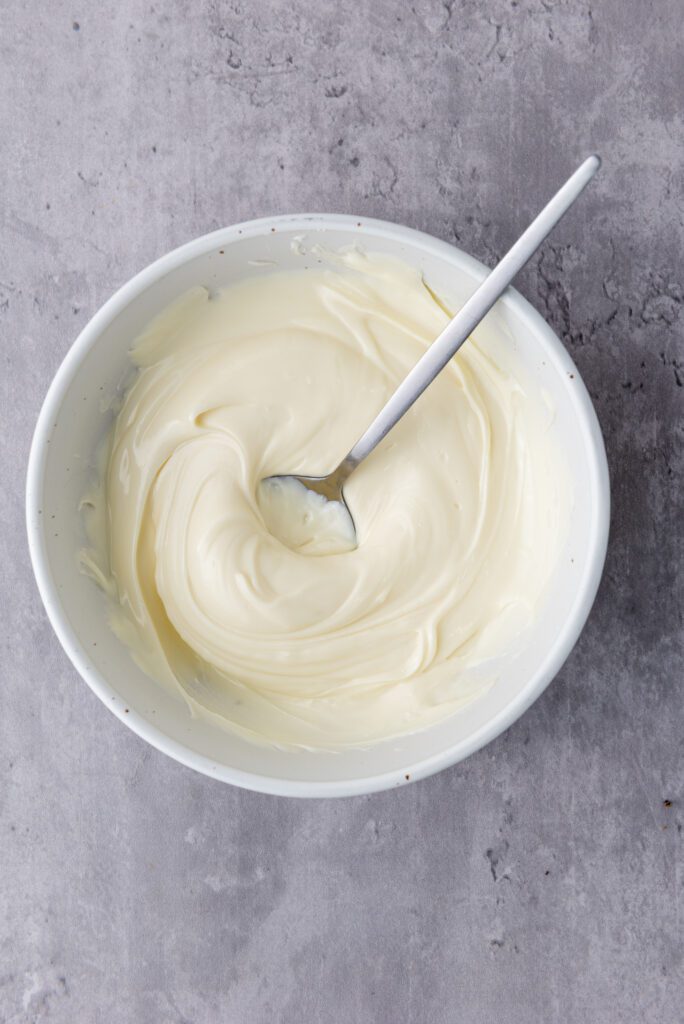
1. In a microwave-safe bowl, melt the white chocolate chips in 30-second intervals, stirring after each, until smooth and fully melted (about 2 minutes).
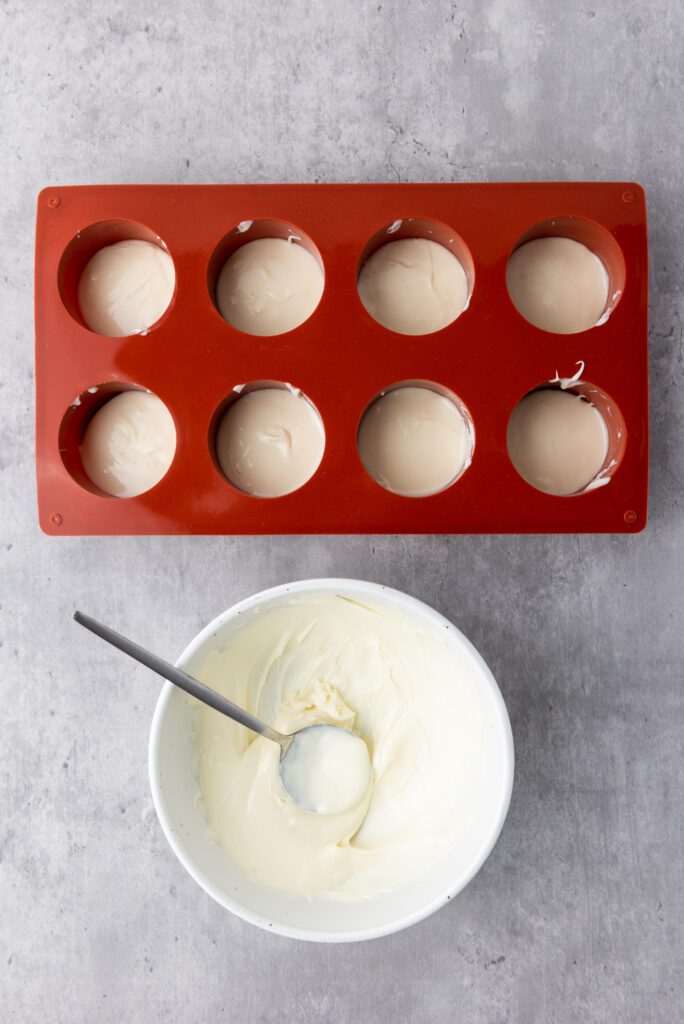
2. Spoon a small amount of melted chocolate into each cavity of an Oreo mold, ensuring the bottom is evenly covered.
3. Place an Oreo on top of the chocolate and gently press it down.
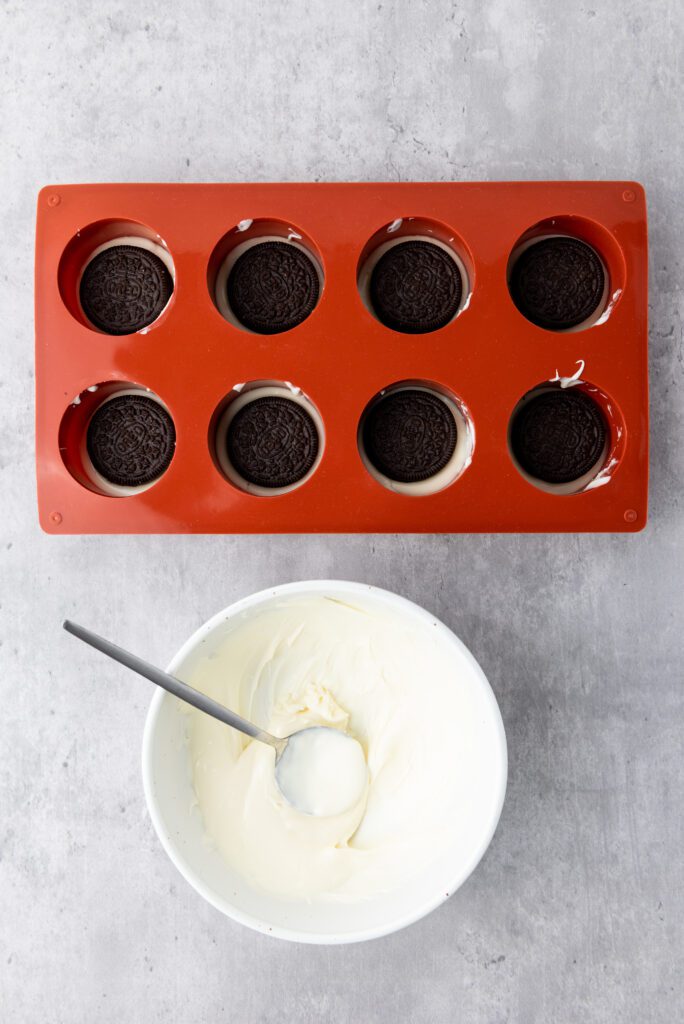
4. Add another spoonful of melted chocolate over each Oreo, then gently shake the mold to spread the chocolate evenly and fully coat the cookies.
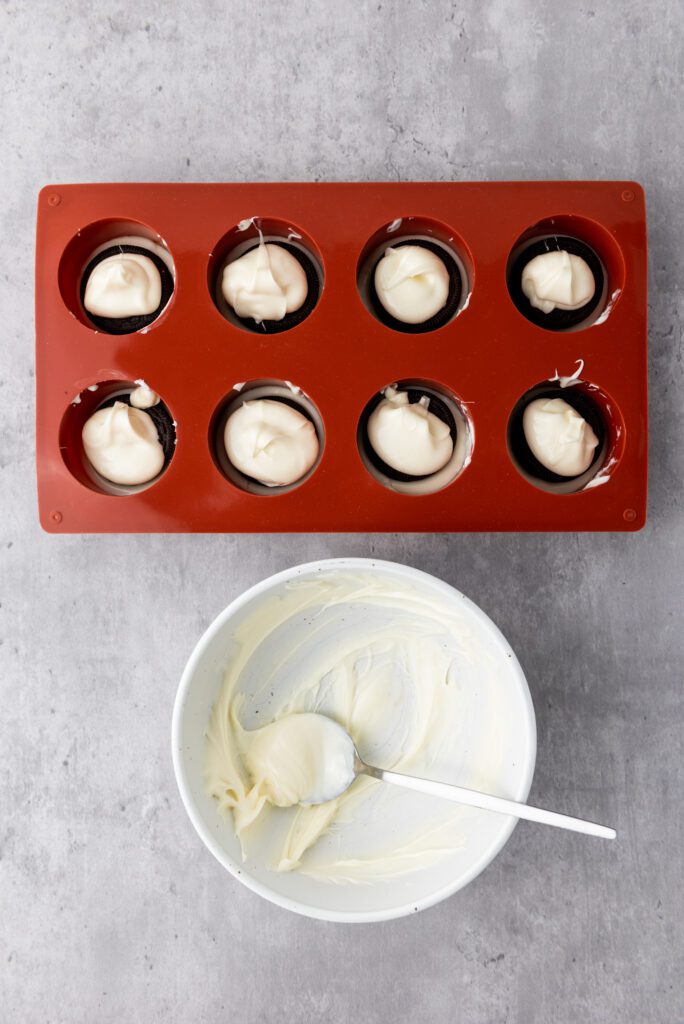
5. Sprinkle your favorite sprinkles on top for a decorative touch.
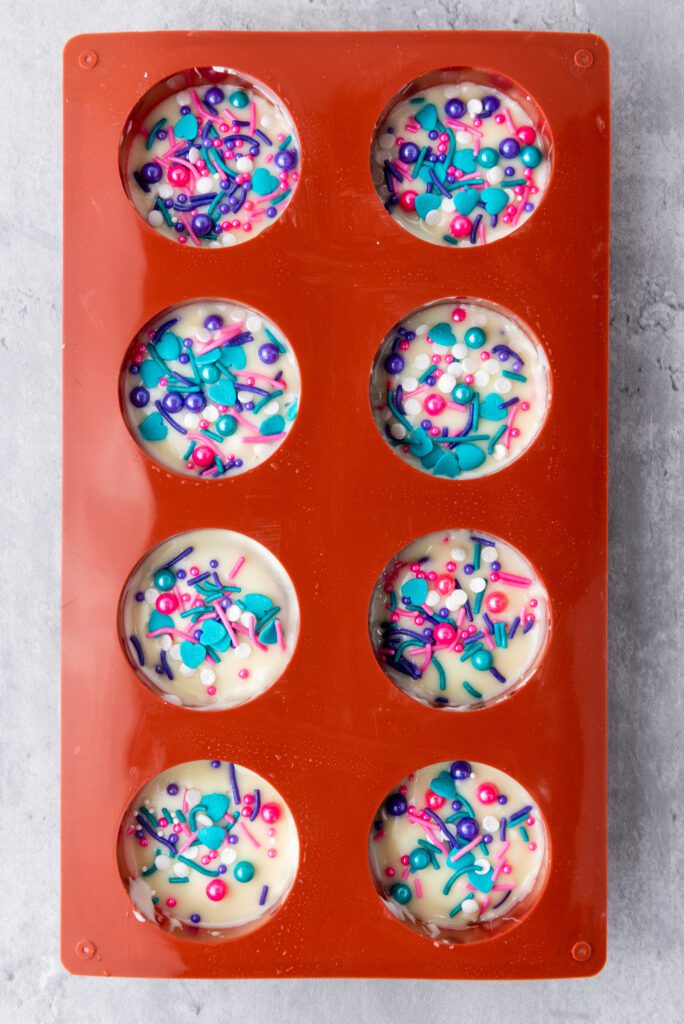
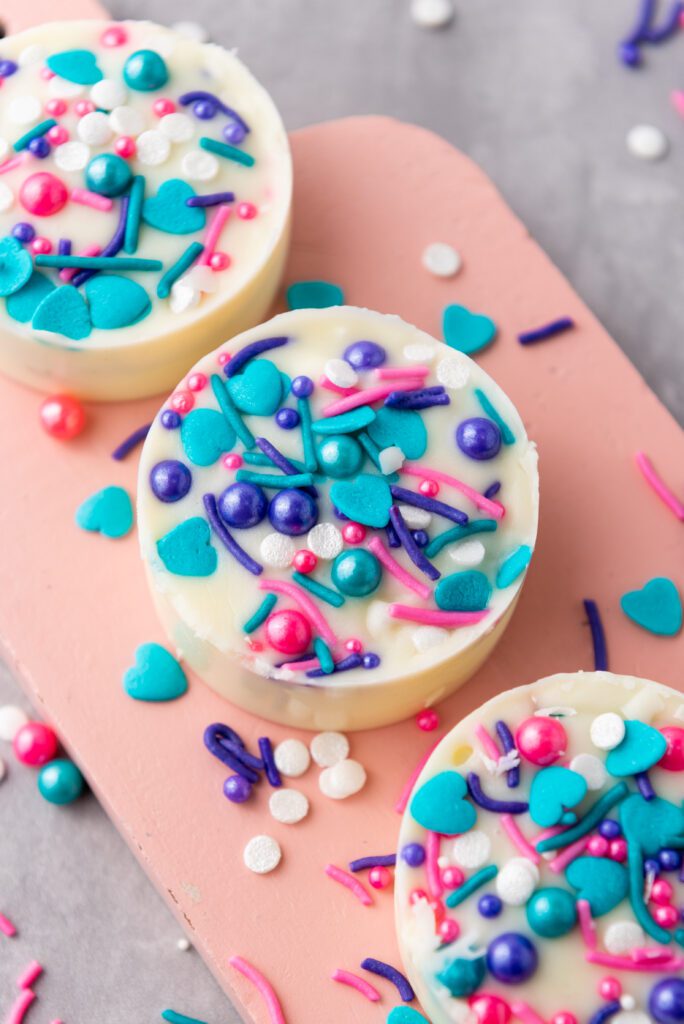
6. Refrigerate for at least 30 minutes, or until the chocolate is completely set. Then, pop them out and enjoy!
Tips for Perfect White Chocolate Covered Oreos
-
Use High-Quality White Chocolate – A good-quality white chocolate or melting wafers will melt smoother and coat the Oreos more evenly. Avoid white chocolate that seizes up easily.
-
Melt Chocolate Slowly – Microwave in short 30-second bursts, stirring in between, to prevent burning or overheating the chocolate. If it gets too thick, add a tiny bit of coconut oil or shortening to thin it out.
-
Work Quickly – Once melted, white chocolate can start to firm up. Have your Oreos and sprinkles ready so you can assemble everything while the chocolate is still smooth.
-
Tap the Mold for Even Coating – After adding the final layer of chocolate, gently tap or shake the mold to remove air bubbles and ensure an even coating around the Oreo.
-
Chill Until Fully Set – Let the cookies set in the fridge for at least 30 minutes. Rushing the process may cause smudging or uneven chocolate.
-
Customize with Different Flavors & Colors – Try flavored Oreos like golden, mint, or birthday cake for a fun twist. You can also drizzle melted colored candy melts on top for extra flair.
-
Store Properly – Keep your chocolate-covered Oreos in an airtight container in the fridge to prevent melting. If making ahead, they’ll stay fresh for up to a week!
Get Creative!
-
Holiday-Themed Treats – Use seasonal sprinkles or edible glitter to match the occasion—red and green for Christmas, pastel colors for Easter, or spooky black and orange for Halloween.
-
Drizzle with Color – Once the chocolate has set, drizzle with melted dark, milk, or colored candy melts for a decorative touch.
-
Add a Filling – For a surprise inside, spread a thin layer of peanut butter, caramel, or Nutella on the Oreos before coating them in chocolate.
-
Make Them Extra Crunchy – Sprinkle crushed nuts, toffee bits, or mini chocolate chips on top before the chocolate hardens for added texture.
-
Go Glam with Gold or Silver – Brush edible gold or silver dust on top for a fancy, elegant look—perfect for weddings or special celebrations.
-
Personalize with Letters or Shapes – Use small letter candies, edible markers, or shaped decorations to add names, numbers, or fun designs.
-
Double Dip for a Marbled Effect – Dip one side in white chocolate and the other in dark or colored chocolate, then swirl with a toothpick for a marbled look.
-
Turn Them Into Pops – Insert lollipop sticks before chilling to create White Chocolate Covered Oreo Pops—great for party favors or kids’ treats!
-
Themed Party Favors – Match the decorations to a party theme, like unicorn sprinkles for a kids’ party or elegant pearls for a bridal shower.
-
Sprinkle Some Fun Inside – Before topping with chocolate, add a tiny bit of colorful sprinkles or popping candy inside the mold for a fun surprise in every bite!
Serving & Storing
Serving
- Room Temperature for Best Texture – Let the Oreos sit at room temperature for a few minutes before serving for the best bite—chilled chocolate can be quite firm.
- Perfect for Dessert Boards – Arrange them on a dessert platter alongside other sweets like chocolate-covered pretzels, truffles, and fresh berries.
- Pair with Drinks – Serve with milk, coffee, or hot chocolate for a cozy treat, or pair with a glass of wine for an elegant dessert option.
- Gift-Worthy Treat – Wrap them in clear cellophane bags with a ribbon for party favors, holiday gifts, or special occasions.
Storing
- Refrigeration Keeps Them Fresh – Store in an airtight container in the fridge for up to a week to prevent the chocolate from melting or softening.
- Layer with Parchment Paper – If stacking in a container, place parchment or wax paper between layers to prevent sticking or smudging.
- Freeze for Long-Term Storage – For longer storage, freeze in an airtight container for up to a month. Let them thaw in the fridge before serving to avoid condensation.
- Avoid Humidity and Heat – Keep them in a cool, dry place to prevent the chocolate from sweating or becoming too soft.
- Best Enjoyed Within a Few Days – While they stay fresh for a while, they’re at their best within the first few days after making them!
White Chocolate Covered Oreos
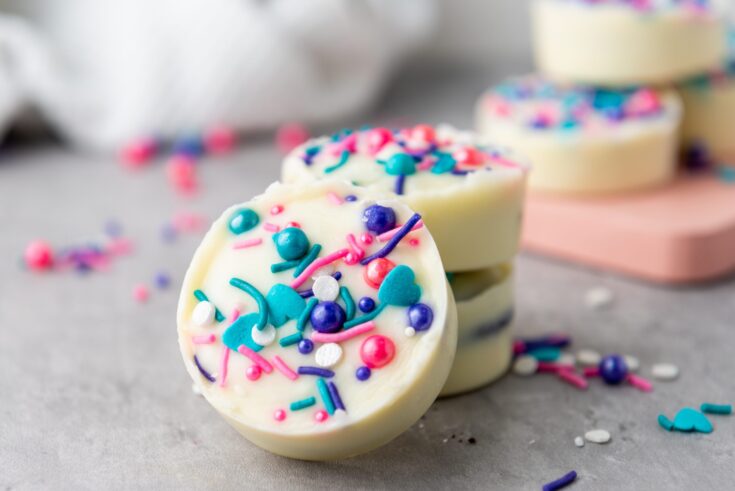
These easy White Chocolate Covered Oreos are a simple, no-bake treat that’s perfect for any occasion! With just three ingredients - Oreos, creamy white chocolate, and colorful sprinkles—you can create a delicious and festive dessert in minutes. Customize them with different toppings or flavors for holidays, parties, or gift-giving. They’re crunchy, sweet, and irresistibly fun to make!
Ingredients
- 8 Oreos
- 8 oz White chocolate chips
- 2 tbsp sprinkles, of your choice
Instructions
- In a microwave-safe bowl, melt the white chocolate chips in 30-second intervals, stirring after each, until smooth and fully melted (about 2 minutes).
- Spoon a small amount of melted chocolate into each cavity of an Oreo mold, ensuring the bottom is evenly covered.
- Place an Oreo on top of the chocolate and gently press it down.
- Add another spoonful of melted chocolate over each Oreo, then gently shake the mold to spread the chocolate evenly and fully coat the cookies.
- Sprinkle your favorite sprinkles on top for a decorative touch.
- Refrigerate for at least 30 minutes, or until the chocolate is completely set. Then, pop them out and enjoy!


