Viral Dubai Chocolate Bar
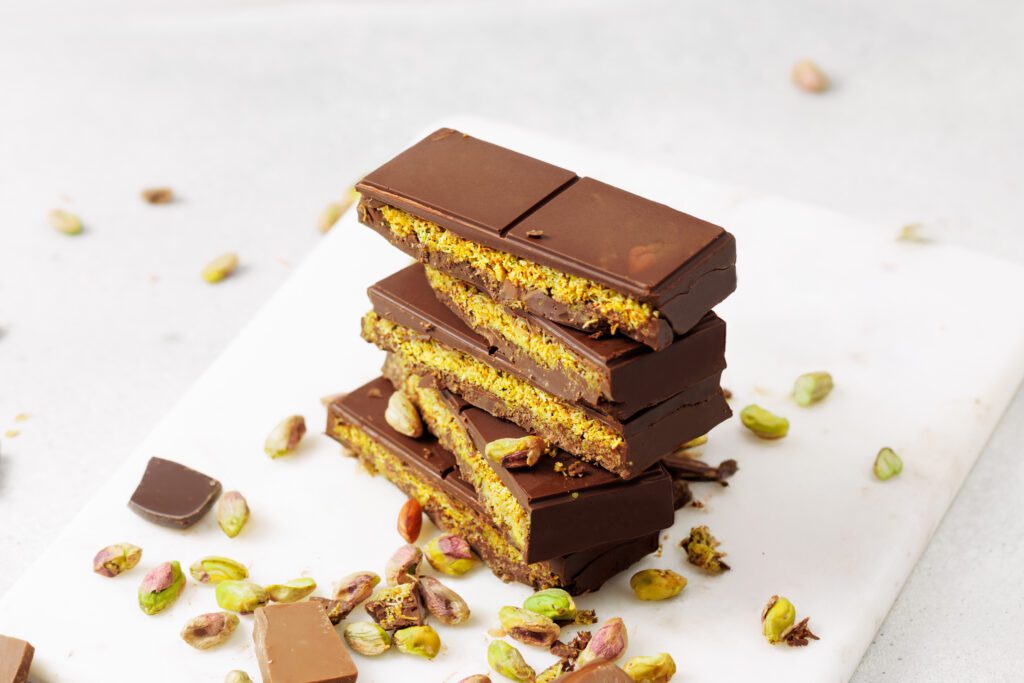
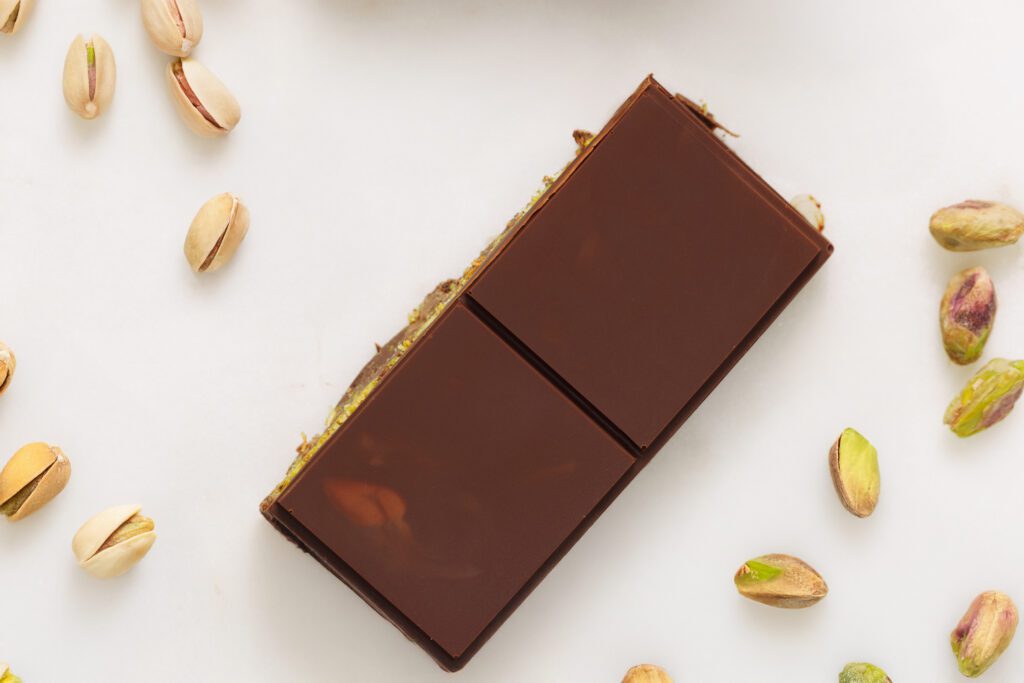
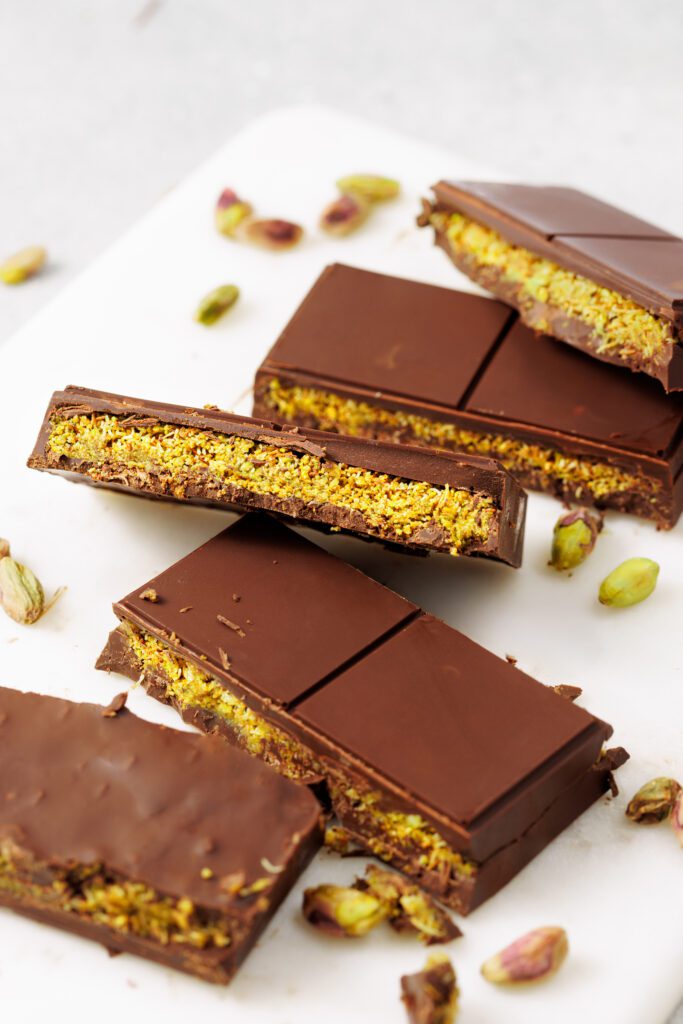
If you’re looking to elevate your dessert game, you’ve got to try this viral Dubai Chocolate Bar recipe! It’s a true fusion of textures and flavors that’s sure to impress anyone you share it with. The crispy kataifi dough, combined with smooth, rich chocolate and the crunch of pistachios, makes every bite a little piece of heaven. As a mom of three, I love how this recipe combines indulgence with a fun twist, perfect for special occasions or whenever I need a little treat after a busy day. Trust me, once you make this, it’s bound to become a favorite in your dessert rotation!
The blend of dark and milk chocolate in this recipe is what really sets it apart, offering a deep, velvety richness that complements the delicate crunch of pistachios and kataifi dough. It’s one of those desserts that feels fancy, but it’s actually surprisingly simple to make. I love the versatility it offers too; you can easily tweak the amount of honey or pistachios to your liking. The result is a perfectly balanced dessert that’s a showstopper with minimal effort.
I first tried this dessert after hearing so much buzz about it online, and it immediately became a family favorite. The crispy, buttery kataifi dough contrasts perfectly with the creamy chocolate and the nuttiness of pistachios, creating a multi-layered experience in every bite. Whether you’re making it for a celebration or just to treat yourself, this viral Dubai Chocolate Bar is an unforgettable dessert that’s sure to make an impression!
Ingredients
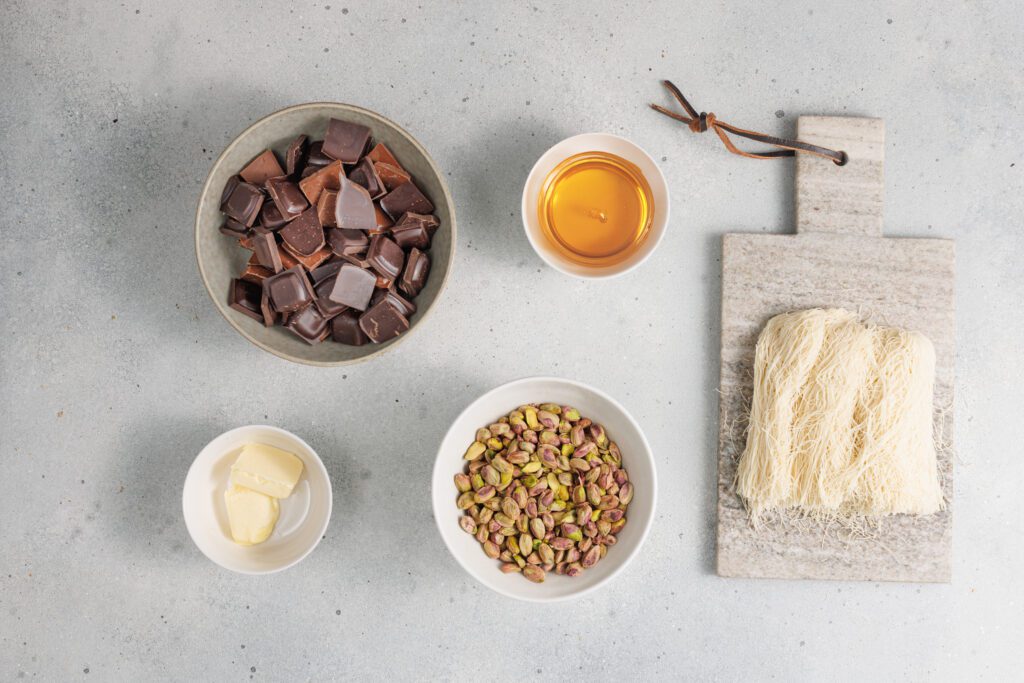
- 1 cup kataifi dough: The crispy, delicate kataifi dough adds an irresistible crunch to this dessert, making it a standout ingredient.
- 1 cup dark chocolate (70% cocoa or higher): Rich and velvety, the dark chocolate brings depth and a slightly bitter contrast that pairs beautifully with the other ingredients.
- 1 cup milk chocolate: The milk chocolate offers a smooth, creamy sweetness that balances out the intensity of the dark chocolate.
- 1 cup pistachios: Ground pistachios give the dessert a nutty flavor and texture, adding a delightful crunch to each bite.
- 3 tablespoons butter (for frying the dough): The butter adds a rich, golden crispness to the kataifi dough, enhancing its flavor and texture.
- 3 tablespoons honey: A touch of honey brings natural sweetness and a hint of floral flavor that complements the chocolate and pistachios perfectly.
Step-by-Step Instructions
You can find a printable recipe card at the bottom of this post.
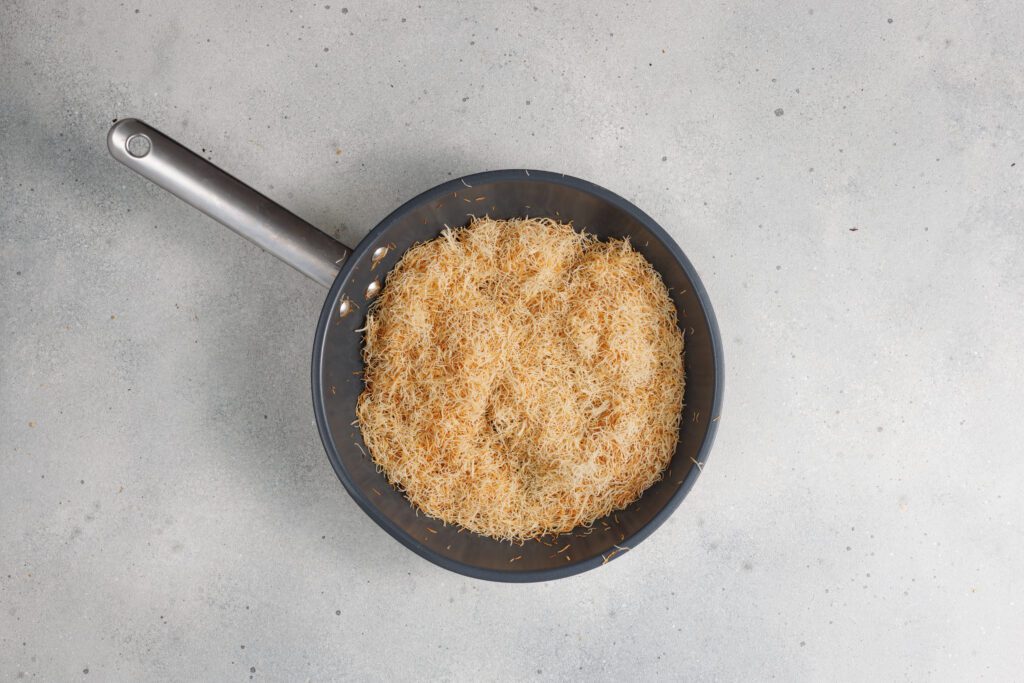
1. Heat a skillet over medium heat and melt the butter. Add the kataifi dough and spread the strands evenly. Fry the dough, stirring constantly, for about 5-7 minutes until it becomes golden and crispy. Once done, transfer it to a paper towel to remove excess grease and let it cool.
2. Melt the dark and milk chocolate together in a double boiler, stirring occasionally until the chocolate is smooth and fully combined.
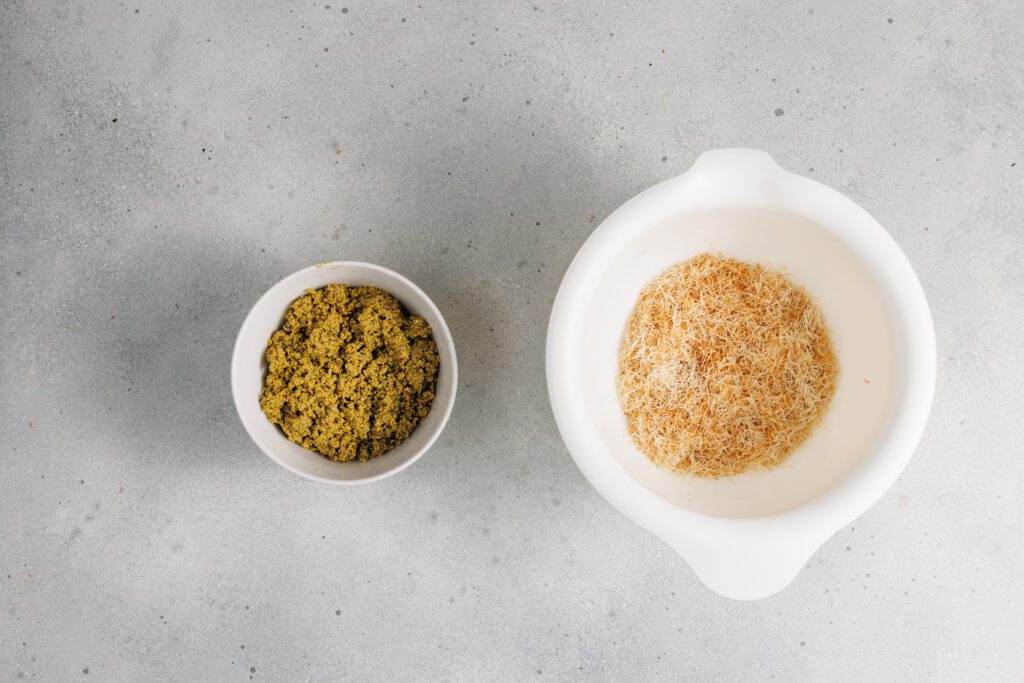
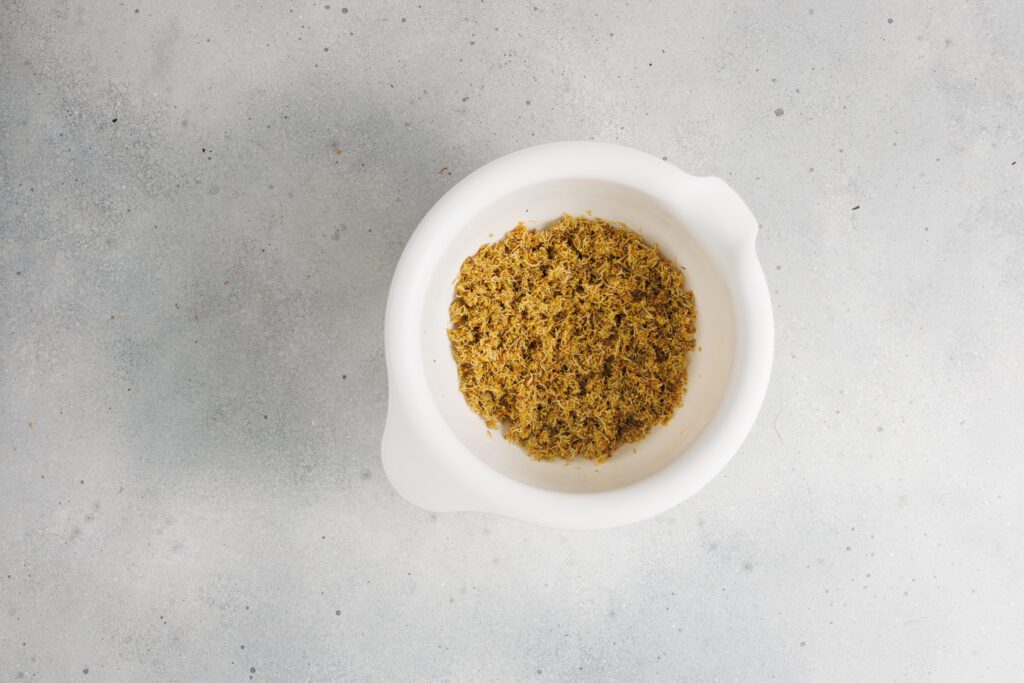
3. In a blender, grind the pistachios with honey until finely chopped. Transfer the pistachio mixture to a bowl and stir in the cooled kataifi dough.
4. Prepare a mold and pour about half of the melted chocolate into it. Place the mold in the freezer for 30 minutes to allow the chocolate to set.
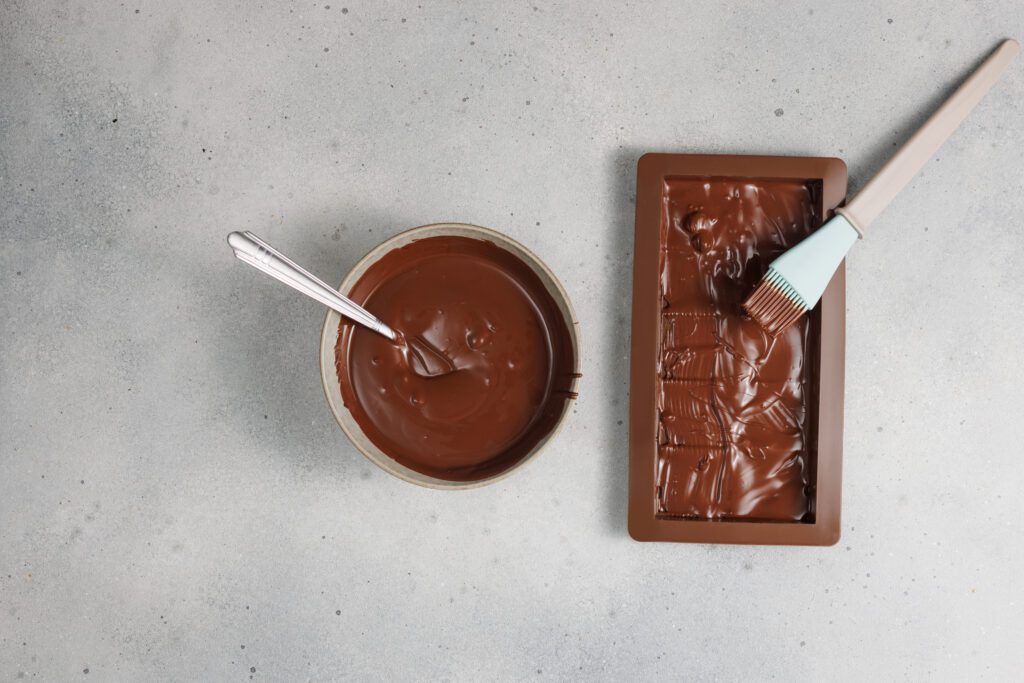
5. After the chocolate has set, layer the pistachio mixture on top. Then pour the remaining melted chocolate over the pistachio mixture, spreading it evenly.
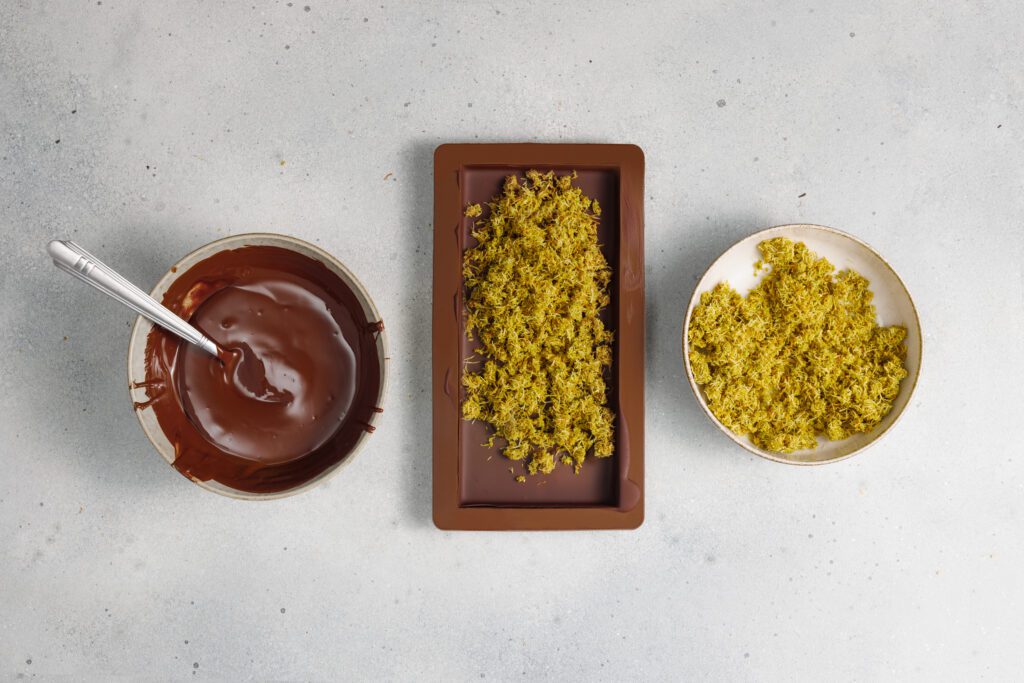
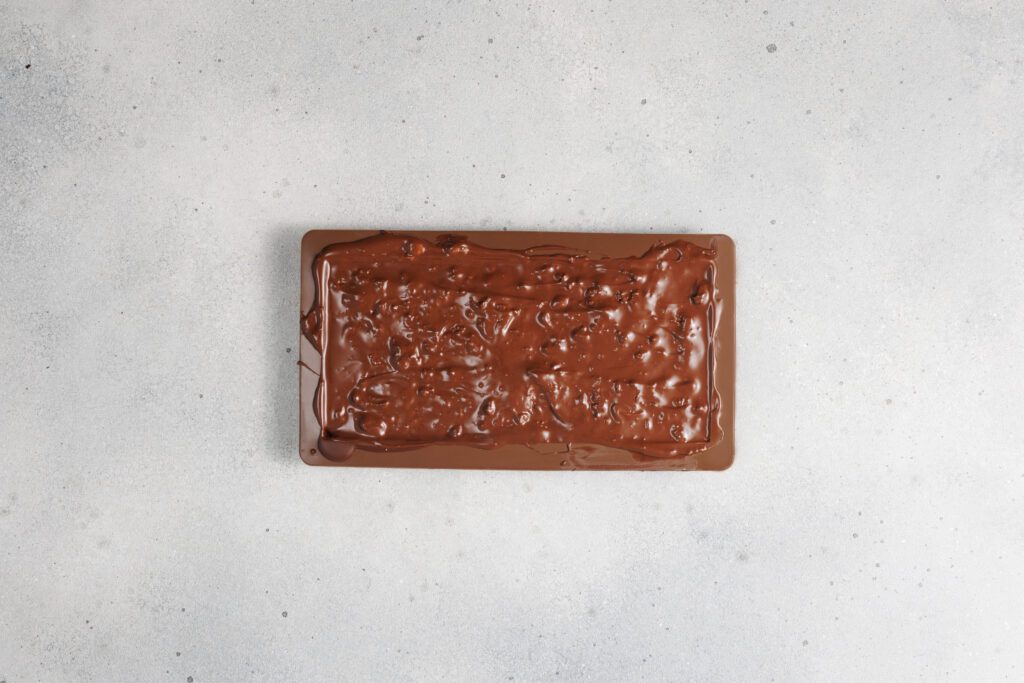
6. Refrigerate the mold for 1-2 hours to allow the chocolate to fully set and harden.
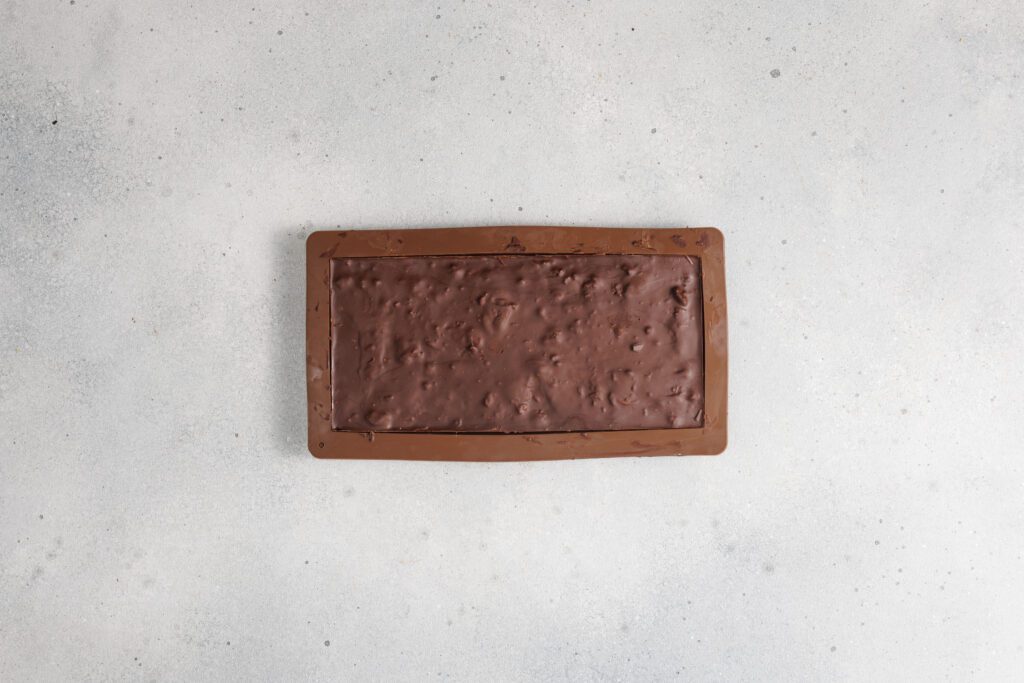
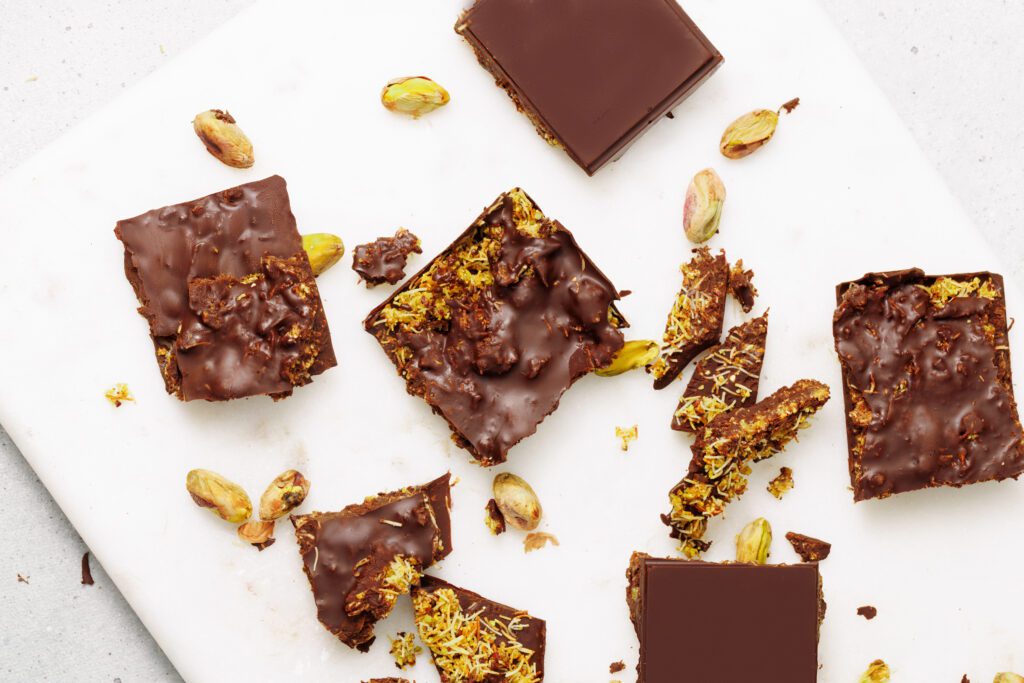
7. Once the chocolate has hardened, remove it from the mold and cut it into pieces. Enjoy!
Tips for Perfect Dubai Chocolate
-
Use High-Quality Chocolate: The flavor of your chocolate will be a key factor in the overall taste. Opt for high-quality dark chocolate (70% cocoa or higher) and good milk chocolate for the best results.
-
Fry the Kataifi Dough Gently: When frying the kataifi dough, make sure the heat is medium, not too high, to avoid burning it. Stir constantly to ensure even crispiness and a golden color.
-
Allow Dough to Cool: Let the kataifi dough cool completely before mixing it with the pistachio and honey. This ensures it stays crispy and doesn’t become soggy.
-
Don’t Overfill the Mold: When layering the chocolate in the mold, be careful not to overfill it. You want enough space for each layer to set properly without overflowing.
-
Chill the Chocolate Long Enough: Be patient and allow the chocolate to chill for the full 1-2 hours to ensure it sets completely. If it’s not fully set, the pieces may fall apart when you cut them.
-
Use Fresh Pistachios: Fresh pistachios will give the dessert a much richer flavor. Make sure they are chopped evenly for a consistent texture throughout the dessert.
-
Double Boiler for Melting Chocolate: Always melt chocolate using a double boiler to prevent it from burning. Stir gently until it’s fully melted and smooth for the best consistency.
-
Cut into Even Pieces: After the chocolate has set, use a sharp knife to cut it into even pieces. This ensures that each piece has a perfect balance of flavors and textures.
Get Creative!
-
Add Dried Fruit: Incorporate dried fruits like cranberries, apricots, or raisins into the pistachio mixture for a pop of sweetness and chewy texture.
-
Flavored Chocolate: Experiment with flavored chocolates, such as adding a hint of orange zest or sea salt to the dark chocolate for a sophisticated touch.
-
Use Different Nuts: Swap pistachios for other nuts like almonds, hazelnuts, or cashews to add different textures and flavors to the bar.
-
Drizzle with Caramel: Before chilling the chocolate, drizzle a little caramel sauce over the top for extra sweetness and a gooey texture that complements the crunch.
-
Infuse with Spices: Try adding a pinch of cinnamon, cardamom, or even chili powder to the chocolate for a unique, warming flavor profile.
-
Add a Layer of Coconut: Spread some shredded coconut between the chocolate layers for added flavor and a tropical flair.
-
Top with Edible Gold Leaf: If you’re looking to make your dessert extra special, add some edible gold leaf on top for a luxurious, Instagram-worthy finish.
-
Try Nut Butters: Add a swirl of peanut butter or almond butter into the chocolate for a rich, creamy contrast to the crispy kataifi dough.
-
Swap the Honey for Maple Syrup: For a different kind of sweetness, try using maple syrup instead of honey in the pistachio mixture for a subtle, earthy flavor.
-
Make Mini Bars: Instead of one large chocolate bar, use smaller molds to create individual bite-sized treats – perfect for parties or gift-giving.
Serving & Storing
Serving:
-
Serve at Room Temperature: Let the chocolate bars sit at room temperature for a few minutes before serving. This enhances the flavors and gives them a softer, more melt-in-your-mouth texture.
-
Pair with Tea or Coffee: These chocolate bars pair wonderfully with a hot cup of tea or coffee, especially a rich espresso or a delicate chamomile tea, which complements the sweetness and nuttiness.
-
Add Fresh Fruit: Serve with fresh fruit like strawberries, raspberries, or orange slices for a refreshing contrast to the rich chocolate.
-
Garnish with Crushed Nuts: Sprinkle some extra crushed pistachios or other nuts on top of the bars just before serving for an added crunch and visual appeal.
-
Serve on a Decorative Plate: For a more elegant presentation, arrange the chocolate bars on a decorative platter with a drizzle of chocolate sauce or caramel on the side.
Storing:
-
Keep in an Airtight Container: Store the chocolate bars in an airtight container to maintain their freshness and prevent them from absorbing any moisture or odors from the fridge.
-
Refrigerate for Long-Term Storage: If you plan to keep them for more than a few days, store the bars in the refrigerator. They’ll stay fresh for up to a week.
-
Freeze for Extended Storage: For longer storage, freeze the chocolate bars. Wrap them tightly in plastic wrap or parchment paper, then place them in a freezer-safe container. They can be kept for up to 2 months. Just thaw them in the fridge before serving.
-
Avoid Storing in Warm Areas: Since the chocolate may melt or lose its shape, avoid storing your bars in warm or humid areas. A cool, dry place is ideal if you plan to keep them at room temperature for short periods.
-
Store Without Cutting: If you want to keep the bars fresh for longer, store them whole and cut them into pieces right before serving to preserve the chocolate’s texture and appearance.
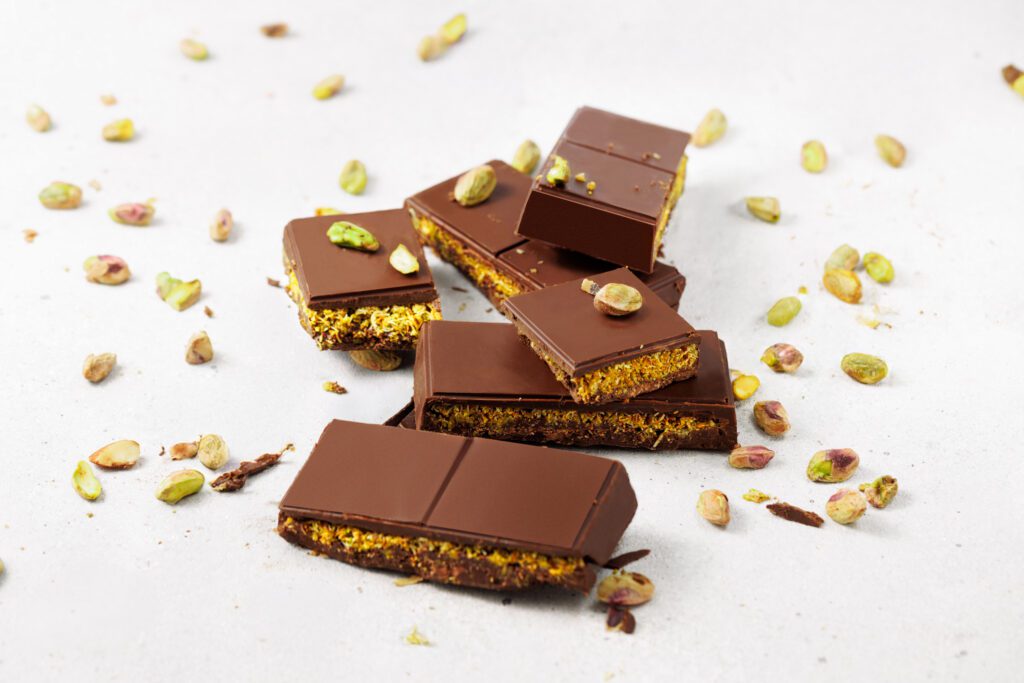
Viral Dubai Chocolate Bar
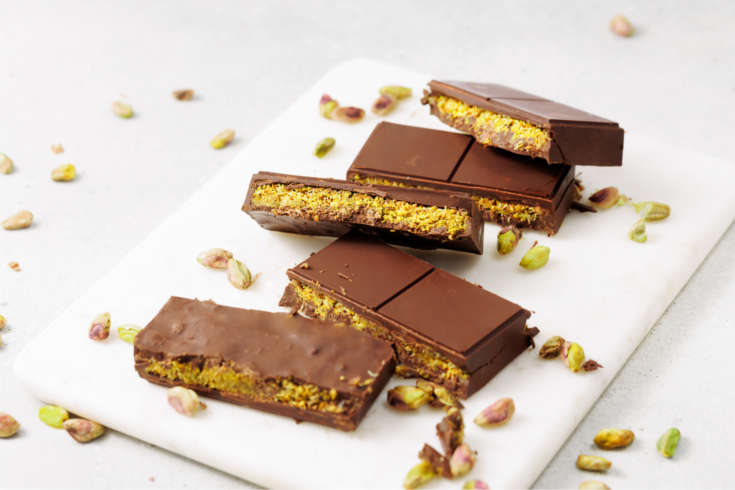
A decadent fusion of crispy kataifi dough, smooth dark and milk chocolate, and crunchy pistachios, this Dubai Chocolate Bar is a luxurious treat that’s perfect for any occasion. With layers of rich flavor and texture, it’s sure to impress your guests or satisfy your sweet cravings!
Ingredients
- 1 cup kataifi dough
- 1 cup dark chocolate (70% cocoa or higher)
- 1 cup milk chocolate
- 1 cup pistachios
- 3 tablespoons butter (for frying the dough)
- 3 tablespoons honey
Instructions
- Heat a skillet over medium heat and melt the butter. Add the kataifi dough and spread the strands evenly. Fry the dough, stirring constantly, for about 5-7 minutes until it becomes golden and crispy. Once done, transfer it to a paper towel to remove excess grease and let it cool.
- Melt the dark and milk chocolate together in a double boiler, stirring occasionally until the chocolate is smooth and fully combined.
- In a blender, grind the pistachios with honey until finely chopped. Transfer the pistachio mixture to a bowl and stir in the cooled kataifi dough.
- Prepare a mold and pour about half of the melted chocolate into it. Place the mold in the freezer for 30 minutes to allow the chocolate to set.
- After the chocolate has set, layer the pistachio mixture on top. Then pour the remaining melted chocolate over the pistachio mixture, spreading it evenly.
- Refrigerate the mold for 1-2 hours to allow the chocolate to fully set and harden.
- Once the chocolate has hardened, remove it from the mold and cut it into pieces. Enjoy!