

Nutella Bonbons
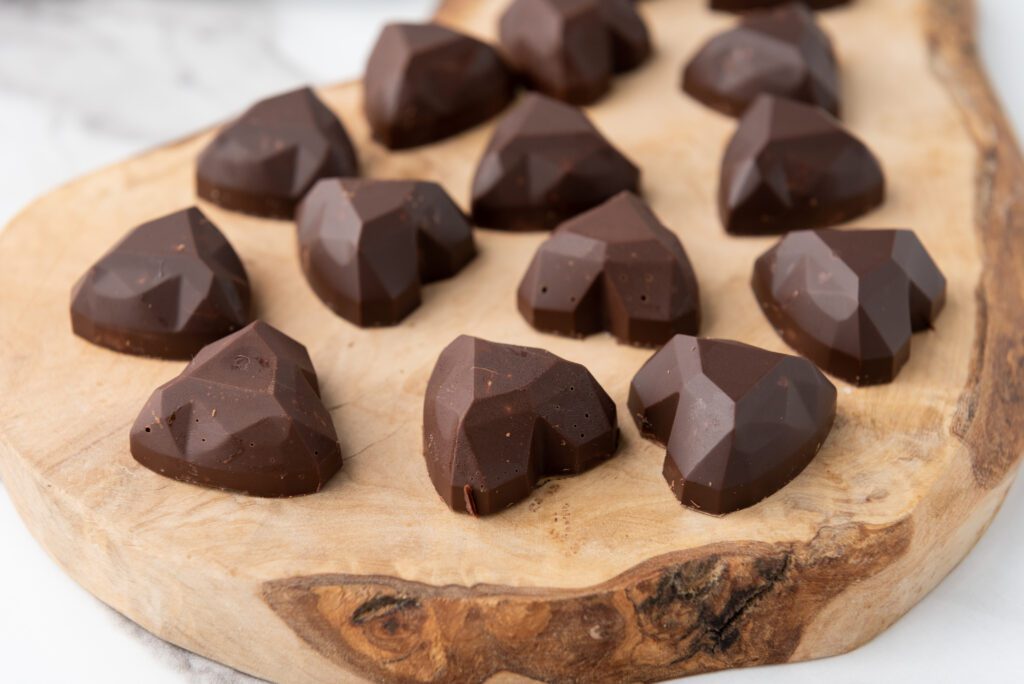
I don’t know about you, but Nutella has always been one of those ingredients that makes everything better. Whether it’s spreading it on toast, adding it to milkshakes, or simply eating it by the spoonful, it never disappoints. So, when I wanted to create a treat that would truly showcase Nutella in all its glory, I thought, why not combine it with rich semi-sweet chocolate and crunchy hazelnuts? The result is these irresistible Nutella Bonbons. Trust me when I say these little bites of heaven will disappear in no time at all!
These Nutella Bonbons have quickly become one of my favorite go-to sweets to whip up when I need something indulgent but not overly complicated. The whole process is simple enough to tackle on a weeknight, and while there’s a bit of cooling time involved, it’s totally worth the wait. With just a handful of ingredients, like creamy Nutella, roasted hazelnuts, and melted chocolate, you’re looking at a decadent treat that feels gourmet but is so easy to make. Plus, they make for a fantastic homemade gift if you want to spread the joy!
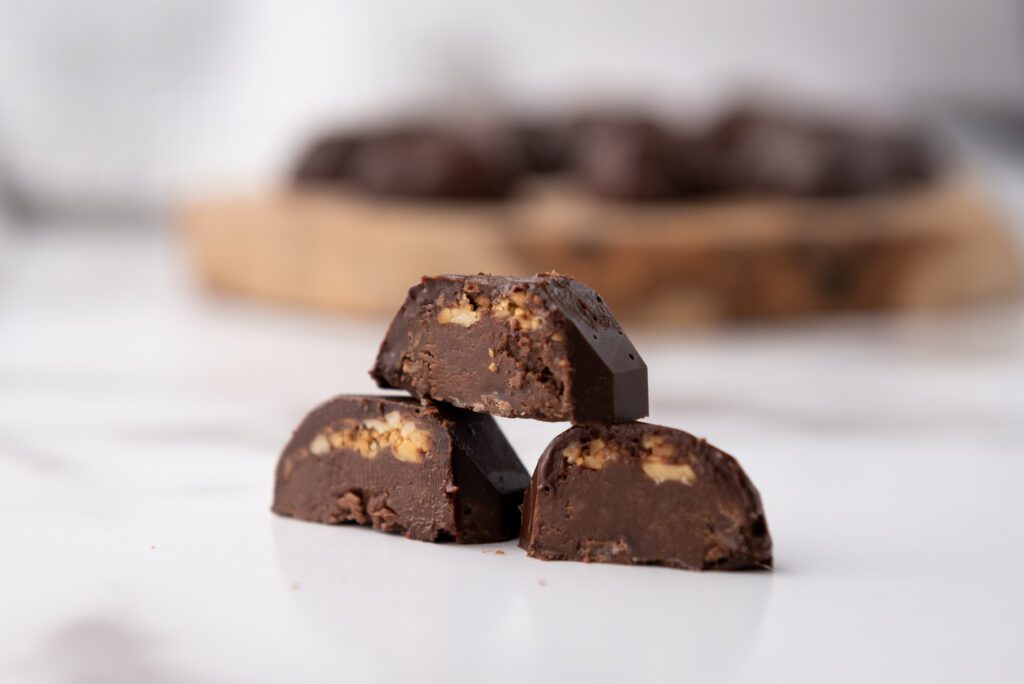
One of the best parts of making Nutella Bonbons is the satisfying crunch from the roasted hazelnuts. They add this delightful texture that pairs so perfectly with the smooth Nutella and rich chocolate. Every bite is a little surprise, with a perfect balance of flavors. Whether you’re making them for a special occasion or simply because you deserve a treat, I promise these bonbons will hit the spot. Give them a try, and I bet they’ll become a favorite in your household too!
Ingredients
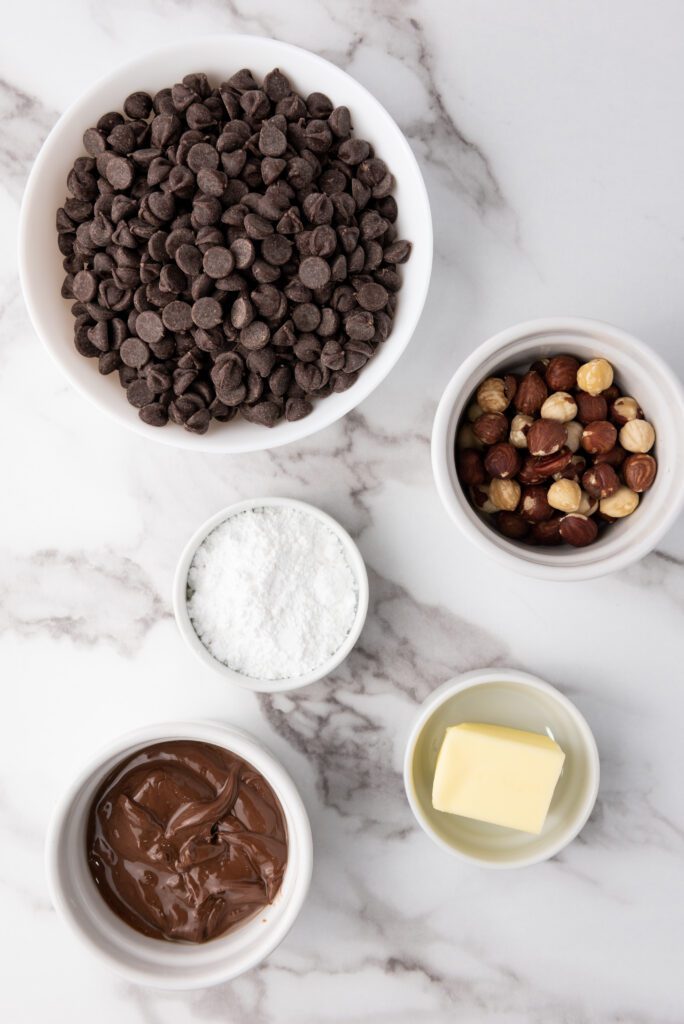
- 1 cup semi-sweet chocolate chip morsels: These chocolate morsels will melt into a velvety smooth coating, creating the perfect base for our bonbons.
- ½ cup Nutella: Nutella adds a rich, creamy hazelnut-chocolate flavor that makes these bonbons irresistibly decadent.
- ¼ cup raw hazelnuts: Roasted hazelnuts bring a delightful crunch and nutty depth to complement the creamy Nutella and rich chocolate.
- 3 tbsp unsalted butter: The unsalted butter ensures a smooth and glossy texture in the Nutella mixture, binding all the flavors together.
- 1 tbsp powdered sugar: A touch of powdered sugar sweetens the Nutella filling, balancing the richness of the chocolate and hazelnuts.
Step-by-Step Instructions
You can find a printable recipe card at the bottom of this post.
1. Preheat your oven to 350°F.
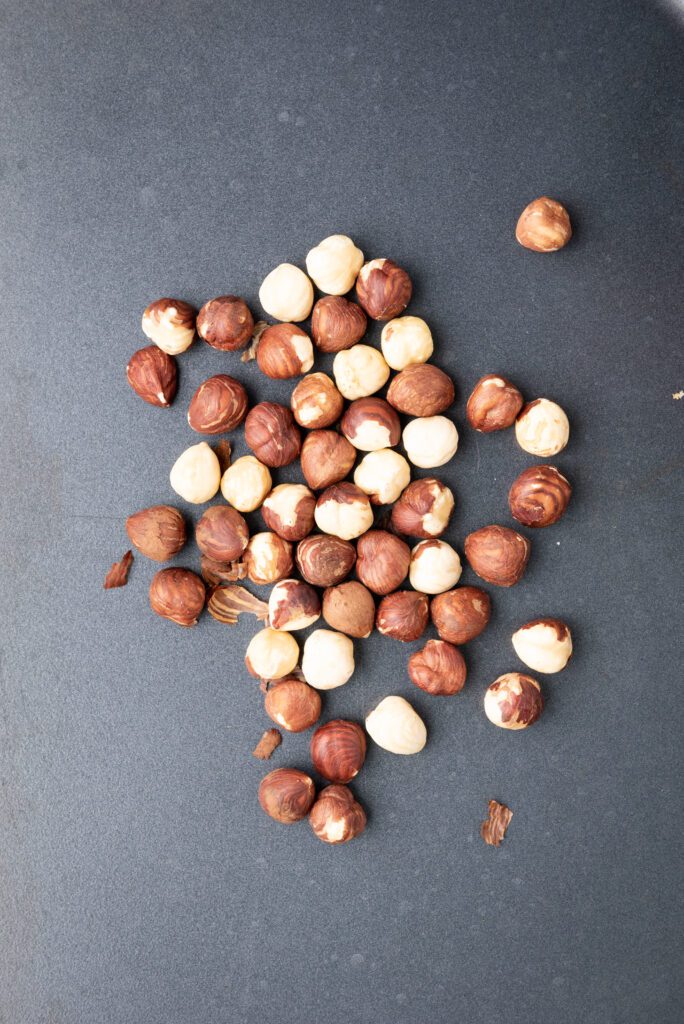
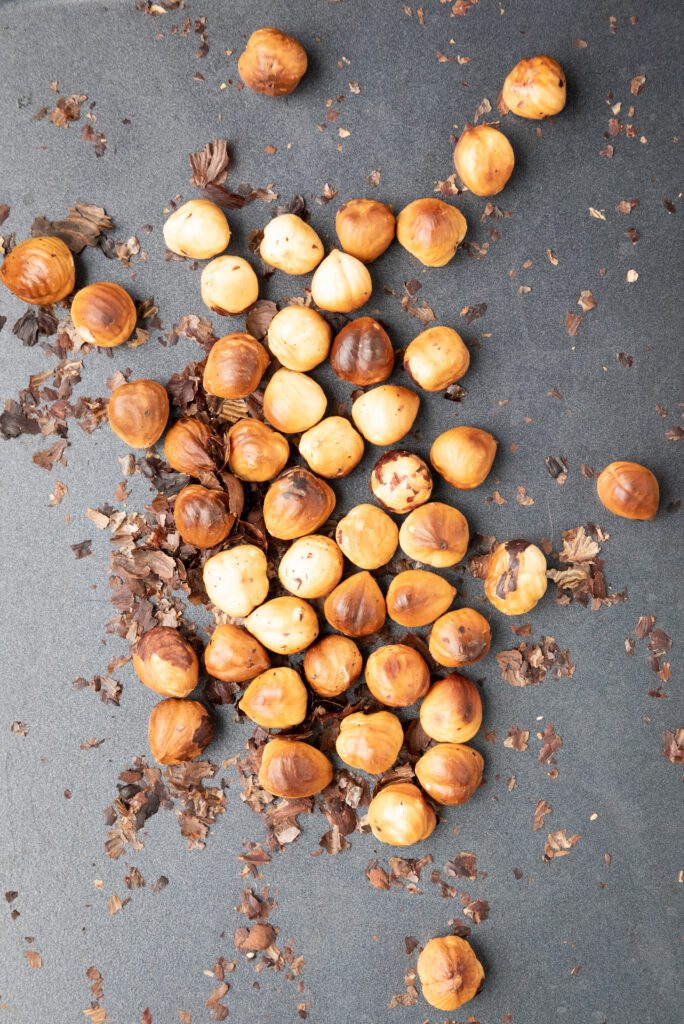
2. Spread the hazelnuts on a baking sheet and roast for about 5 minutes. After roasting, let them cool, then gently rub them between your hands to remove the skins.
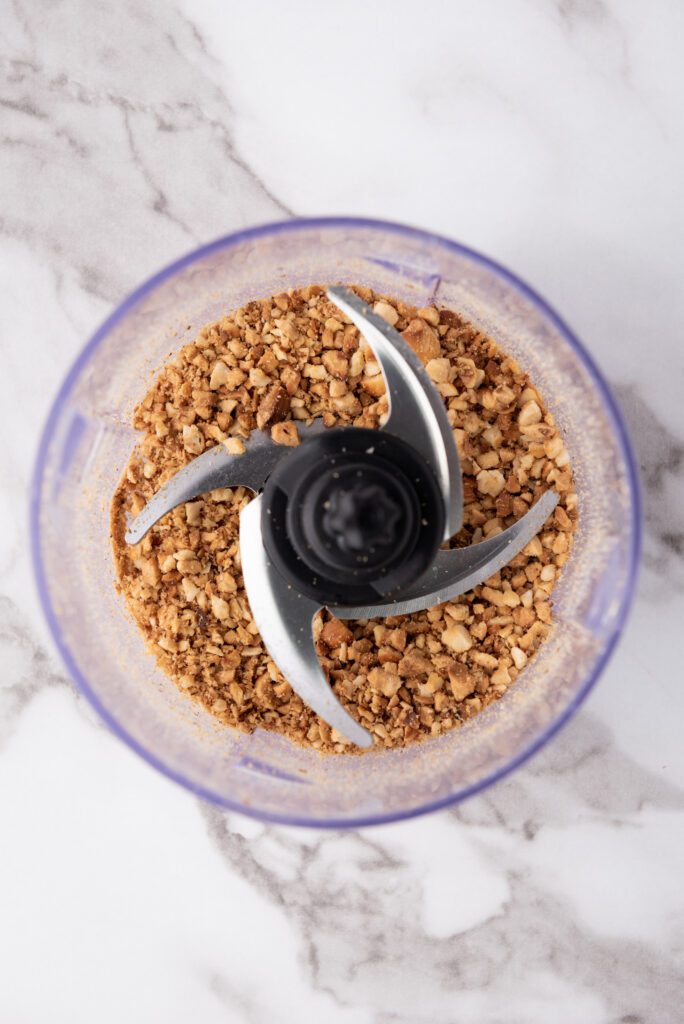
3. Place the peeled hazelnuts into a food processor and pulse until finely chopped.
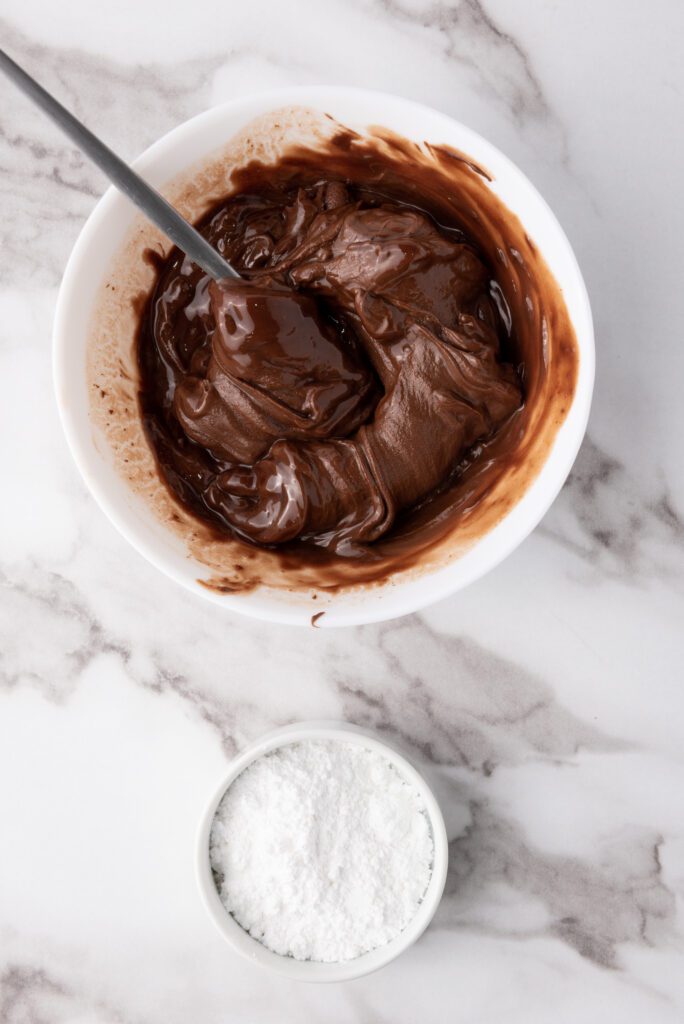
4. In a microwave-safe bowl, combine the Nutella and butter. Microwave for 30 seconds or until the butter is melted, then stir until smooth and fully combined.


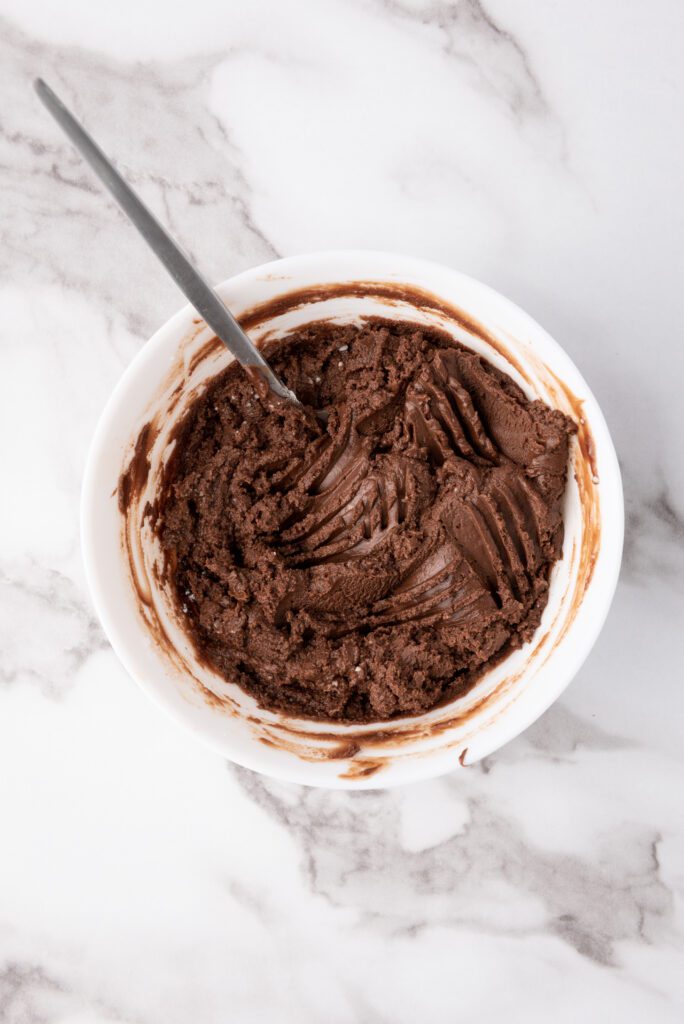
5. Stir in the powdered sugar to the Nutella mixture and mix until fully incorporated.
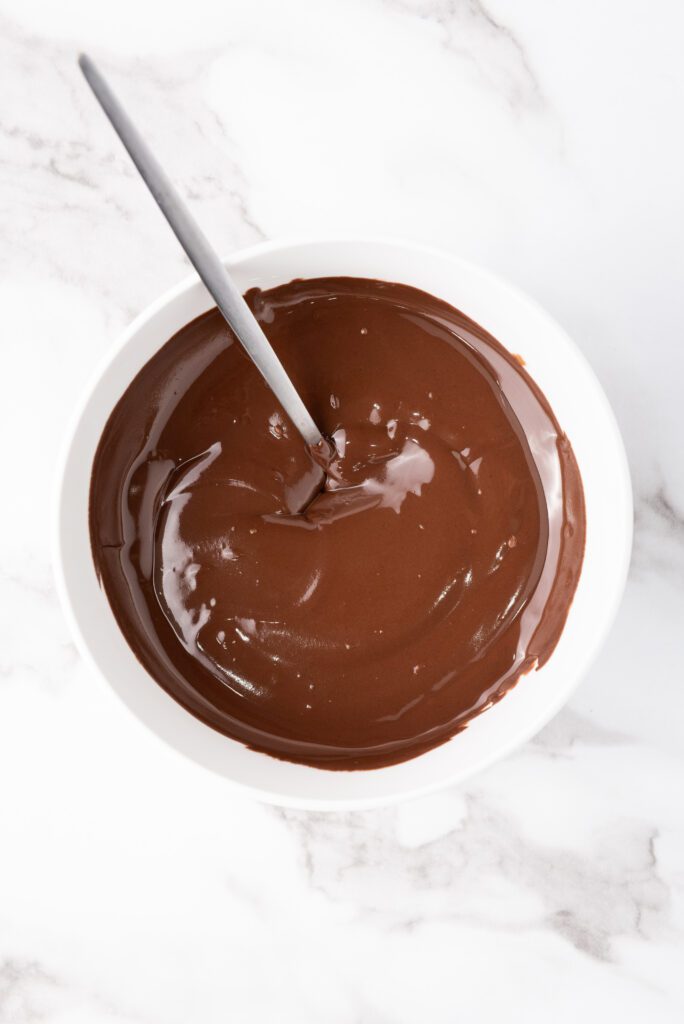
6. In a separate bowl, melt the chocolate chips in the microwave, heating in 30-second intervals and stirring in between, until fully melted (about 2 minutes total).
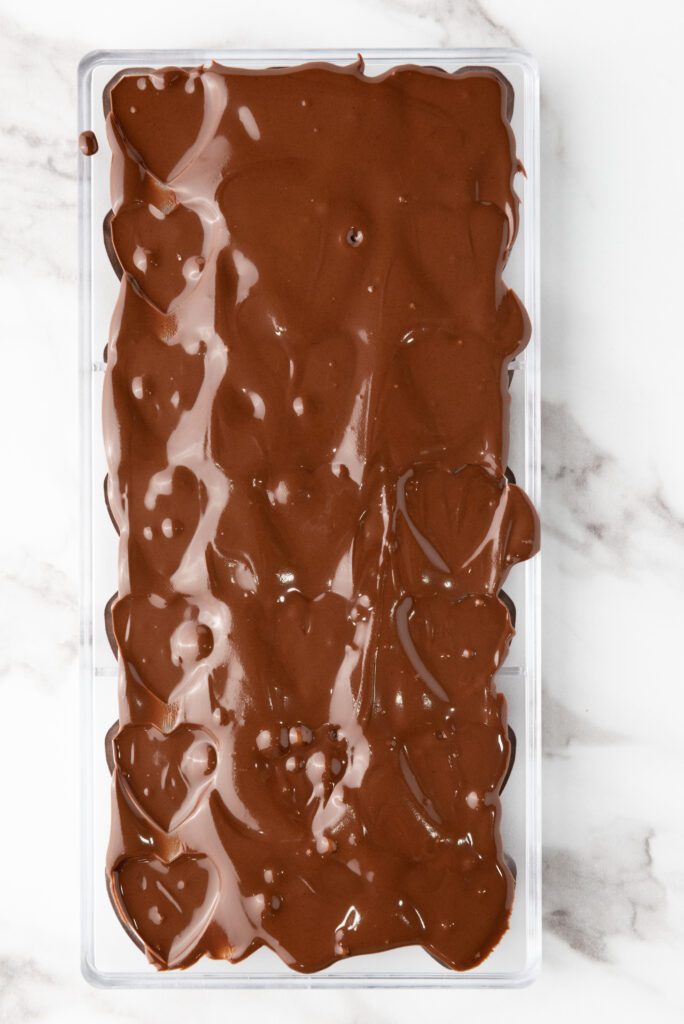
7. Coat the bottom and sides of your bonbon mold with the melted chocolate, ensuring every cavity is covered. Then flip the mold over to let any excess chocolate drip out. Use a scraper to smooth off any extra.
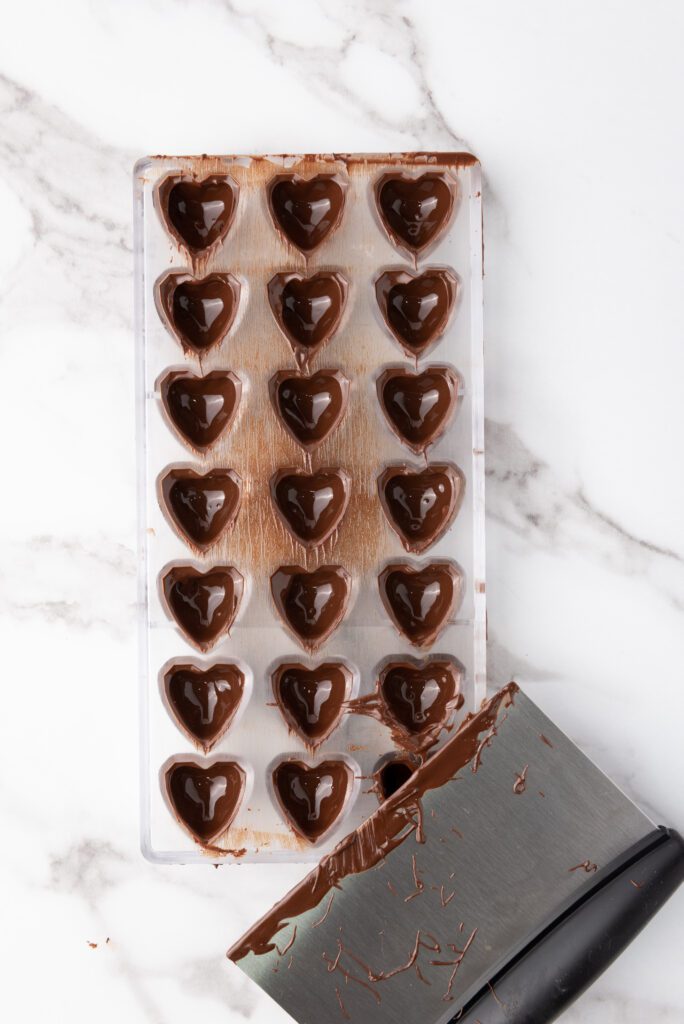
8. Chill the chocolate-coated mold in the fridge for about 10 minutes, or until the chocolate is slightly firm.
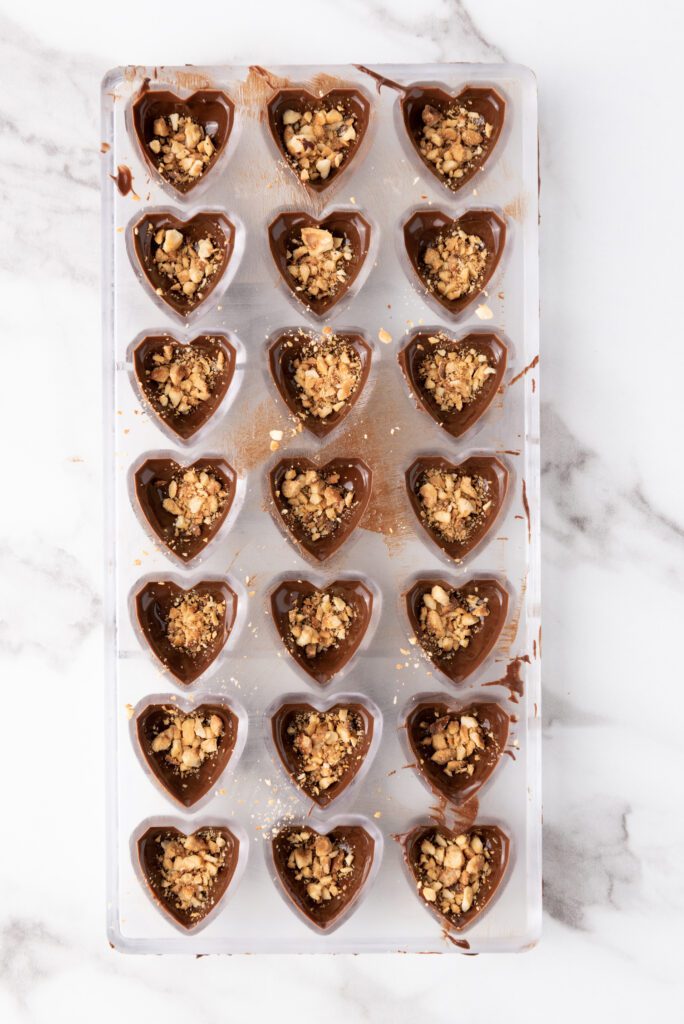
9. Once cooled, add the chopped hazelnuts into each cavity of the mold.
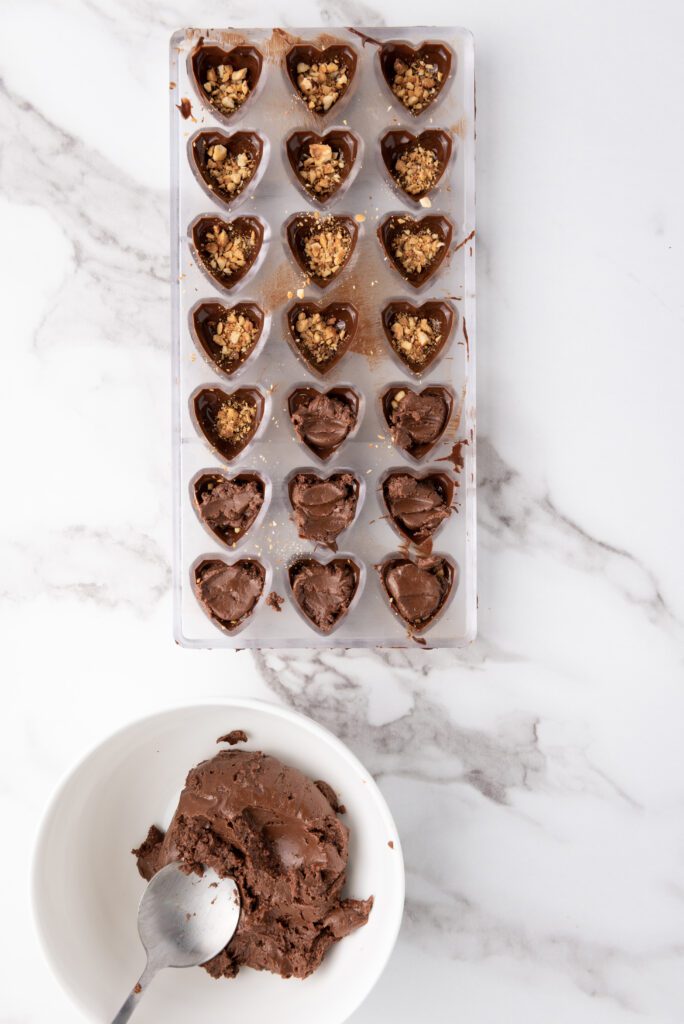
10. Spoon the Nutella mixture into each mold, filling up most of the way but leaving room for a final layer of chocolate.
11. Pour the remaining melted chocolate over the Nutella layer, ensuring it completely covers the filling. Tap the mold gently on the counter to remove air bubbles and allow the chocolate to settle evenly.

12. Use a metal scraper to remove any excess chocolate from the top of the mold.
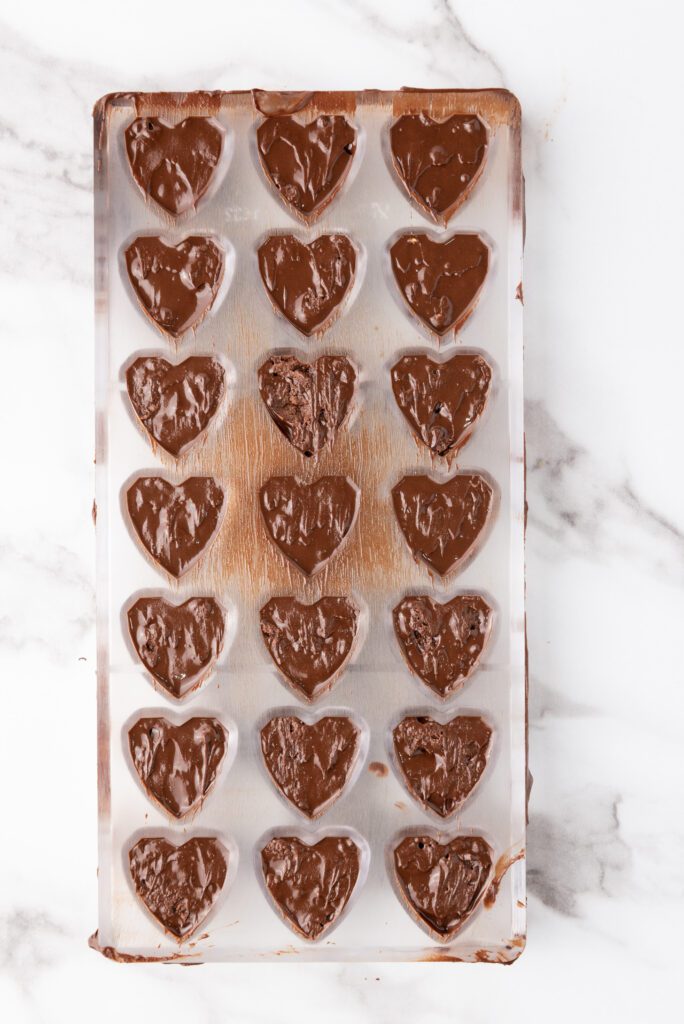
13. Place the mold in the fridge for at least 30 minutes to allow the bonbons to fully harden.
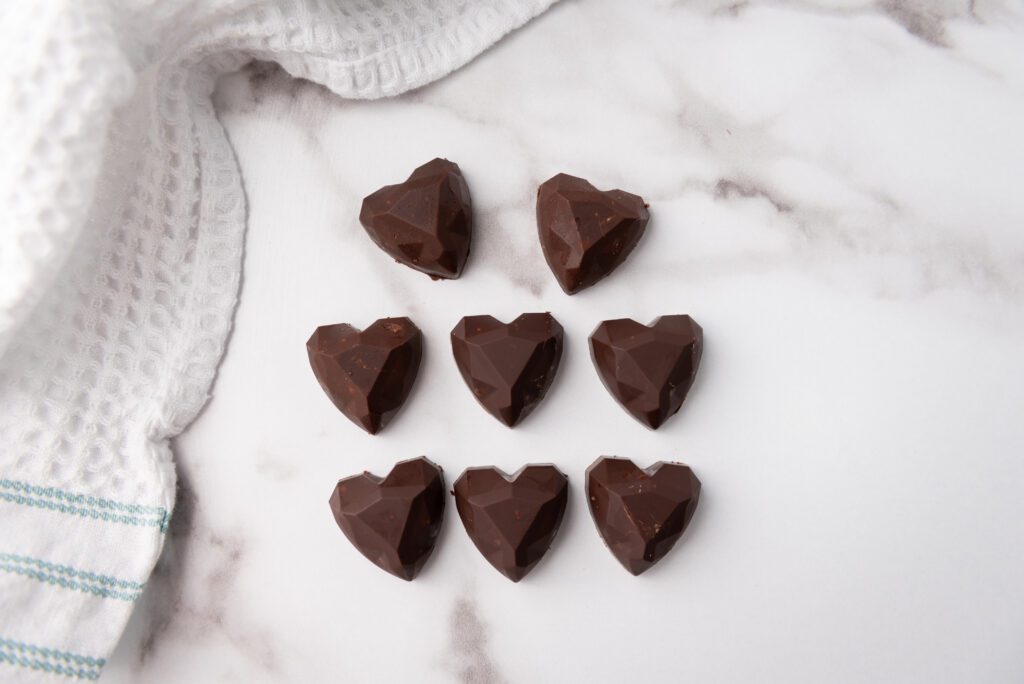
14. Once hardened, carefully remove the bonbons from the mold and enjoy!

Tips for Perfect Nutella Bonbons
-
Roast the Hazelnuts Just Right: Be careful not to over-roast the hazelnuts, as this can cause them to taste bitter. Keep an eye on them in the oven and take them out as soon as they’re lightly toasted (around 5 minutes). Allow them to cool before removing the skins for a smoother texture.
-
Don’t Skip the Scraping Step: After pouring the melted chocolate into the mold, use a scraper to remove any excess chocolate. This will help ensure your bonbons have a neat finish and are easier to remove from the mold once hardened.
-
Chill Between Layers: To avoid the Nutella filling from mixing into the chocolate, make sure to chill the mold between layers. A 10-minute rest in the fridge after coating the mold with chocolate will create a nice firm base for the filling.
-
Use a Good Quality Chocolate: The chocolate coating is key to these bonbons, so use good quality semi-sweet chocolate chips for the best flavor and texture.
-
Be Mindful of the Nutella Mixture: When adding powdered sugar to the Nutella and butter mixture, make sure it’s fully combined. You don’t want any clumps of sugar, as this can affect the smoothness of the filling.
-
Tap the Mold to Remove Air Bubbles: After adding the Nutella and chocolate layers, give the mold a gentle tap on the counter. This helps remove air bubbles, ensuring that your bonbons have a smooth, professional-looking finish.
-
Allow Enough Time for Cooling: Be patient! Let the bonbons chill in the fridge for at least 30 minutes to ensure they set properly. If you try to remove them too soon, they may not hold their shape.
-
Experiment with Add-ins: Feel free to get creative! You can add a little sea salt on top of each bonbon before chilling for an extra pop of flavor, or even a drizzle of caramel for a fun twist.
Get Creative!
-
Add a Touch of Sea Salt: Sprinkle a small pinch of sea salt on top of each bonbon before chilling. The salty-sweet combination is divine and adds a gourmet touch to the treat.
-
Caramel Twist: Swirl in some caramel sauce into the Nutella filling for an extra layer of sweetness and flavor. You could also drizzle caramel over the finished bonbons for a visually stunning effect.
-
Crispy Rice Crunch: Mix some crispy rice cereal into the Nutella filling to add a satisfying crunch that contrasts nicely with the smooth chocolate coating.
-
Coconut Coating: Roll your finished Nutella Bonbons in shredded coconut for a tropical twist. The coconut will add a subtle sweetness and texture that pairs well with the creamy filling.
-
Fruity Bonbons: Try adding small pieces of dried fruit, such as chopped dried cherries, raspberries, or orange zest, into the Nutella filling for a fruity contrast.
-
Dark Chocolate Layer: Experiment with using dark chocolate instead of semi-sweet chocolate for the coating. It will give the bonbons a richer, slightly bitter flavor that balances out the sweetness of the Nutella.
-
Spices for Warmth: Add a hint of cinnamon, nutmeg, or even chili powder to the Nutella filling for a warm, spicy kick that complements the chocolate and hazelnuts.
-
Nutty Variations: Swap out the hazelnuts for other nuts like almonds, pecans, or walnuts to give each bonbon a unique twist. Roasted nuts add an extra layer of depth and flavor.
-
Stuffed Bonbons: Fill the center of each bonbon with a surprise, like a whole roasted hazelnut, a piece of caramel, or even a dollop of peanut butter for a fun and unexpected filling.
-
Decorative Toppings: After the bonbons have hardened, drizzle with white chocolate or sprinkle with crushed up biscuits, sprinkles, or edible glitter to make them even more special for events or gifting.
Serving & Storing
Serving:
-
Serve at Room Temperature: While Nutella Bonbons are delicious when chilled, allowing them to sit at room temperature for about 5 minutes before serving enhances their flavor and makes them softer, allowing the filling to become creamier.
-
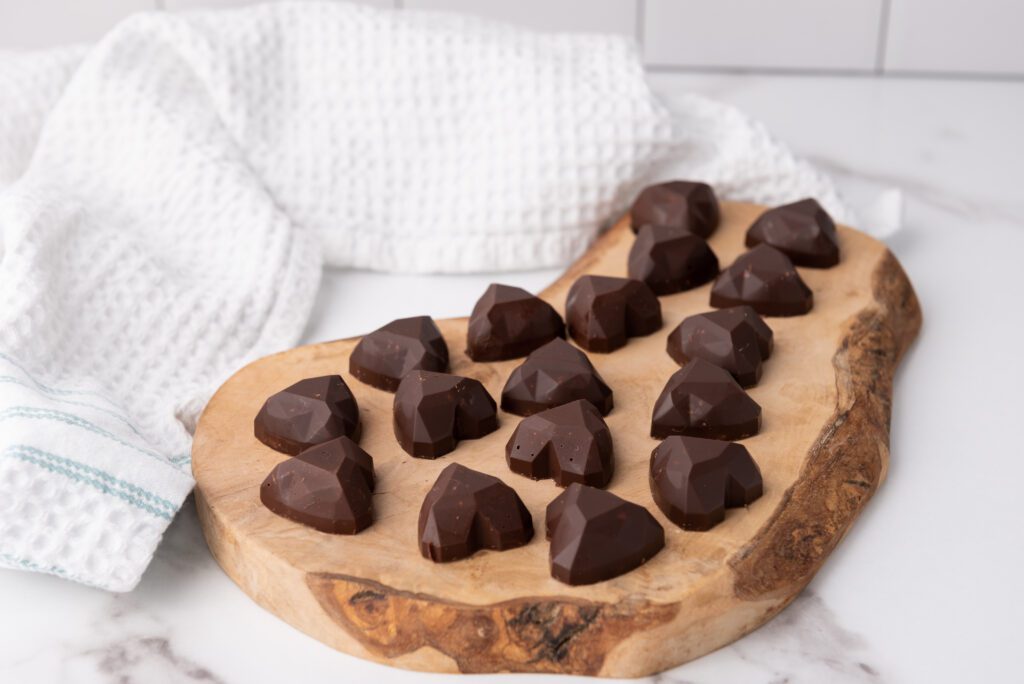
Present in Style: Arrange the bonbons on a decorative plate or in small cupcake liners for a more polished presentation. They also look great in a gift box for special occasions.
-
Perfect Pairing: Pair your Nutella Bonbons with a rich cup of coffee, hot chocolate, or even a glass of dessert wine like port or Moscato. The combination of flavors will elevate the indulgence.
-
Sweet Treat for Gatherings: These bonbons make a great addition to a dessert spread for parties, brunches, or holiday gatherings. They’re bite-sized, making them perfect for sharing.
Storing:
-
Keep Chilled: Nutella Bonbons can be stored in an airtight container in the fridge for up to two weeks. The cool temperature helps maintain their shape and keeps them fresh.
-
Freezing for Later: If you want to make a batch ahead of time, you can freeze the bonbons for up to 3 months. Store them in an airtight container, and layer them between parchment paper to prevent sticking. When ready to serve, let them thaw in the fridge for a few hours.
-
Avoid Heat: Since the Nutella filling and chocolate coating can soften at higher temperatures, it’s best to keep them in a cool, dry place if storing them outside the fridge for a short period.
-
Keep in Single Layers: If you’re storing the bonbons in a container, make sure to place them in a single layer or use parchment paper to separate them, preventing them from sticking together.
-
Decorative Touches: If you add any toppings, like coconut or sprinkles, they should also be stored in the fridge to maintain freshness and appearance.
Nutella Bonbons

These Nutella Bonbons are the perfect bite-sized treat, combining rich chocolate with a creamy Nutella filling and crunchy roasted hazelnuts. With just a few simple ingredients, including semi-sweet chocolate, butter, and powdered sugar, you’ll create an indulgent and easy-to-make dessert. These bonbons are perfect for gifting or enjoying at home, and can be customized with fun add-ins like sea salt or caramel. Enjoy these delicious, melt-in-your-mouth treats with friends and family!
Ingredients
- 1 cup semi-sweet chocolate chip morsels
- ½ cup Nutella
- ¼ cup raw hazelnuts
- 3 tbsp unsalted butter
- 1 tbsp powdered sugar
Instructions
- Preheat your oven to 350°F.
- Spread the hazelnuts on a baking sheet and roast for about 5 minutes. After roasting, let them cool, then gently rub them between your hands to remove the skins.
- Place the peeled hazelnuts into a food processor and pulse until finely chopped.
- In a microwave-safe bowl, combine the Nutella and butter. Microwave for 30 seconds or until the butter is melted, then stir until smooth and fully combined.
- Stir in the powdered sugar to the Nutella mixture and mix until fully incorporated.
- In a separate bowl, melt the chocolate chips in the microwave, heating in 30-second intervals and stirring in between, until fully melted (about 2 minutes total).
- Coat the bottom and sides of your bonbon mold with the melted chocolate, ensuring every cavity is covered. Then flip the mold over to let any excess chocolate drip out. Use a scraper to smooth off any extra.
- Chill the chocolate-coated mold in the fridge for about 10 minutes, or until the chocolate is slightly firm.
- Once cooled, add the chopped hazelnuts into each cavity of the mold.
- Spoon the Nutella mixture into each mold, filling up most of the way but leaving room for a final layer of chocolate.
- Pour the remaining melted chocolate over the Nutella layer, ensuring it completely covers the filling. Tap the mold gently on the counter to remove air bubbles and allow the chocolate to settle evenly.
- Use a metal scraper to remove any excess chocolate from the top of the mold.
- Place the mold in the fridge for at least 30 minutes to allow the bonbons to fully harden.
- Once hardened, carefully remove the bonbons from the mold and enjoy!


