| | |

Soft & Chewy Mint Blossom Cookies with Hershey’s Kisses

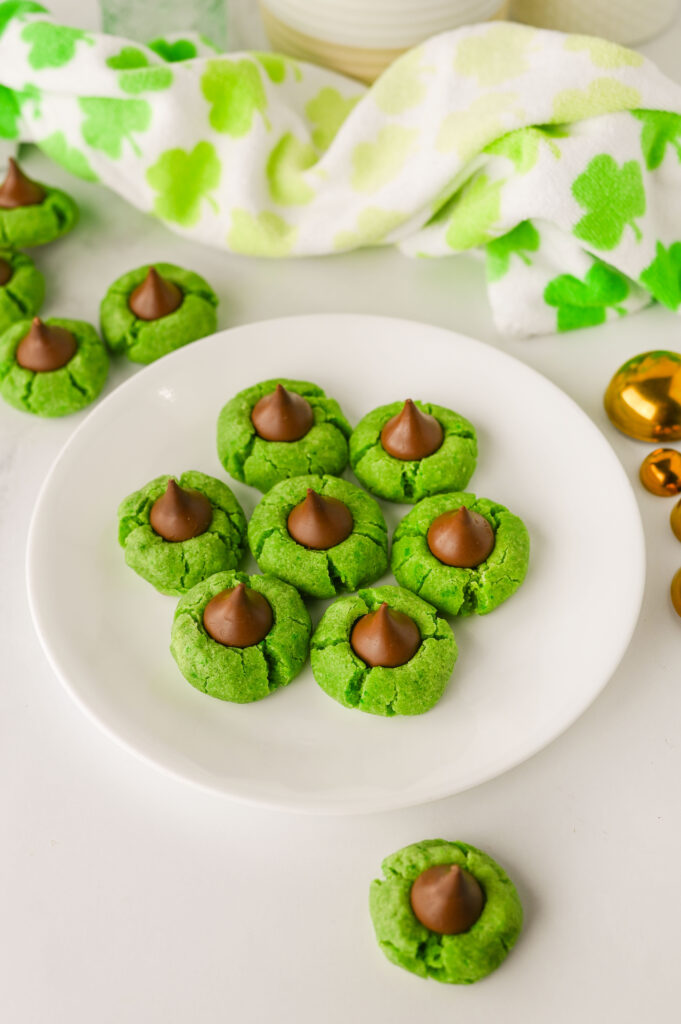
If you love that cool minty flavor paired with chocolate, these cookies are about to make you very happy. They’ve got that soft, slightly chewy texture with just enough peppermint to feel festive without tasting like toothpaste. And once you press that chocolate kiss right into the warm center, it’s honestly hard not to sneak one straight off the cooling rack.

These are the kind of cookies that feel a little extra special without being fussy. The dough comes together quickly, there’s no chilling before baking, and the green color makes them instantly fun and eye-catching. They’re perfect when you want something that looks bakery-worthy but still feels totally doable on a busy day.

I love making these for holiday trays, cookie swaps, or even just a cozy afternoon bake when the craving for something sweet hits. They’re always one of the first cookies to disappear, and people never stop at just one. If you’re looking for a festive cookie that’s easy, nostalgic, and guaranteed to get compliments, you’re going to love these.
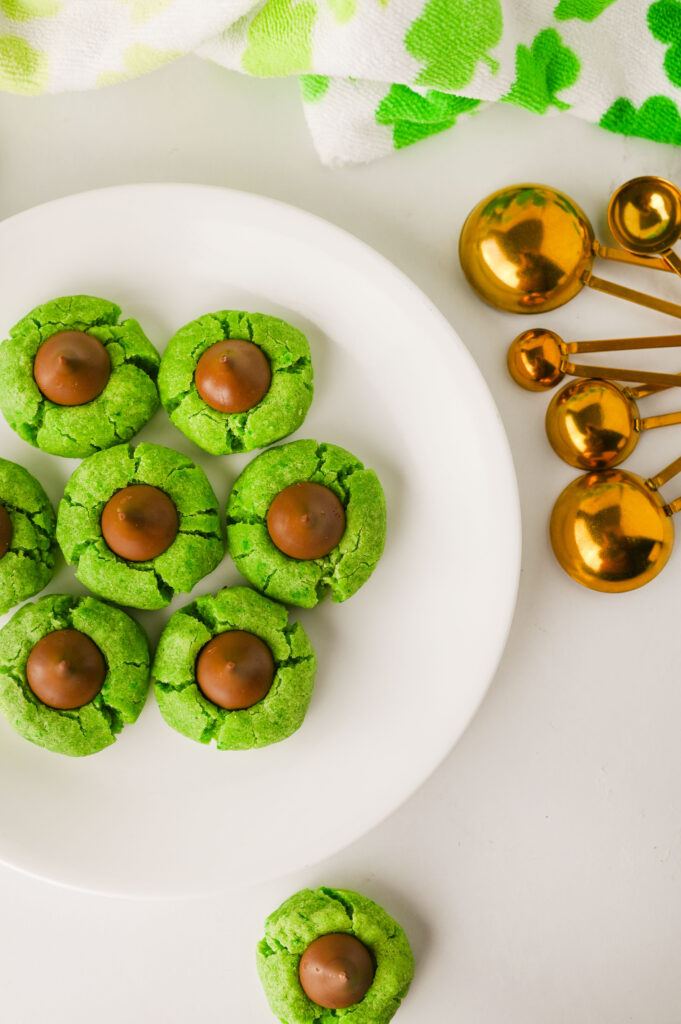
Equipment

  • Mixing bowls: You’ll want one for the wet ingredients and one for the dry so everything blends smoothly without overmixing.

  • Hand mixer or stand mixer: This makes creaming the butter and sugars quick and easy, and helps give the cookies that soft texture.

  • Measuring cups and spoons: Accurate measuring keeps the dough balanced so the cookies bake up just right.

  • Whisk: Perfect for quickly mixing the dry ingredients and breaking up any lumps.

  • Cookie scoop (about 1½-inch): Helps keep all the cookies the same size so they bake evenly and look nice and uniform.

  • Baking sheet: A sturdy sheet pan gives the cookies even heat and prevents overbrowning on the bottoms.

  • Parchment paper: This keeps the cookies from sticking and makes cleanup way easier.

  • Cooling rack: Lets air circulate around the cookies so they cool properly and the chocolate sets nicely.

Ingredients

  • Unsalted butter: Make sure it’s nice and soft so it creams easily with the sugars and gives the cookies that tender, bakery-style texture.

  • Brown sugar: This adds moisture and a little richness that keeps the cookies soft and chewy.

  • Granulated sugar: Helps balance the brown sugar and gives the cookies just the right amount of sweetness.

  • Egg + egg yolk: The extra yolk adds richness and helps create that soft, slightly chewy center everyone loves.

  • Peppermint extract: Start on the lighter side and adjust to taste since a little goes a long way with mint.

  • Green gel food coloring: Just a squeeze gives the cookies their festive look without thinning the dough.

  • All-purpose flour: This forms the base of the dough and keeps the cookies sturdy but still soft.

  • Salt: A small amount makes all the flavors pop and keeps the sweetness from being overpowering.

  • Baking powder: Gives the cookies a gentle lift so they bake up soft instead of dense.

  • Hershey’s Kisses: Pressed into the warm cookies, these create that classic chocolate center everyone looks forward to.

Step-by-Step Instructions

You can find a printable recipe card at the bottom of this post.

1. Preheat your oven to 350°F and line a baking sheet with parchment paper. Set it aside for later.

2. In a large mixing bowl, beat the butter and sugars together for 1 to 2 minutes. The mixture will look a bit crumbly, and that’s totally fine.

3. Add the egg, egg yolk, peppermint extract, and a generous squeeze of green gel food coloring. Mix until everything is well combined.

4. In a separate bowl, whisk together the flour, salt, and baking powder.

5. Add half of the dry ingredients to the wet mixture and mix. Add the remaining dry ingredients and mix again until just combined. The dough will still be crumbly.

6. Use a 1½-inch cookie scoop to portion out the dough, then gently press each scoop together with your hands to form a ball.

7. Place the dough balls onto the prepared baking sheet, spacing them slightly apart.

8. Bake for 7 to 9 minutes, until the cookies are just set.

9. Remove the baking sheet from the oven and let the cookies cool for 1 to 2 minutes.

10. Gently press a Hershey’s Kiss into the center of each cookie, then let the cookies cool for another 5 minutes.

11. Transfer the cookies to a cooling rack and chill in the refrigerator for 20 to 30 minutes so the chocolate can fully set.

Tips for Perfect Mint Blossom Cookies

  • Don’t overmix the dough: Once the flour goes in, mix just until everything comes together so the cookies stay soft and tender.

  • Go easy on the peppermint at first: Mint can be strong, so start with less and add more only if you want a bolder minty flavor.

  • Use gel food coloring, not liquid: Gel gives you that bright green color without thinning out the dough.

  • Bake just until set: The cookies should look slightly underbaked in the center when they come out, since they’ll firm up as they cool.

  • Press the Kisses in gently: Let the cookies cool for a minute or two first so they don’t crack around the edges.

  • Chill after adding the chocolate: A quick rest in the fridge helps the Kisses set neatly and keeps them looking picture-perfect.

  • Use a cookie scoop: Even-sized dough balls bake more evenly and make the cookies look extra polished.

Get Creative!

  • Swap the chocolate: Try dark chocolate or caramel-filled kisses if you want to mix things up a bit.

  • Play with the color: Go classic green, add a drop of red for a deeper shade, or skip the coloring entirely for a more subtle look.

  • Dial the mint up or down: Love a strong mint flavor or prefer it mild? Adjust the peppermint extract to match your taste.

  • Add a little sparkle: Roll the dough balls in colored sugar before baking for a fun, festive finish.

  • Make them extra chocolatey: Sprinkle a few mini chocolate chips into the dough for even more chocolate in every bite.

  • Change the size: Make smaller cookies for trays and swaps, or slightly larger ones if you want a bakery-style feel.

Serving & Storing

  • Serve once the chocolate is fully set: Letting the Kisses firm up keeps them neat and makes the cookies easier to handle.

  • Perfect for sharing: These cookies look great on holiday trays, dessert boards, or packaged up for gifting.

  • Store at room temperature: Keep them in an airtight container for up to 4 days so they stay soft and fresh.

  • Layer with parchment: If you’re stacking them, a sheet of parchment between layers helps protect the chocolate tops.

  • Great for making ahead: You can bake these a day or two early and they’ll still taste just as good.

  • Freezer-friendly option: The baked cookies freeze well, just thaw at room temperature before serving.


Can I make these cookies ahead of time?

Yes, absolutely. You can bake them a day or two in advance and store them in an airtight container, and they’ll still be soft and delicious.

How strong is the mint flavor?

It’s totally up to you. Starting with 1 teaspoon gives a mild mint flavor, and you can bump it up if you love a stronger minty bite.

Do I have to chill the cookies after adding the chocolate?

You don’t have to, but it really helps the chocolate set faster and keeps those Kisses looking neat and picture-perfect.

Can I use liquid food coloring instead of gel?

Gel works best since it gives great color without changing the texture of the dough. Liquid food coloring can make the dough a little too soft.

Why does the dough look crumbly at first?

That’s completely normal. Once you press the dough together, it holds just fine and bakes up soft and tender.

Can I freeze these cookies?

Yes. Once fully cooled and the chocolate is set, freeze them in a sealed container. Let them thaw at room temperature before serving.

Can I swap out the Hershey’s Kisses?

Definitely. You can use other chocolate candies or even a chocolate square if you want to change things up.

Yield: 24

Mint Blossom Cookies

Mint Blossom Cookies

Soft, minty, and finished with a classic chocolate kiss, these Mint Blossom Cookies are an easy festive treat that always steals the spotlight. With a tender texture, just the right hint of peppermint, and a fun pop of color, they’re perfect for holiday baking, cookie swaps, or anytime you’re craving a chocolate-mint dessert everyone loves.

Prep Time 10 minutes
Cook Time 9 minutes
Total Time 9 minutes

Ingredients

  • 6 tbsp. unsalted butter, room temperature
  • 3/4 cup brown sugar
  • 3/4 cup granulated sugar
  • 1 egg + 1 egg yolk
  • 1-1 1/2 tsp. peppermint extract (less or more for less or more minty cookies)
  • Green gel food coloring
  • 2 cups all purpose flour
  • 1/2 tsp. salt
  • 3/4 tsp. baking powder
  • 24 Hershey kisses, unwrapped

Instructions

  1. Preheat your oven to 350°F and line a baking sheet with parchment paper. Set it aside for later.
  2. In a large mixing bowl, beat the butter and sugars together for 1 to 2 minutes. The mixture will look a bit crumbly, and that’s totally fine.
  3. Add the egg, egg yolk, peppermint extract, and a generous squeeze of green gel food coloring. Mix until everything is well combined.
  4. In a separate bowl, whisk together the flour, salt, and baking powder.
  5. Add half of the dry ingredients to the wet mixture and mix. Add the remaining dry ingredients and mix again until just combined. The dough will still be crumbly.
  6. Use a 1½-inch cookie scoop to portion out the dough, then gently press each scoop together with your hands to form a ball.
  7. Place the dough balls onto the prepared baking sheet, spacing them slightly apart.
  8. Bake for 7 to 9 minutes, until the cookies are just set.
  9. Remove the baking sheet from the oven and let the cookies cool for 1 to 2 minutes.
  10. Gently press a Hershey’s Kiss into the center of each cookie, then let the cookies cool for another 5 minutes.
  11. Transfer the cookies to a cooling rack and chill in the refrigerator for 20 to 30 minutes so the chocolate can fully set.

Notes

  • Peppermint extract is strong, so start with the lower amount and adjust to taste if you want a bolder mint flavor.
  • Gel food coloring works best for vibrant color without affecting the texture of the dough.
  • The dough may look crumbly at first, but it will hold together once pressed into balls.
  • Slightly underbaking keeps the cookies soft, so pull them out as soon as they’re set.
  • Let the cookies cool for a minute or two before adding the chocolate to prevent cracking.
  • Chilling after adding the Kisses helps the chocolate set neatly and keeps the tops looking polished.

Nutrition Information:

Yield:

24

Serving Size:

1

Amount Per Serving: Calories: 343Total Fat: 13gSaturated Fat: 7gUnsaturated Fat: 5gCholesterol: 19mgSodium: 82mgCarbohydrates: 57gFiber: 2gSugar: 38gProtein: 5g


Similar Posts

Leave a Reply

Your email address will not be published. Required fields are marked *