

Red, White & Cool: Vegan Berry Frozen Yogurt Cups
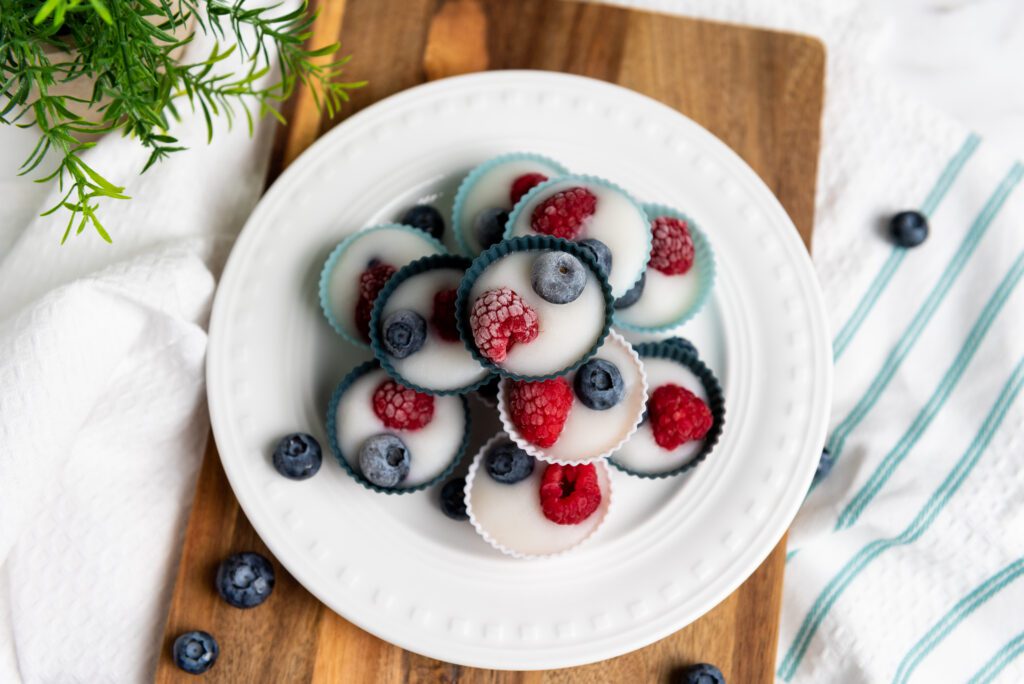
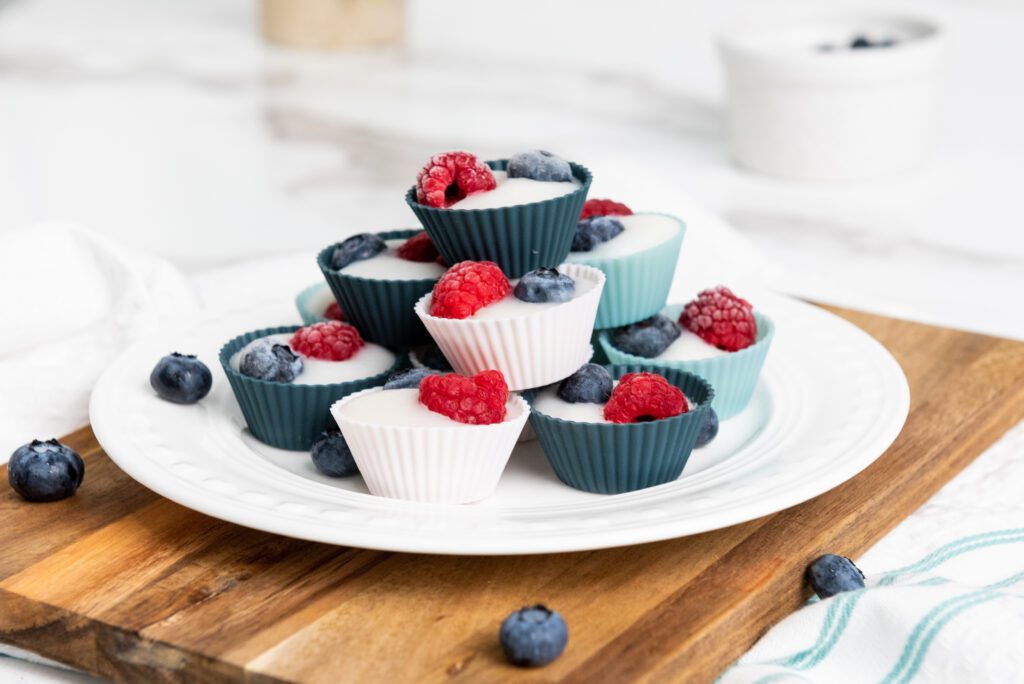
When summer rolls around, I’m all about easy, cold treats that my kids can grab straight from the freezer. These little Vegan Berry Frozen Yogurt Cups have become such a hit at our house – especially around the Fourth of July! They’ve got that festive red, white, and blue look going on without me needing to bake or even turn on the stove. Total win.
I love how simple these are. Just a handful of ingredients and no fancy steps. I usually whip them up with coconut yogurt (the sweetened kind because it’s a little more dessert-y), but any vegan yogurt would work fine. The berries give a nice pop of flavor and color – plus, it’s a great way to sneak in a few antioxidants, right?
Whether you’re hosting a barbecue, heading to a potluck, or just trying to keep snacks cool and healthy-ish, these yogurt cups are a fun little option. I actually have to hide a few in the back of the freezer if I want to save any for myself!. Give them a try and let me know what you think!
Ingredients
-
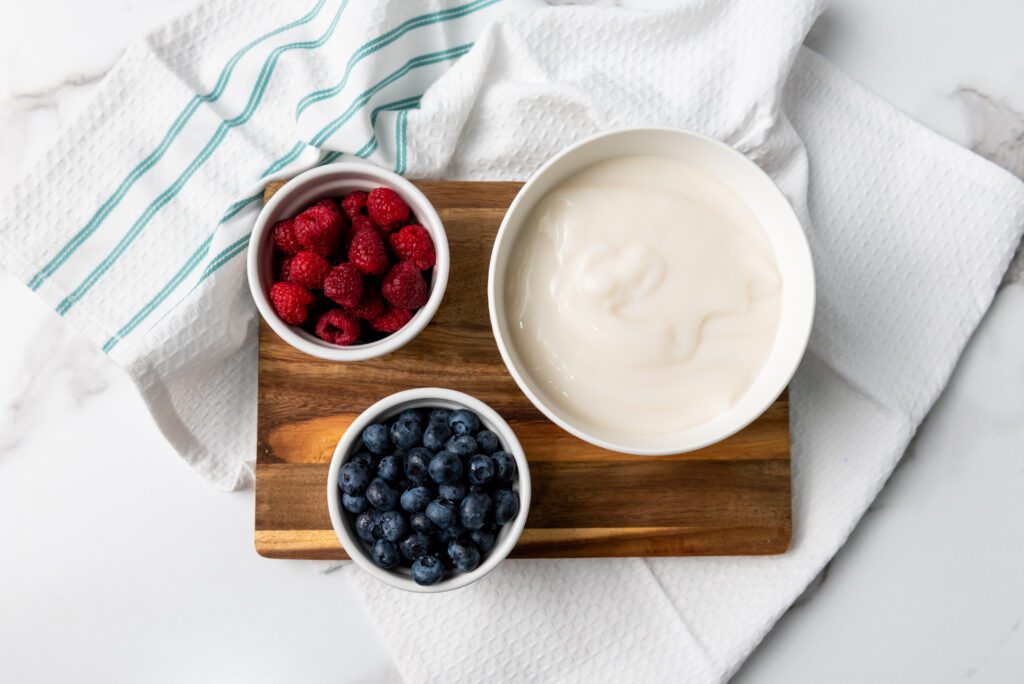
1 cup vegan yogurt (I used sweetened coconut yogurt) – I love using sweetened coconut yogurt for a touch of natural sweetness and that creamy, tropical flavor.
-
¼ cup blueberries – These little guys add a juicy burst of flavor and a beautiful pop of blue.
-
¼ cup raspberries – Raspberries bring a sweet-tart kick and that perfect red hue for a patriotic twist.
Step-by-Step Instructions
You can find a printable recipe card at the bottom of this post.
1. Spoon the vegan yogurt into mini cupcake liners, filling each one about ¾ of the way.

2. Gently press a few blueberries and raspberries into the top of each cup.
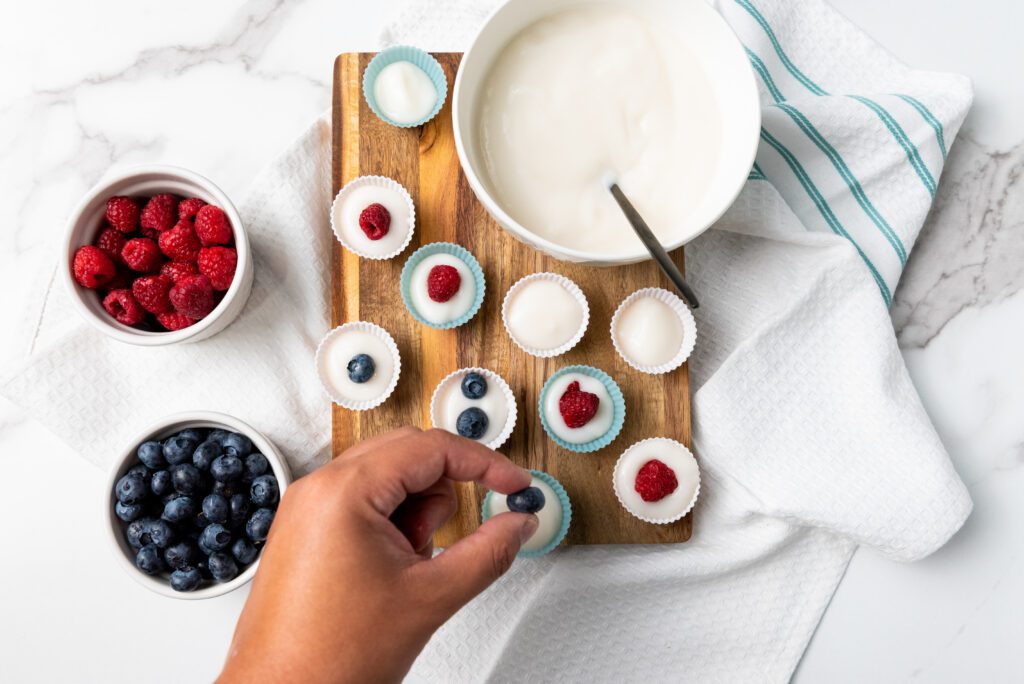
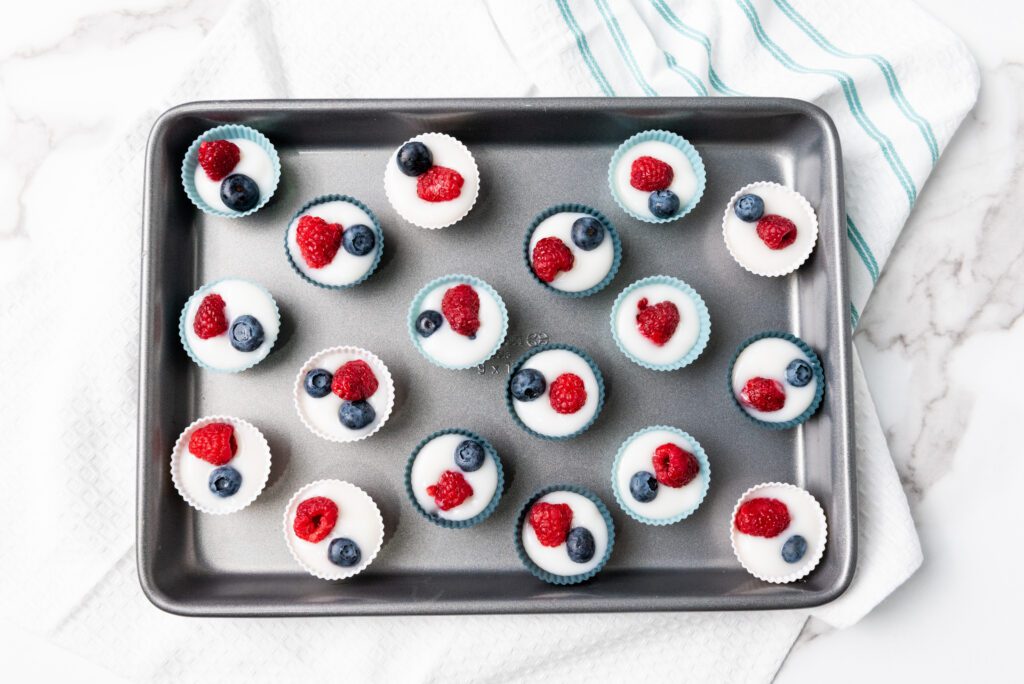
3. Place in the freezer and let them set for at least 2 to 3 hours, or until completely frozen.
Tips for Making Perfect Vegan Berry Frozen Yogurt Cups
-
Use silicone liners for easy removal. Paper liners work fine, but silicone ones make it super easy to pop the frozen cups out without tearing.
-
Sweeten to your taste. If your yogurt isn’t sweetened, you can mix in a little maple syrup or agave before filling the liners.
-
Chop the berries if needed. If your raspberries or blueberries are on the larger side, cutting them in half helps them fit better and makes each bite more balanced.
-
Don’t overfill. Stick to the ¾ full mark when adding yogurt – this gives the berries room to nestle in and helps prevent overflow.
-
Freeze on a flat surface. Place your tray on a flat spot in the freezer so the cups freeze evenly and don’t tip over.
-
Let them sit a minute before eating. Once frozen, give them a minute or two at room temp so they soften just slightly – makes them extra creamy and easier to bite into!
-
Store in an airtight container. Once frozen solid, transfer them to a container or freezer bag to keep them fresh and avoid freezer burn.
Get Creative!
-
Mix up the fruit. Try chopped strawberries, blackberries, or even kiwi for different flavors and colors. Whatever’s in season or in your fridge works!
-
Add a crunchy layer. Sprinkle a little granola or crushed nuts on top before freezing for some added texture.
-
Swirl in something fun. A spoonful of berry jam, almond butter, or a drizzle of chocolate sauce swirled into the yogurt adds a yummy surprise.
-
Make them themed. Use red and green fruit for Christmas, orange and blackberries for Halloween – you can totally switch it up for any holiday or party!
-
Try different yogurts. Coconut yogurt is creamy and sweet, but almond, cashew, or oat-based yogurts are great too. You can even blend in a little fruit purée for extra flavor.
-
Use mini molds. Don’t have cupcake liners? Ice cube trays or silicone candy molds work great too, especially for bite-sized versions!
Serving & Storing
-
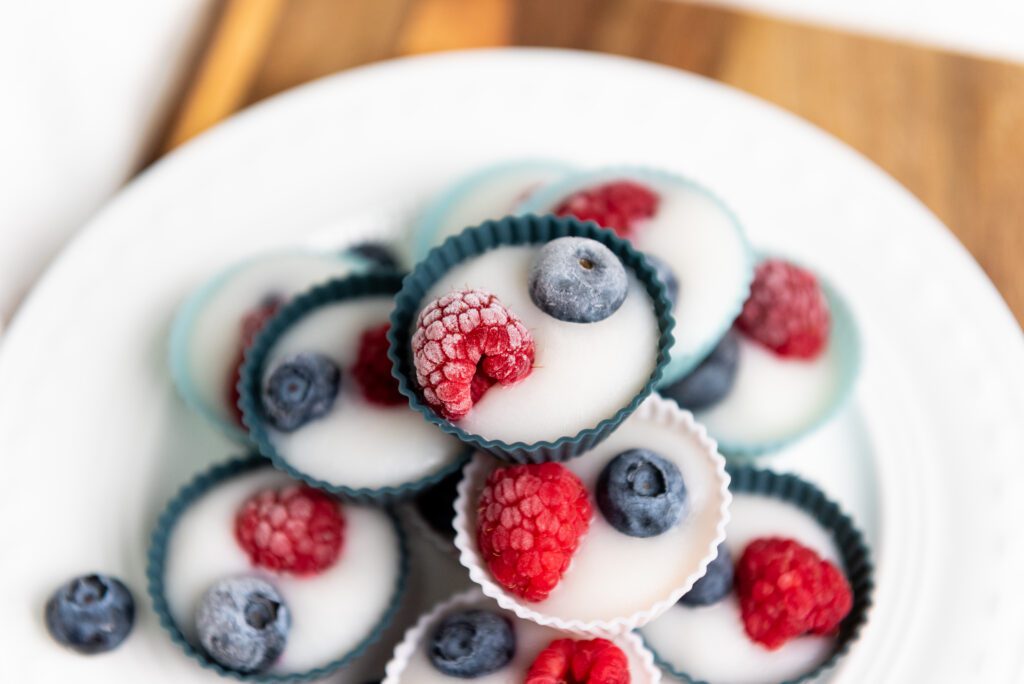
Serve straight from the freezer. These are best enjoyed frozen – just let them sit out for a minute or two so they’re easier to bite into.
-
Perfect for parties. Arrange them on a chilled platter or keep them in a cooler with ice packs if you’re bringing them to a summer get-together.
-
Kid-approved snack. My kids love grabbing these on hot afternoons – they’re like a mini frozen treat with no mess!
-
Store in an airtight container. Once the cups are fully frozen, transfer them to a freezer-safe container or zip-top bag to keep them fresh.
-
Label with the date. These will stay fresh in the freezer for about 2–3 weeks, but labeling helps if you make a big batch.
-
Try layering for fun. Want to make them extra cute? Add a layer of yogurt, freeze it for 15 minutes, then add a layer of fruit and more yogurt before freezing again.
Red, White & Cool: Vegan Berry Frozen Yogurt Cups

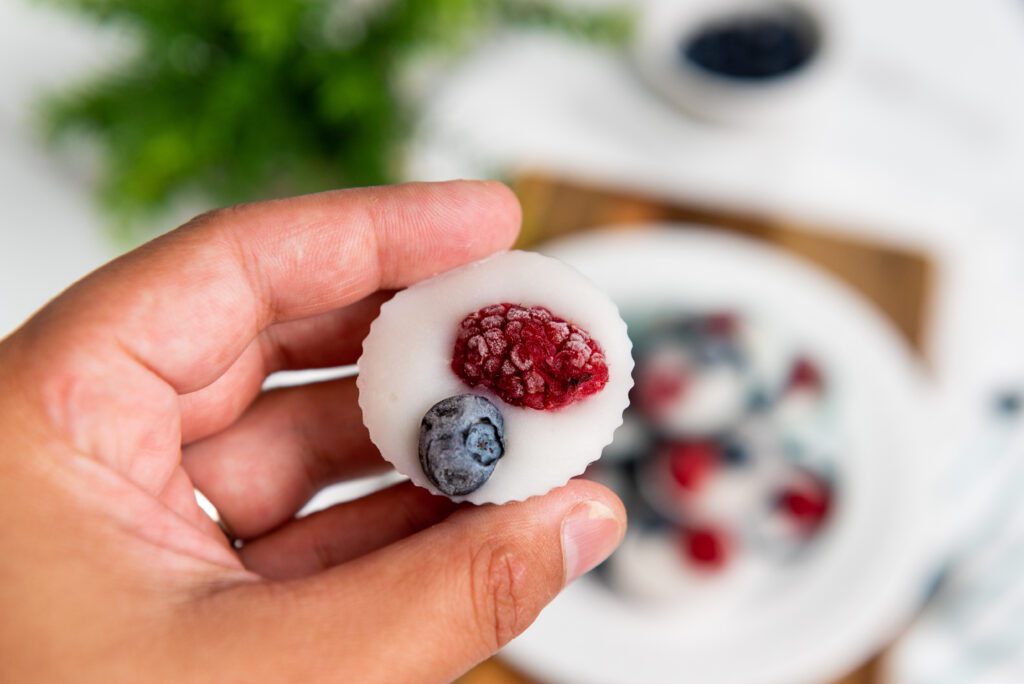
These Vegan Berry Frozen Yogurt Cups are a fun, refreshing treat made with creamy coconut yogurt and fresh berries. Perfect for summer snacking, patriotic holidays, or anytime you need a quick frozen bite!
Ingredients
- 1 cup vegan yogurt (I used sweetened coconut yogurt)
- ¼ cup blueberries
- ¼ cup raspberries
Instructions
- Spoon the vegan yogurt into mini cupcake liners, filling each one about ¾ of the way.
- Gently press a few blueberries and raspberries into the top of each cup.
- Place in the freezer and let them set for at least 2 to 3 hours, or until completely frozen.


