Rainbow Delight: Easy and Fun Lucky Charms Fudge
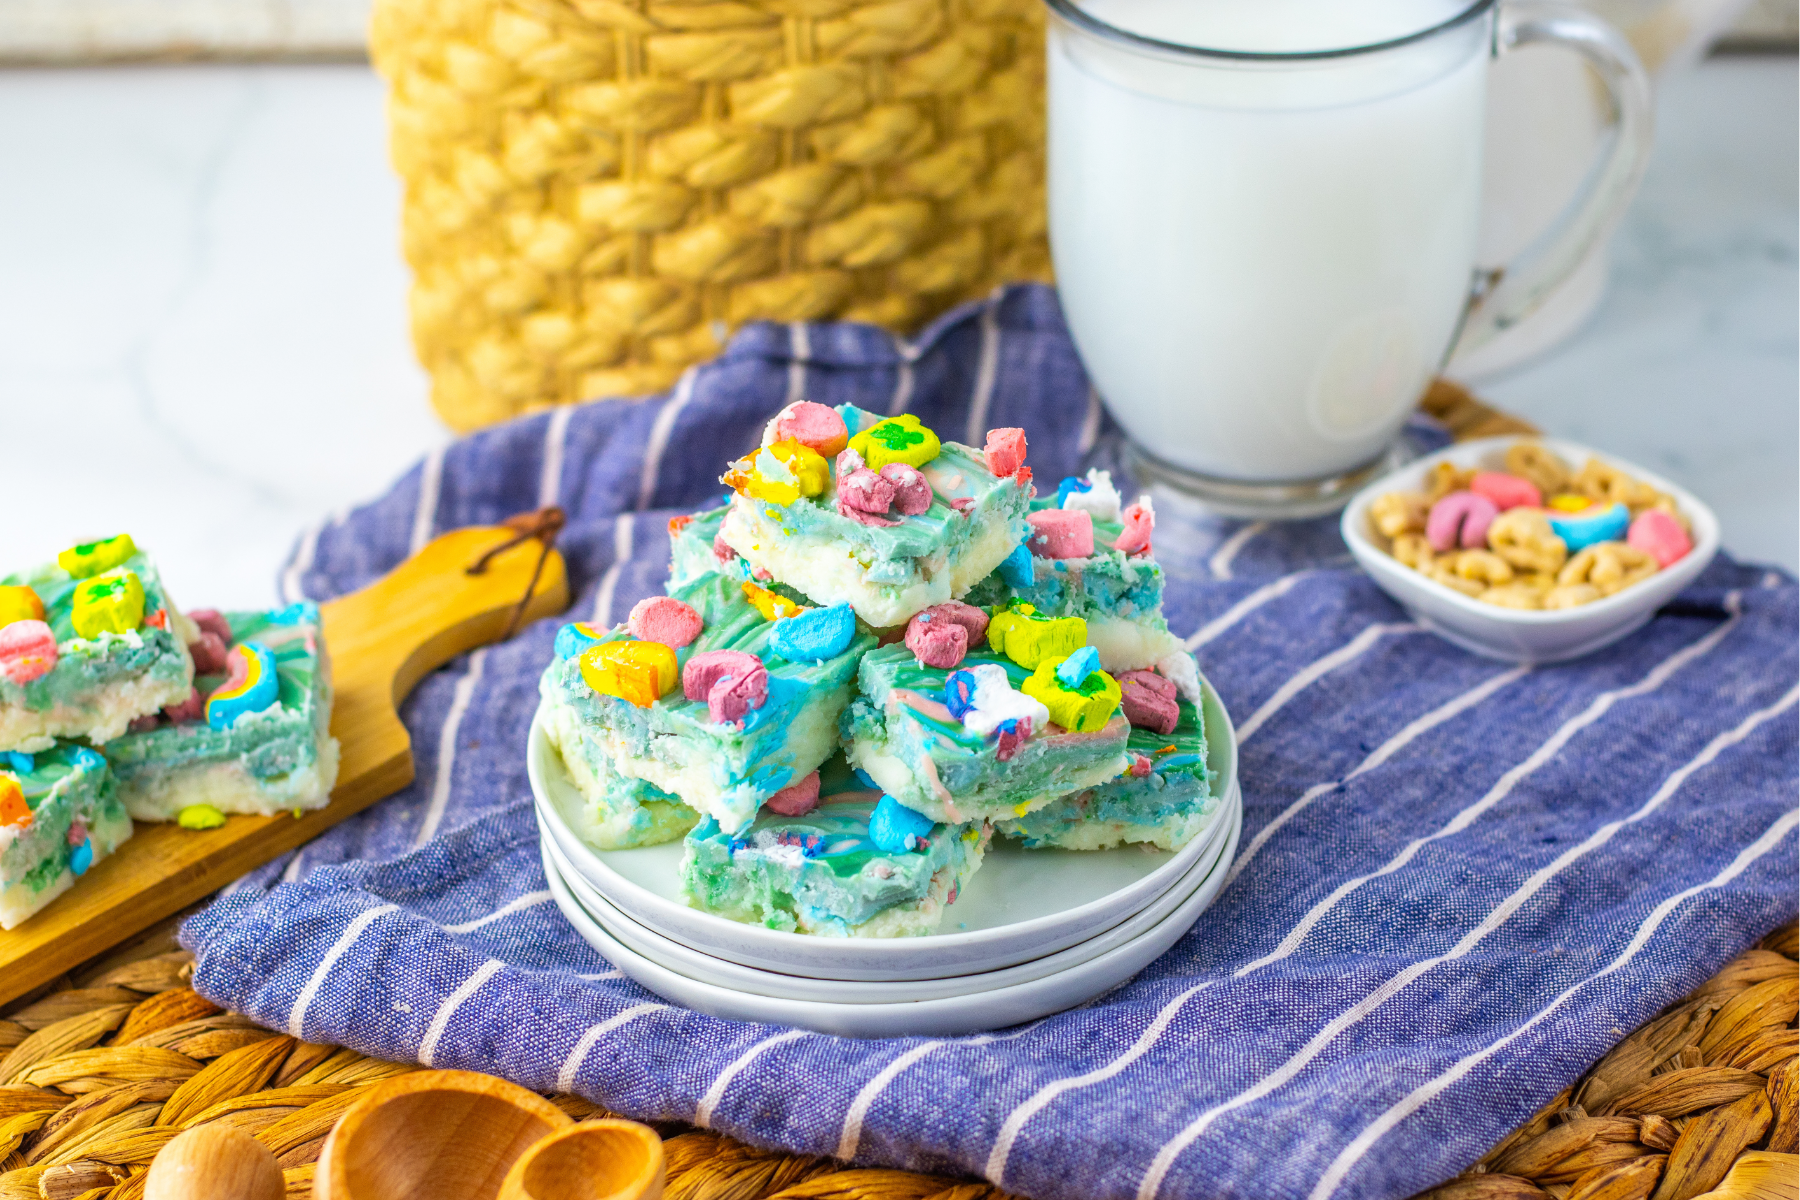
I have to say, this Lucky Charms Fudge was such a hit in my house! I love making fun treats, and this one was so easy to whip up, I couldn’t resist sharing it with you all. It’s one of those recipes that’s perfect for any occasion – whether you’re celebrating a spring holiday or just want to add a little color and sweetness to your day. My kids went absolutely crazy for it, and it didn’t last long at all.
What I love most about this fudge is how simple and quick it is. With just a few ingredients and no baking required, you can have it ready to enjoy in under an hour. The combination of white chocolate, candy melts, and those adorable Lucky Charms marshmallows makes this treat as tasty as it is fun to look at. Plus, it’s the kind of recipe you can make with your kids if you’re looking for a fun activity together.
I’ve made a lot of fudges in my time, but this one is definitely a standout. The colors, the flavors, and the ease of it all just make it a winner in my book. If you’re looking for something to brighten up your day or add a little extra magic to a celebration, this Lucky Charms Fudge is definitely worth giving a try. Trust me, you won’t be disappointed!

Ingredients
-
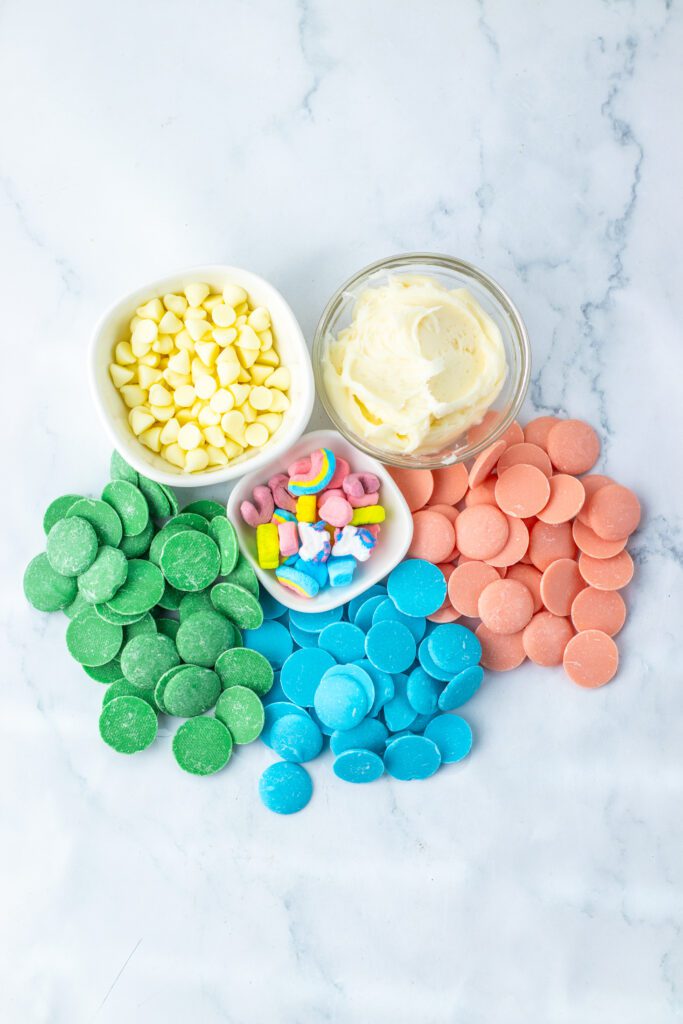
1 1/2 cups of white chocolate chips: The creamy base for this fudge, giving it that irresistible smooth texture.
-
16 oz container of vanilla frosting: Adds a sweet, fluffy richness that brings everything together perfectly.
-
1 1/2 cups of pink candy melts: These colorful melts add a fun pop of pink and a hint of sweetness to the fudge.
-
1 1/2 cups of green candy melts: A vibrant green swirl that makes this fudge as eye-catching as it is delicious.
-
1 1/2 cups of blue candy melts: The bright blue candy melts are the finishing touch to this rainbow treat.
-
1/2 cup of Lucky Charms marshmallows: These adorable marshmallows are the perfect crunchy and sweet topping to complete the fudge.
Step-by-Step Instructions
You can find a printable recipe card at the bottom of this post.
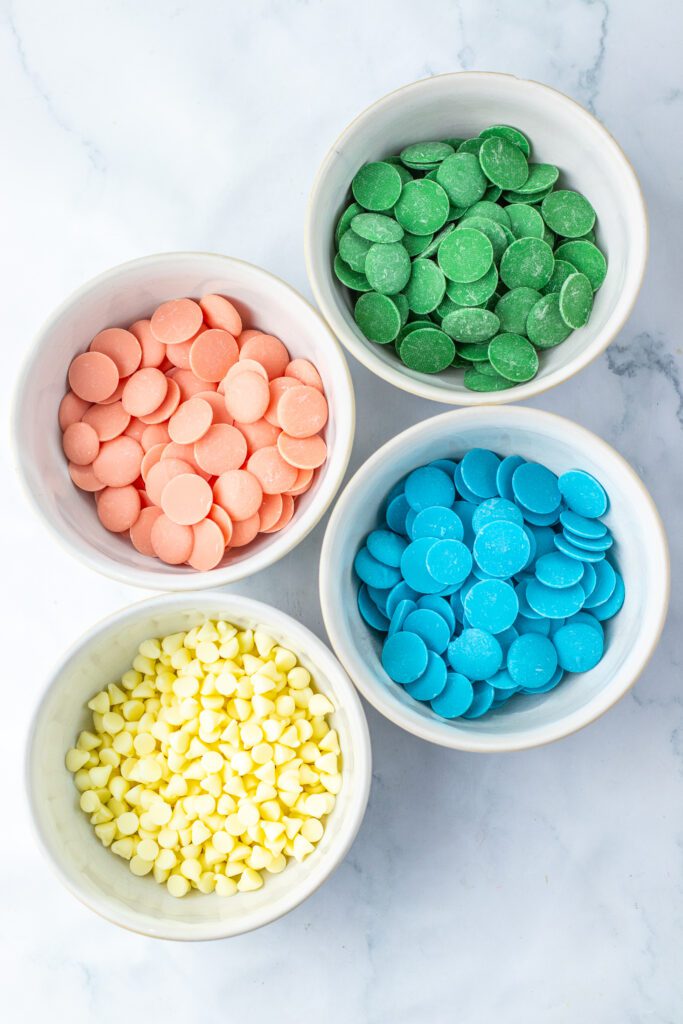
1. Add the white chocolate chips to a microwave safe bowl, add the pink, green and blue candy melts to their own microwave safe bowls as well. Microwave each one until everything is melted, stirring every 15 seconds.
2. Line an 8×8 baking dish with parchment paper and make sure the edges of the paper are hanging over the edges. Add the vanilla frosting to the melted white chocolate and stir, microwave for 15 seconds and stir again.

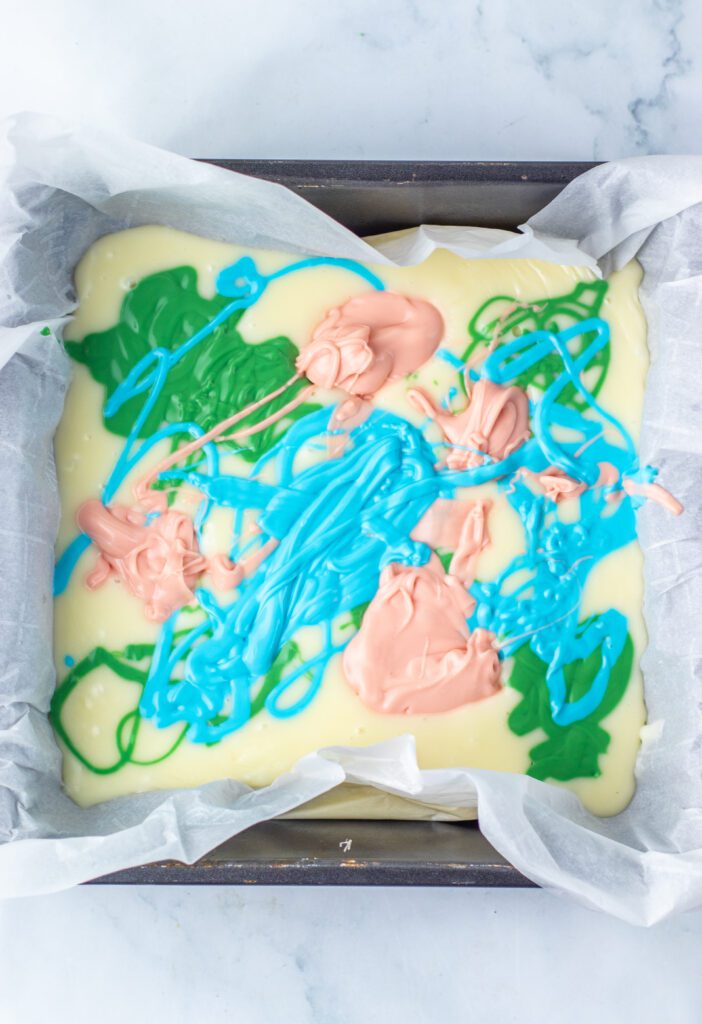
3. Pour the white chocolate into the baking dish. Scoop and add drops of the melted pink candy melts all over. Repeat with the green and blue. Take a butter knife and swirl the colors all around. Sprinkle the marshmallows all over top.
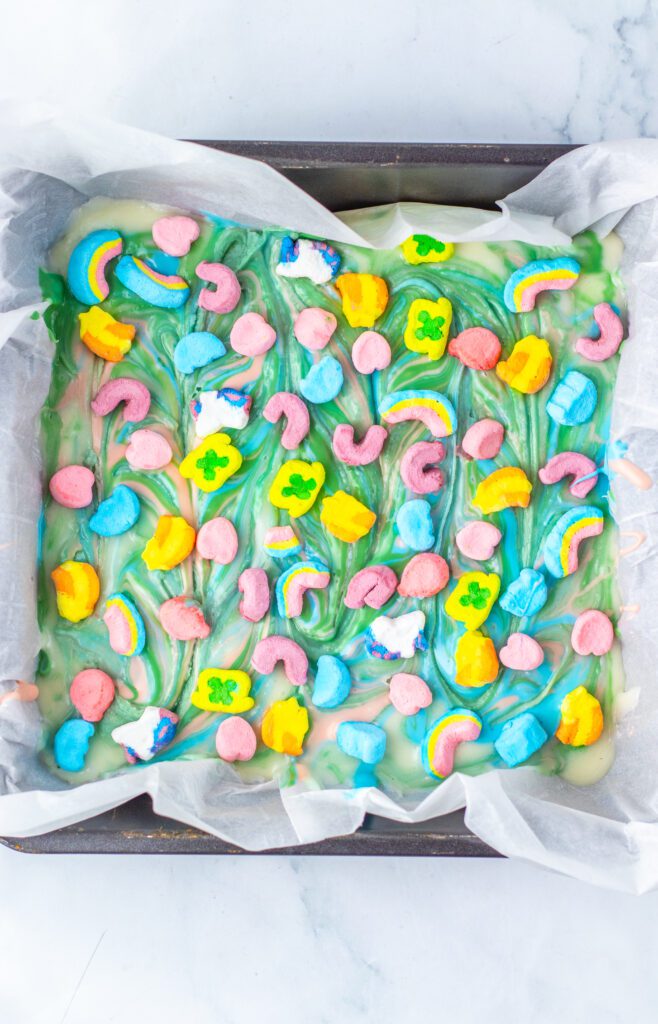
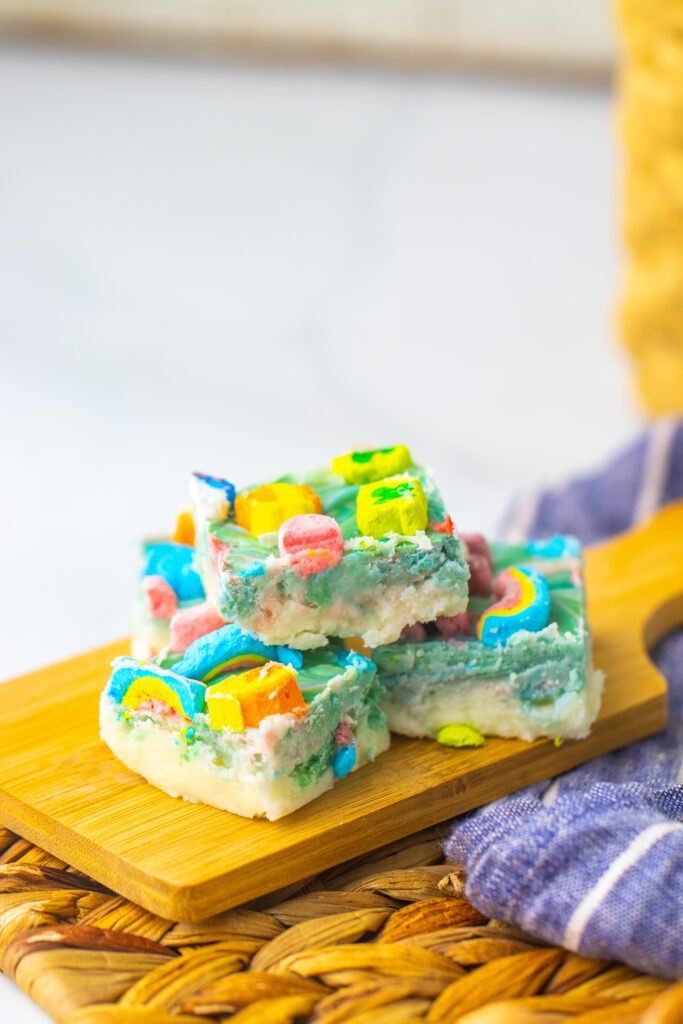
4. Place in the fridge for 1 hour. Once hardened, take a knife and slice into 16 little squares. Serve and enjoy!

Tips for Making the Perfect Lucky Charms Fudge
-
Use high-quality white chocolate: The white chocolate is the base of this fudge, so choosing a good quality brand will make a big difference in flavor and texture.
-
Don’t overheat the candy melts: When melting your pink, green, and blue candy melts, make sure to microwave them in 15-second intervals, stirring between each. This helps prevent them from burning and ensures they melt evenly.
-
Line your baking dish with parchment paper: This makes it much easier to remove the fudge once it’s set and prevents it from sticking to the dish. Leave extra paper hanging over the edges for easy lifting!
-
Swirl carefully: When swirling the colored candy melts into the white chocolate, go slow and steady to create a beautiful marble effect without overmixing. You want to keep the colors distinct!
-
Chill completely: For the fudge to set properly, make sure to refrigerate it for the full hour. If you try to cut it too early, it may be too soft and messy.
-
Store properly: Keep your fudge in an airtight container in the fridge to maintain its freshness. It should last for up to 3-4 days!
-
Get creative with toppings: Feel free to add more Lucky Charms cereal on top for an extra crunch or sprinkle with festive sprinkles for added color.
-
Let the kids help: This is a great recipe to make with little ones! They can help pour, swirl, and add the marshmallows on top, making it a fun family activity.
Get Creative!
-
Add Fun Sprinkles: Bright, colorful sprinkles are a great way to add a little extra flair to your fudge. You can even use holiday-themed sprinkles for an extra festive touch.
-
Top with More Cereal: If you love the crunchy texture of Lucky Charms, why not add some of the cereal itself on top of the fudge? It’ll give you that extra crunch and more of the classic Lucky Charms flavor.
-
Mix in Other Marshmallow Shapes: While Lucky Charms marshmallows are fun, feel free to mix in other marshmallow shapes or colors to give the fudge a unique twist.
-
Make It a Layered Fudge: Instead of swirling the colors together, try layering different colored fudge layers. You can even alternate between the white chocolate layer and the colored candy melt layers for a beautiful striped effect.
-
Add a Drizzle of Chocolate: For an extra layer of sweetness, drizzle some melted milk or dark chocolate over the top before refrigerating. It will add a delicious contrast to the sweetness of the candy melts.
-
Incorporate Other Candy: Throw in some chopped-up candy pieces like mini M&Ms or colorful gummies to add an extra fun bite to each piece.
-
Play with Different Color Combinations: You don’t have to stick with pink, green, and blue. Try experimenting with different candy melt colors or even mix multiple shades of the same color for a more ombré effect!
-
Go Nutty: Add some crushed nuts like almonds or pecans to the top of your fudge to give it a little more texture and a nutty flavor contrast to the sweetness.

Serving & Storing
-
Serving: Once your fudge has chilled and set, cut it into small squares – 16 pieces is ideal for a nice, bite-sized treat. This fudge is perfect for serving at parties, as a fun snack for kids, or even as a festive gift wrapped up in a cute box. Pair it with a cold glass of milk or a warm cup of tea for a sweet treat at any time of the day!
-
Storing: Keep your Lucky Charms Fudge in an airtight container to ensure it stays fresh. Store it in the fridge for up to 3-4 days. The fudge will stay firm and delicious, so you can enjoy it throughout the week.
-
Freezing: If you want to keep the fudge for longer, you can freeze it! Just wrap individual pieces in wax paper or plastic wrap and place them in a freezer-safe bag or container. When you’re ready to enjoy, let them thaw at room temperature for about 10-15 minutes.
-
Portioning for Easy Snacking: If you want to make it easier to grab and go, slice the fudge into smaller pieces and place them in individual cupcake liners or small snack bags. This way, you can quickly hand them out when guests come over or when the kids need a treat.
-
Serving Tip: For an extra fun touch, serve the fudge on a colorful platter or with fun paper napkins, especially for a kid’s party or a holiday gathering. You can even add some extra Lucky Charms cereal as a garnish to match the theme!
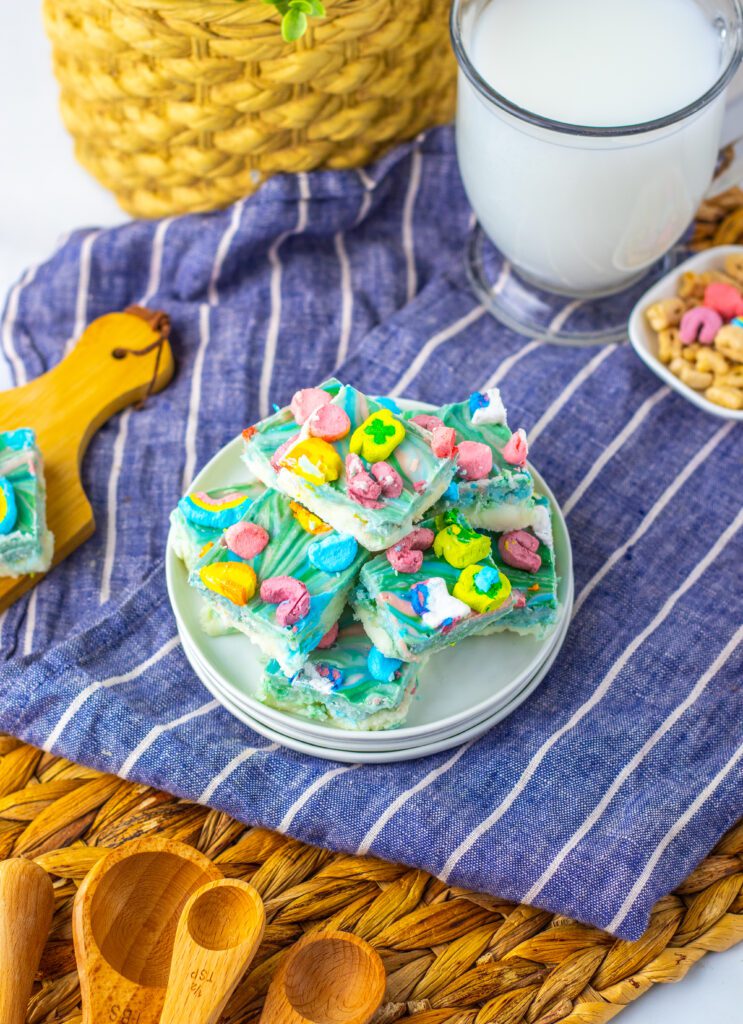
Rainbow Delight: Easy and Fun Lucky Charms Fudge

This colorful Lucky Charms Fudge is a fun and easy treat that's perfect for any occasion! Made with creamy white chocolate, vibrant candy melts, and topped with sweet Lucky Charms marshmallows, it's a whimsical and delicious snack everyone will love. No baking required, just a little chilling time for a festive, melt-in-your-mouth delight!
Ingredients
- 1 1/2 cups of white chocolate chips
- 16 oz container of vanilla frosting
- 1 1/2 cups of pink candy melts
- 1 1/2 cups of green candy melts
- 1 1/2 cups of blue candy melts
- 1/2 cup of lucky charm marshmallows
Instructions
- Add the white chocolate chips to a microwave safe bowl, add the pink, green and blue candy melts to their own microwave safe bowls as well. Microwave each one until everything is melted, stirring every 15 seconds.
- Line an 8x8 baking dish with parchment paper and make sure the edges of the paper are hanging over the edges. Add the vanilla frosting to the melted white chocolate and stir, microwave for 15 seconds and stir again.
- Pour the white chocolate into the baking dish. Scoop and add drops of the melted pink candy melts all over. Repeat with the green and blue. Take a butter knife and swirl the colors all around. Sprinkle the marshmallows all over top.
- Place in the fridge for 1 hour. Once hardened, take a knife and slice into 16 little squares. Serve and enjoy!