No-Bake Nutter Butter Ghosts Perfect for Halloween Parties
Every Halloween, I love having at least one treat on the table that makes everyone smile before they even take a bite and these No-Bake Nutter Butter Ghosts totally fit the bill. They’re spooky, silly, and just the right amount of sweet. Plus, they’re ridiculously easy to make, which is a big win for me when the holiday hustle is in full swing. You don’t even have to turn on the oven, which means more time for carving pumpkins, helping with costumes, or sneaking a few pieces of candy from the stash.
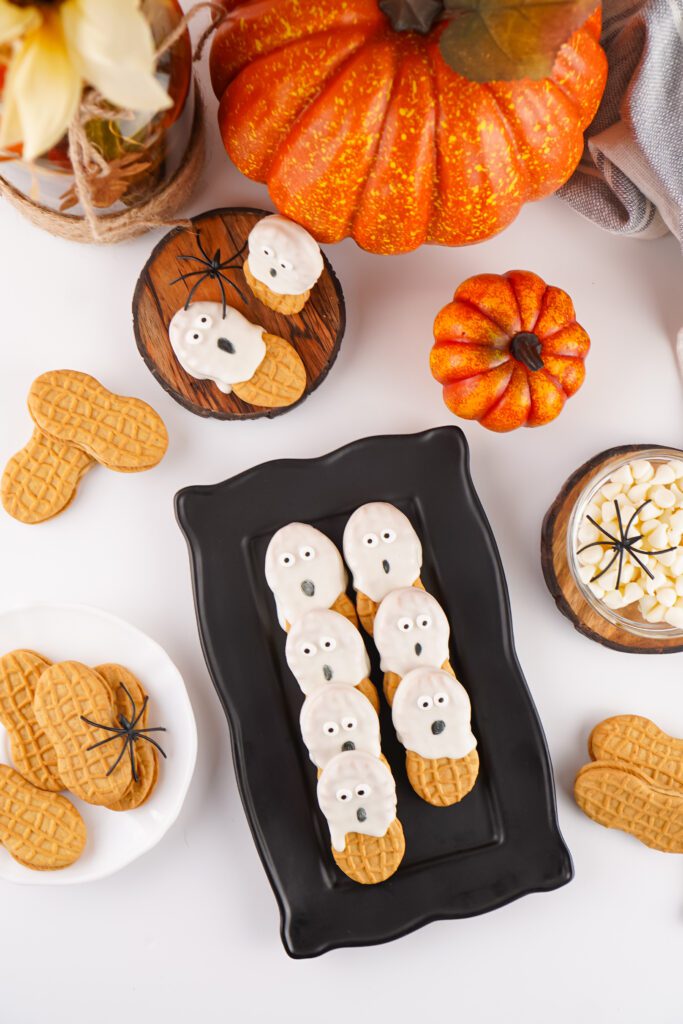
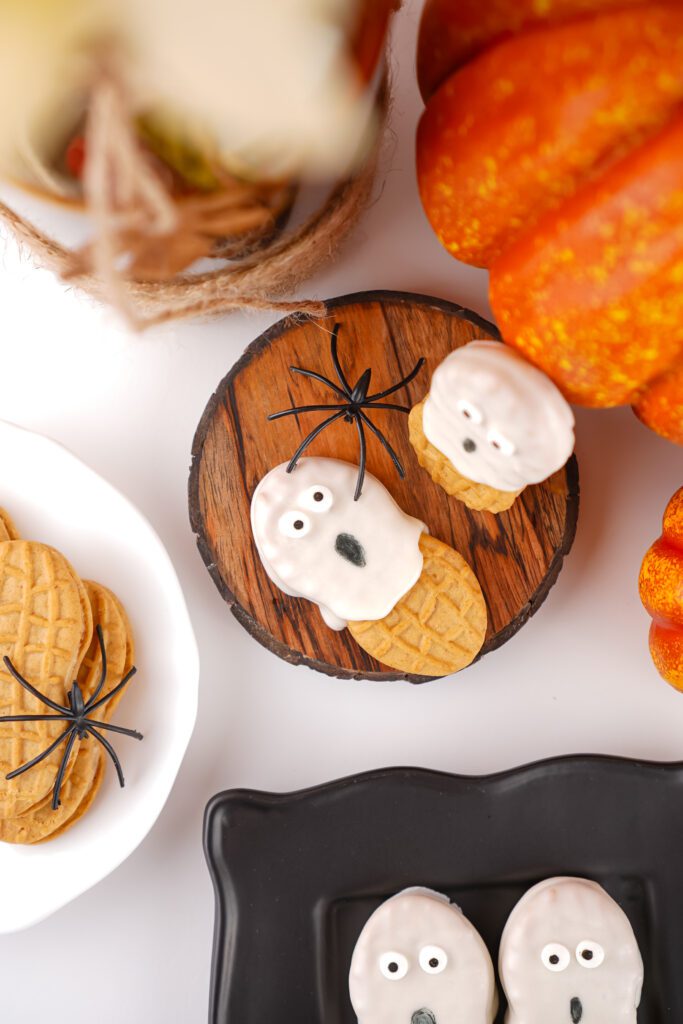
What I really love about these little ghost cookies is how fun they are to decorate. Once you dip them in white chocolate, the magic happens, the drips turn into ghostly “tails,” the candy eyes give them so much personality, and then you can add tiny mouths to make each one unique. Some end up looking cute, some a little spooky, and a few just downright silly. It’s the kind of treat that’s as much fun to make as it is to eat, especially if you get the kids involved.
And let’s be honest, these disappear fast. I’ve taken them to school parties, Halloween potlucks, and even set them out for trick-or-treat night, and they never last more than a few minutes. They’re perfect for making ahead, easy to transport, and such a conversation starter. Whether you’re hosting a big costume bash or just want a festive dessert for the family, these Nutter Butter Ghosts are a Halloween must-make.
Ingredients
-
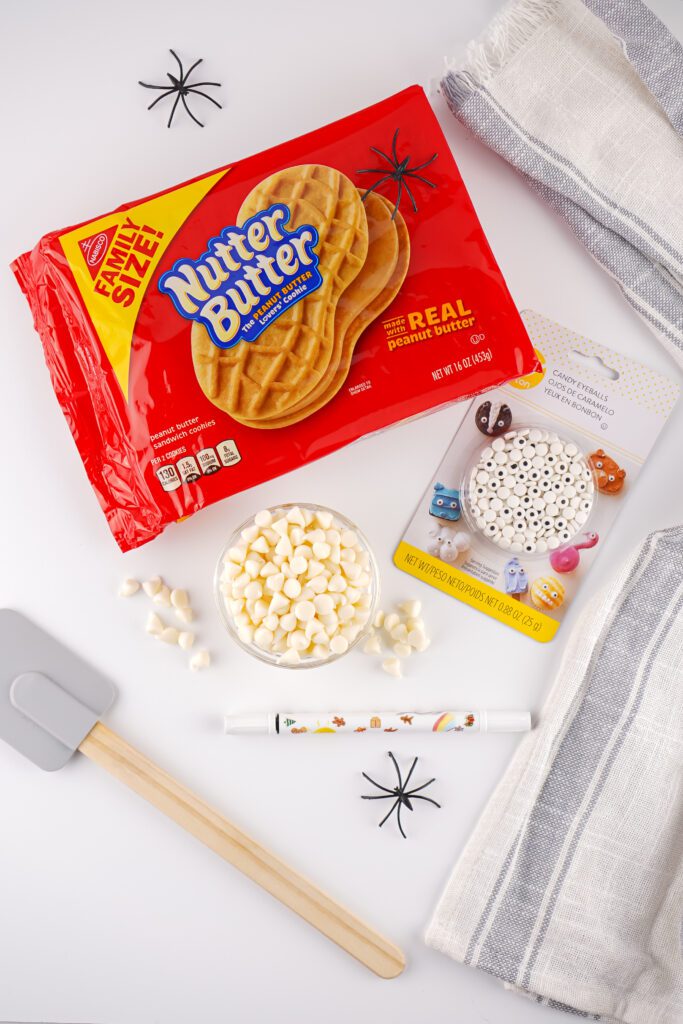
20 Nutter Butter Cookies – These peanut-shaped cookies are the perfect base for transforming into adorable little ghosts.
-
2 Cups White Chocolate Chips – Melted into a smooth, creamy coating that gives your ghosts their spooky white “sheet.”
-
Small Candy Eyes – Bring your ghost cookies to life with these fun, googly touches.
-
Black Edible Marker – Perfect for drawing tiny mouths that give each ghost its own personality.
Step-by-Step Instructions
You can find a printable recipe card at the bottom of this post.
1. Put the white chocolate chips into a small bowl or cup. I like using a coffee cup because it’s just the right size.

2. Microwave the chocolate on high for 2 minutes, stirring every 30 seconds until it’s completely smooth and creamy with no lumps.
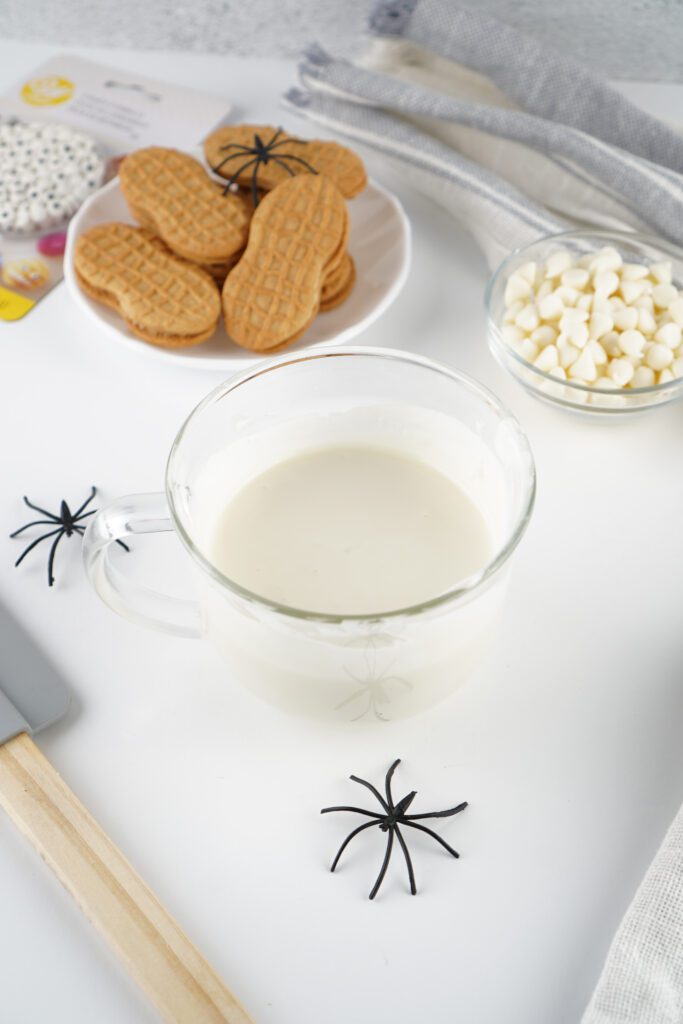
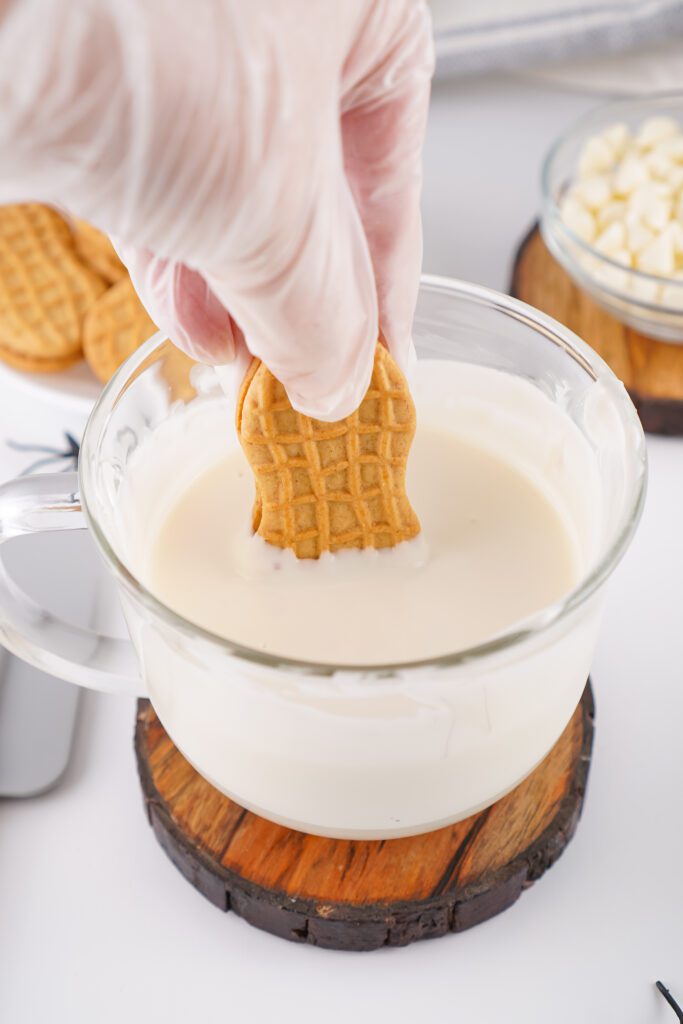
3. If you want, wear gloves, then dip each cookie halfway into the melted chocolate, letting any extra drip off.
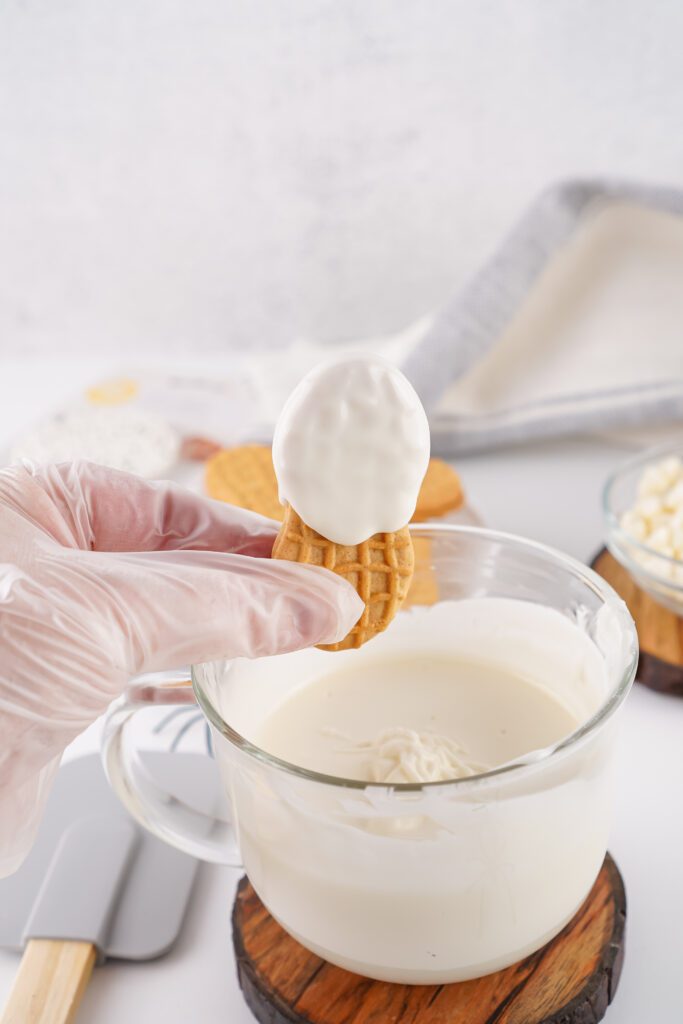
4. Hold the cookie upright and gently shake it or tap the uncovered end on a clean surface so some of the chocolate drips down the front, giving it a spooky ghostly look.
5. Set the cookie down on a piece of parchment paper.
6. Using baking tweezers if you have them, place two candy eyes near the top of the cookie. Have fun with it, it’s Halloween!
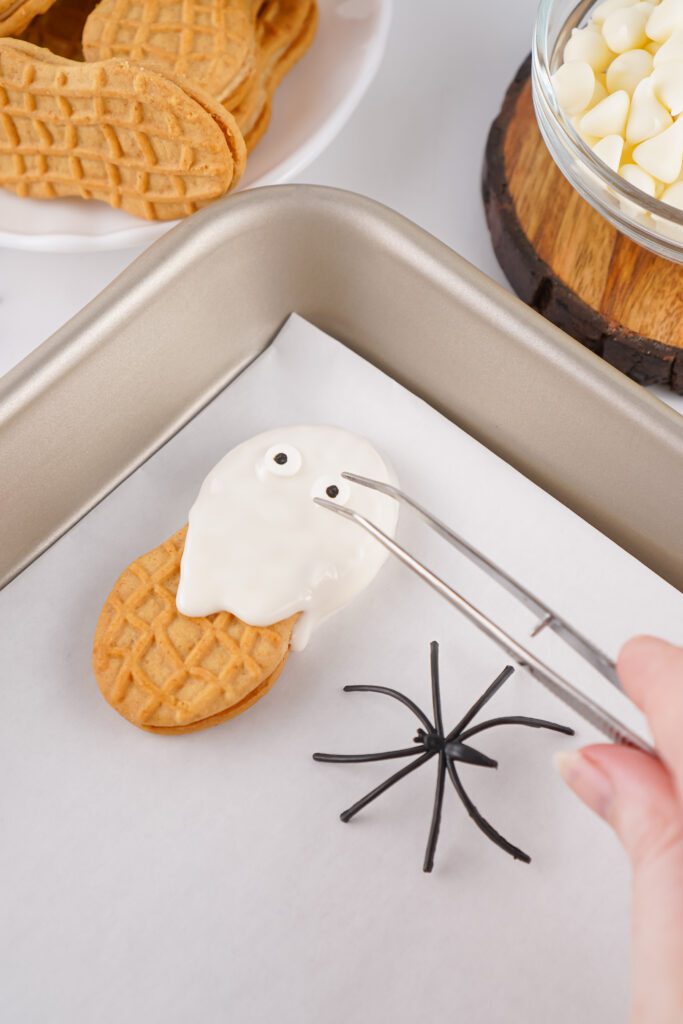
7. Repeat this process with all the cookies, then pop them in the freezer for 5 minutes to let the chocolate set.
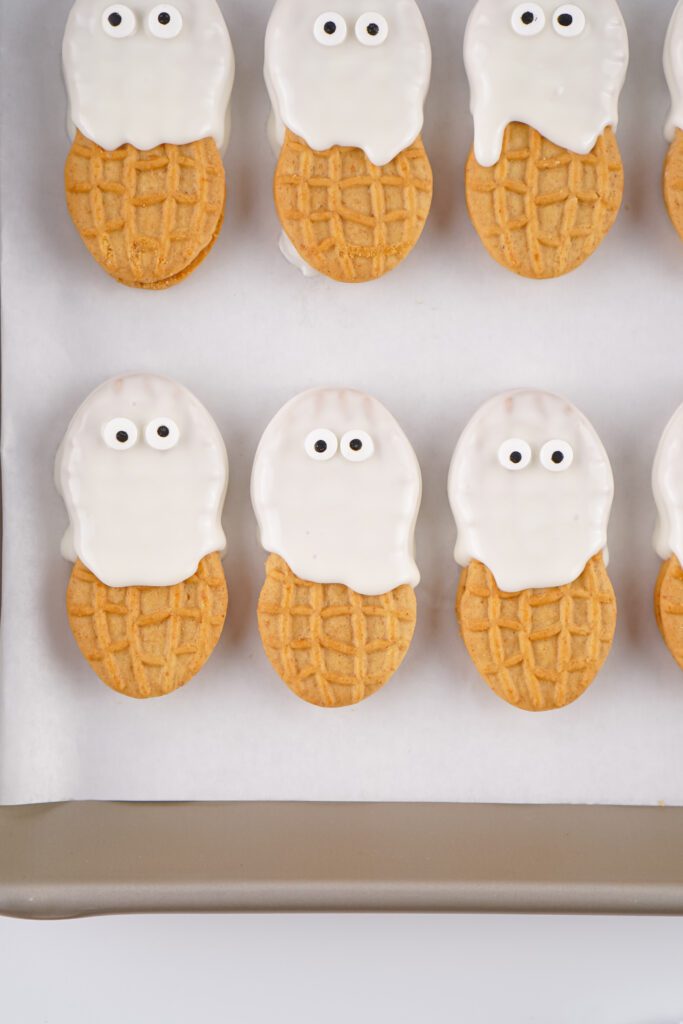
8. Finally, use an edible black marker to draw little mouths near the edge of the white chocolate on each ghost cookie. Enjoy!


Tips for the Perfect Nutter Butter Ghosts
-
Use gloves when dipping – This keeps fingerprints off the chocolate and makes your ghosts look extra smooth and polished.
-
Melt the chocolate slowly – Heat in short bursts and stir often so it doesn’t seize up or burn.
-
Let the extra chocolate drip – A few drips down the cookie make the ghosts look like they’re floating.
-
Place the eyes while the chocolate’s still wet – That way they stick perfectly without sliding around.
-
Freeze to set quickly – Just a few minutes in the freezer will help the chocolate harden so you can draw on the faces right away.
-
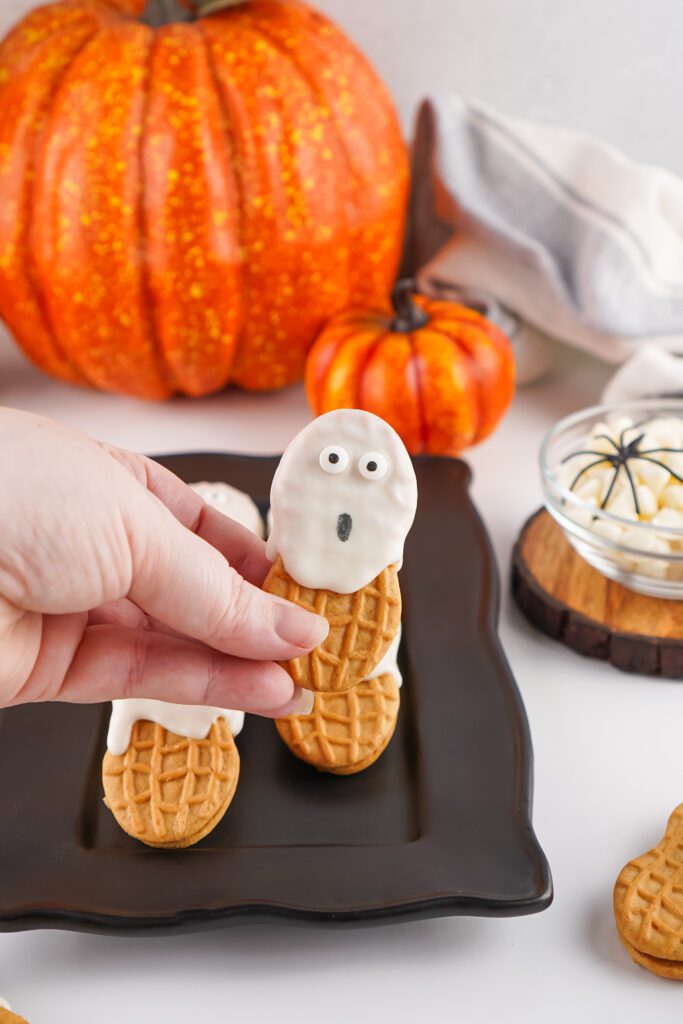
Have fun with the faces – Give them different expressions — scared, surprised, or even silly — for extra personality.
Get Creative!
-
Try different colors – Use colored candy melts like orange or purple for a playful Halloween twist.
-
Switch up the expressions – Give some ghosts winks, frowns, or even tiny vampire fangs with your edible marker.
-
Add a little sparkle – Sprinkle edible glitter or shimmer dust on the chocolate before it sets for a magical touch.
-
Make “monster ghosts” – Swap the white chocolate for green candy melts and add candy fangs or sprinkles for hair.
-
Give them costumes – Drizzle dark chocolate over the top like a cape or use sprinkles to make “scarves.”
Serving & Storing
-
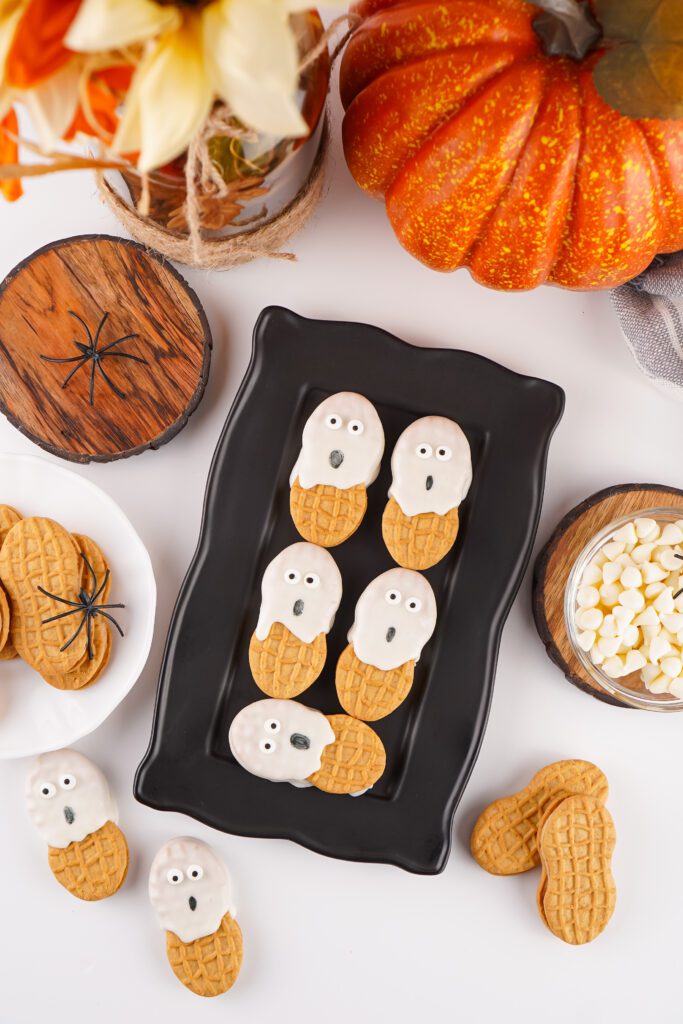
Serve on a Halloween platter – Arrange your ghosts on a festive tray with candy corn or gummy worms for extra spook factor.
-
Perfect for parties – These travel well, so they’re great for school events, potlucks, or trick-or-treat night snacks.
-
Store in an airtight container – Keep them at room temperature for up to 5 days so the cookies stay crisp.
-
Avoid the fridge – Chilling them too long can cause the chocolate to get a dull finish or sweat when brought back to room temp.
-
Freeze for later – You can freeze them for up to a month; just thaw at room temperature before serving.

No-Bake Nutter Butter Ghosts
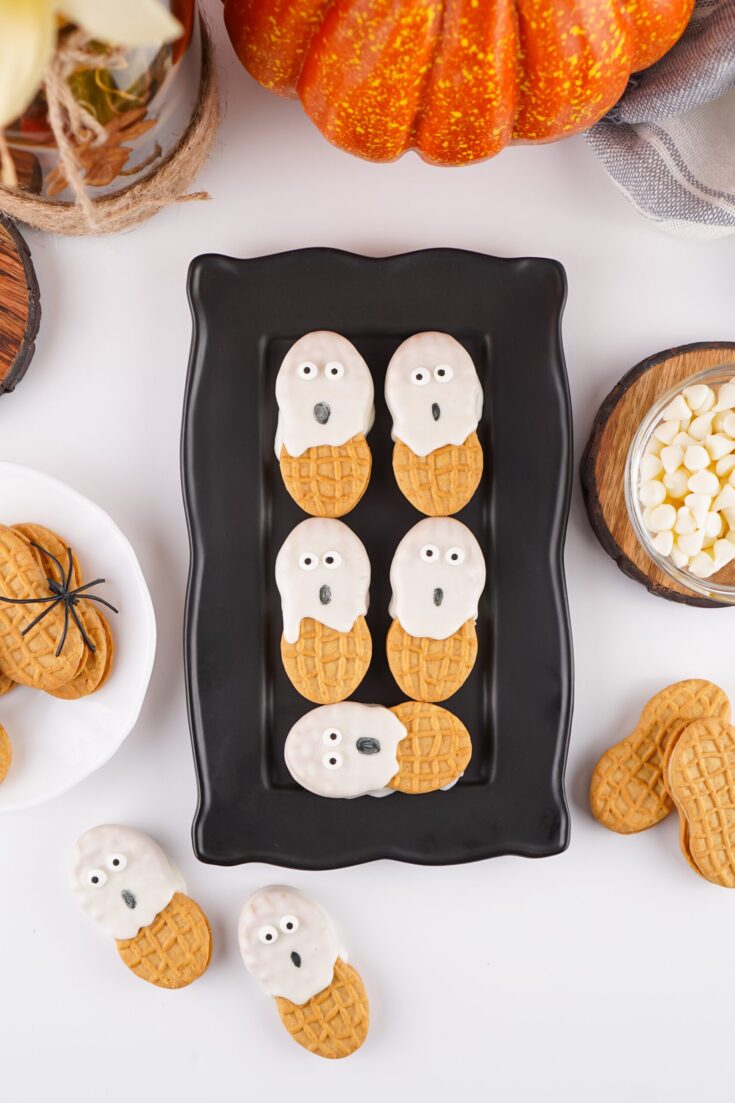
These No-Bake Nutter Butter Ghosts are the cutest (and easiest) Halloween treat you’ll make this year! With just a few ingredients, you can whip up spooky-sweet cookies that are perfect for parties, school events, or a fun family activity.
Ingredients
- 20 Nutter Butter Cookies
- 2 Cups White Chocolate Chips
- Small Candy Eyes
- Black Edible Marker
Instructions
- Put the white chocolate chips into a small bowl or cup. I like using a coffee cup because it’s just the right size.
- Microwave the chocolate on high for 2 minutes, stirring every 30 seconds until it’s completely smooth and creamy with no lumps.
- If you want, wear gloves, then dip each cookie halfway into the melted chocolate, letting any extra drip off.
- Hold the cookie upright and gently shake it or tap the uncovered end on a clean surface so some of the chocolate drips down the front, giving it a spooky ghostly look.
- Set the cookie down on a piece of parchment paper.
- Using baking tweezers if you have them, place two candy eyes near the top of the cookie. Have fun with it, it’s Halloween!
- Repeat this process with all the cookies, then pop them in the freezer for 5 minutes to let the chocolate set.
- Finally, use an edible black marker to draw little mouths near the edge of the white chocolate on each ghost cookie. Enjoy!