

How to Make Picture-Perfect Chocolate Covered Strawberries
If you’ve ever admired those glossy, perfectly drizzled chocolate covered strawberries at a bakery and thought, “There’s no way I can make those at home,” I’m here to tell you that you absolutely can. These are one of those treats that look fancy but are surprisingly simple, and once you get the hang of it, they’re honestly kind of fun to make. Plus, nothing beats fresh strawberries dipped in silky melted chocolate and finished with a little flair.
All you really need are good strawberries, quality chocolate callets, and a few everyday kitchen tools. I like using microwave-safe bowls for melting the chocolate because they make things quick and low-stress, and parchment paper on a rimmed baking sheet keeps cleanup easy. A few disposable piping bags or even a zip-top bag with the corner snipped off are perfect for those pretty drizzles that make the strawberries look bakery-worthy.
These chocolate covered strawberries are great for Valentine’s Day, parties, gifting, or just a treat-yourself moment in the kitchen. You can keep them simple or go all out with multiple chocolates and sprinkles depending on your mood. Once you see how easy they are, you’ll want to make them again and again, and maybe even start experimenting with different toppings and designs.

Ingredients
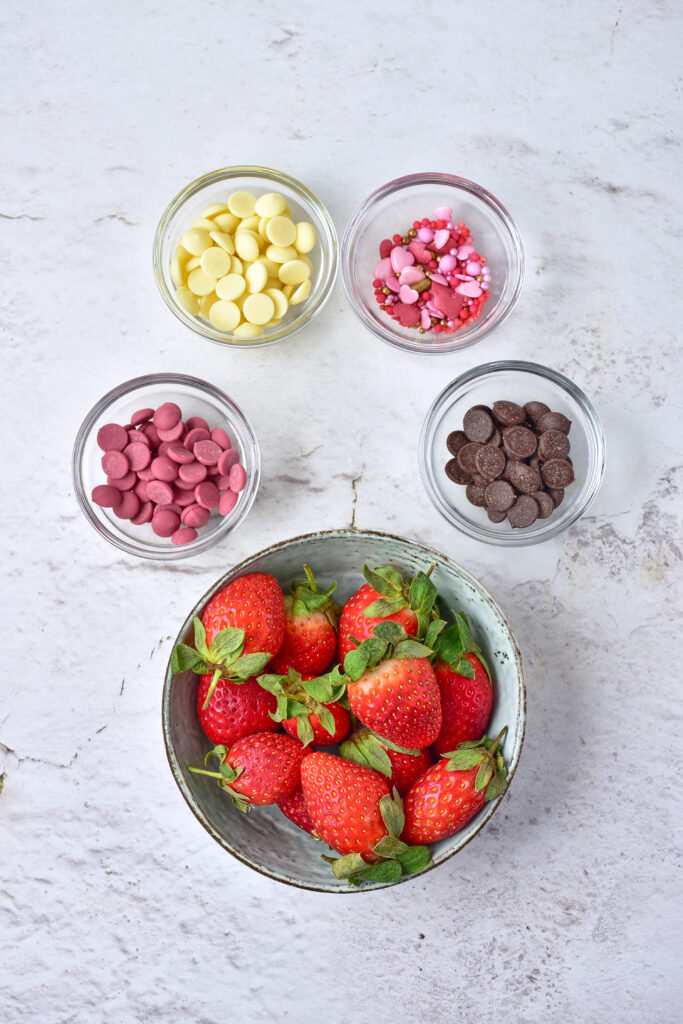
- 16–20 strawberries: Pick fresh, ripe strawberries that are firm and completely dry so the chocolate sticks nicely and sets smoothly.
- 5 tbsp milk chocolate callets: These melt down silky and smooth, giving you that classic chocolate flavor everyone loves.
- 5 tbsp white chocolate callets: Perfect for adding contrast and pretty drizzles that really make the strawberries pop.
- 5 tbsp ruby chocolate callets: This adds a fun pink hue and a slightly fruity flavor that makes the strawberries look extra special.
- 2 tbsp sprinkles: A quick finishing touch that adds color, texture, and just a little bit of fun to every bite.
Step-by-Step Instructions
You can find a printable recipe card at the bottom of this post.
1. Add each type of chocolate callet to its own small bowl. Microwave in 30-second bursts, stirring well after each round, until the chocolate is completely melted and smooth. This usually takes 4–6 rounds, depending on your microwave.
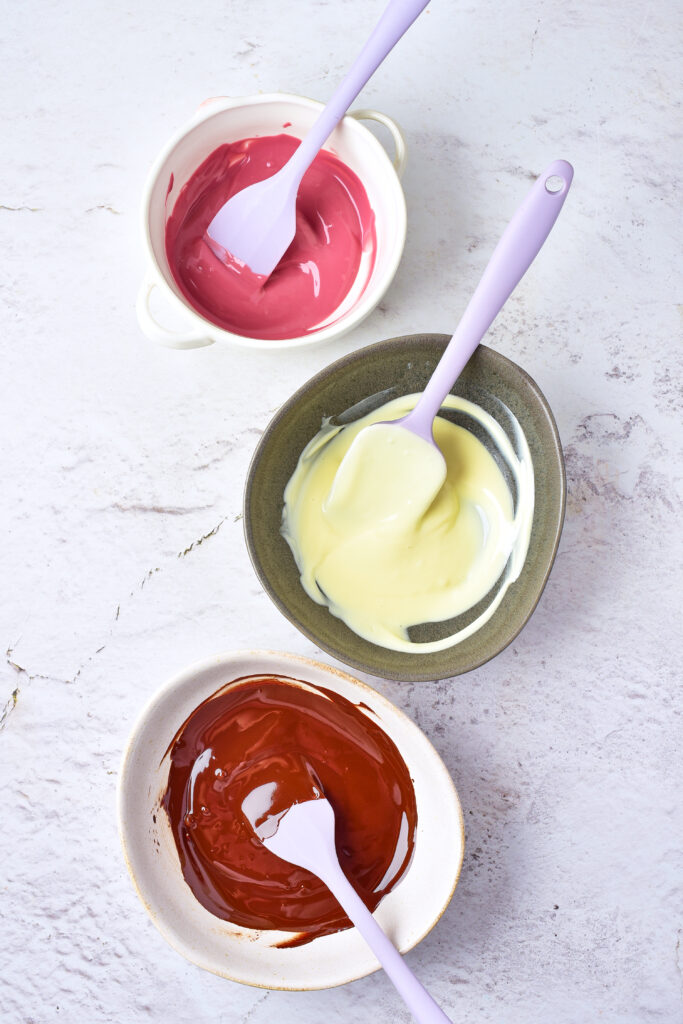
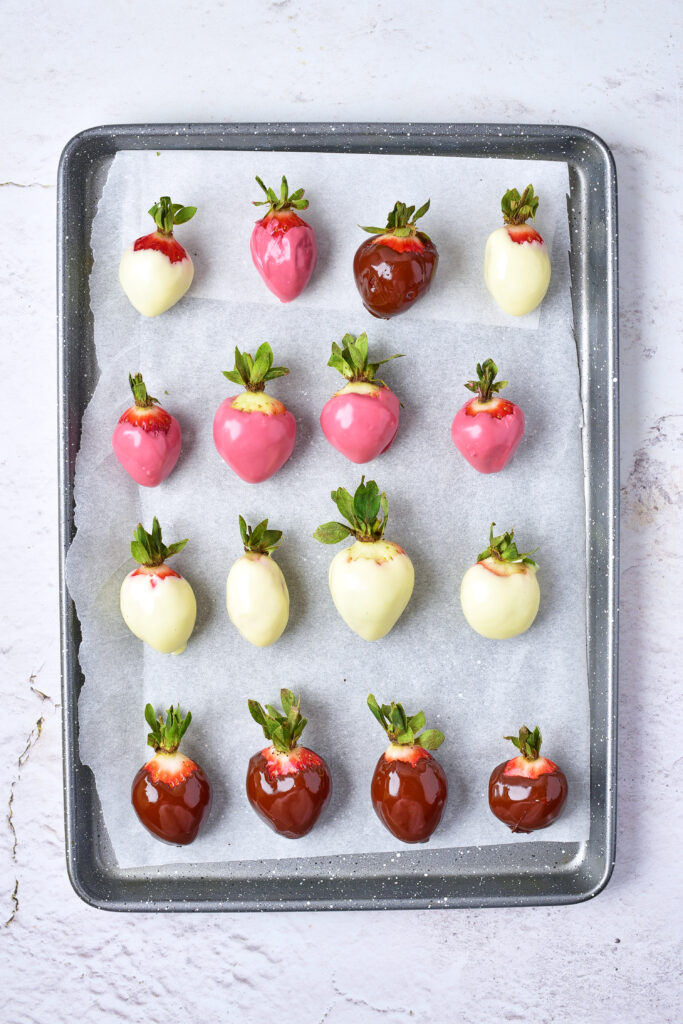
2. Hold each strawberry by the stem, dip it into the melted chocolate, and place it on a parchment-lined baking tray. Allow the coating to set for about 5–10 minutes.
3. Spoon the remaining melted chocolates into small piping bags.
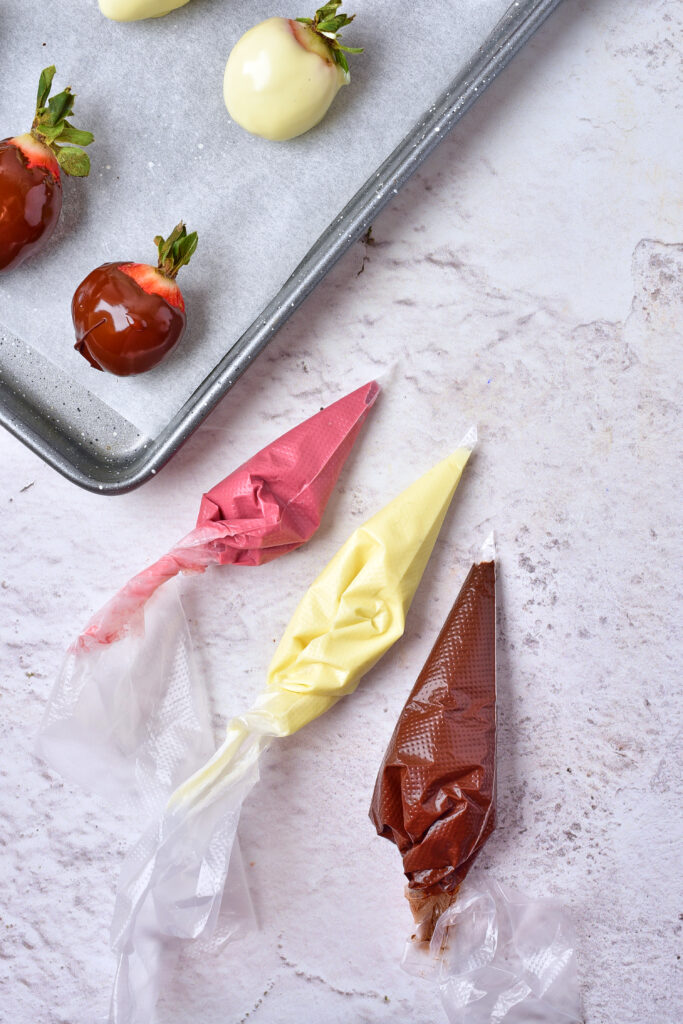
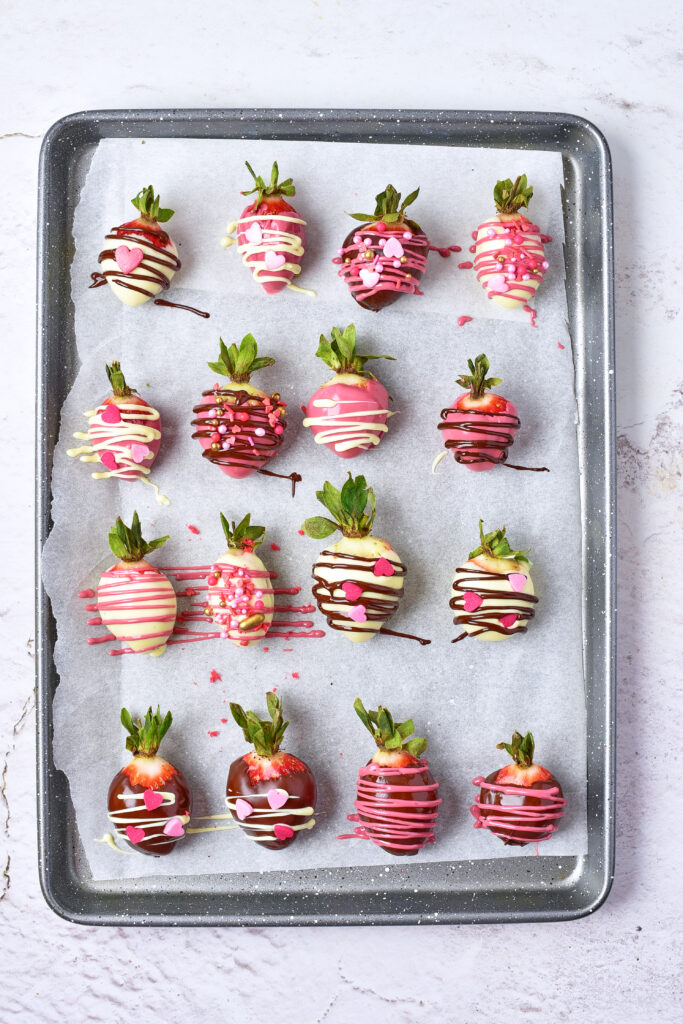
4. Cut a tiny tip off the end of each piping bag, then drizzle the chocolates over the strawberries in decorative patterns using different colors.
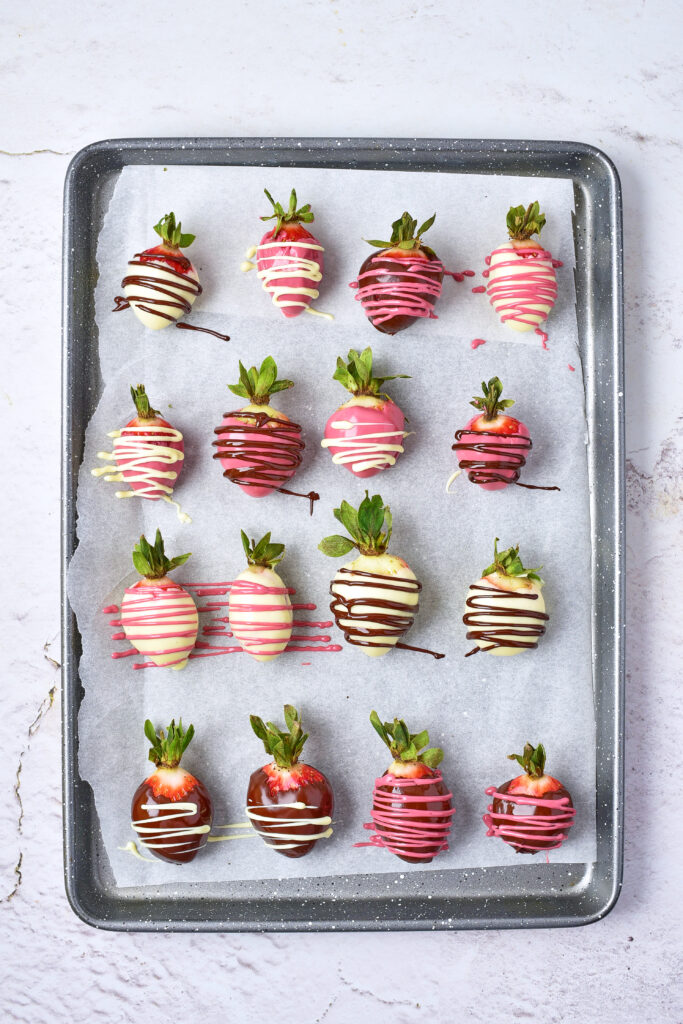
5. Finish with sprinkles, then let the strawberries sit at room temperature or refrigerate until the chocolate is fully set.
Tips for Perfect Chocolate Covered Strawberries
-
Dry your strawberries really well: Any moisture can cause the chocolate to seize or slide right off, so give them plenty of time to air-dry after washing.
-
Melt the chocolate gently: Short microwave bursts with lots of stirring in between keep the chocolate smooth and glossy instead of thick or grainy.
-
Hold strawberries by the stem or leaves: This keeps fingerprints out of the chocolate and gives you cleaner, prettier dips.
-
Let the first layer set slightly before drizzling: Waiting a few minutes helps the drizzle sit on top instead of melting into the base layer.
-
Keep your drizzles simple: A light zig-zag looks just as pretty as fancy patterns and is much easier to control.
-
Add sprinkles while the chocolate is still wet: This helps them stick without sliding off once the chocolate sets.
-
Let them set naturally if you can: Room temperature gives the smoothest finish, but a quick chill in the fridge works if you’re short on time.

Get Creative!
-
Mix up the chocolates: Try dipping some strawberries in dark chocolate or swapping one of the drizzles for caramel to change things up.
-
Play with patterns: Swirls, zig-zags, or even a quick flick of the wrist can give you different looks without any extra effort.
-
Add extra toppings: Crushed cookies, chopped nuts, shredded coconut, or freeze-dried fruit all add fun texture and flavor.
-
Use themed sprinkles: Match the colors to holidays, parties, or special occasions for an easy custom touch.
-
Double dip for extra drama: Dip once, let it set, then dip again at an angle for a layered chocolate look.
-
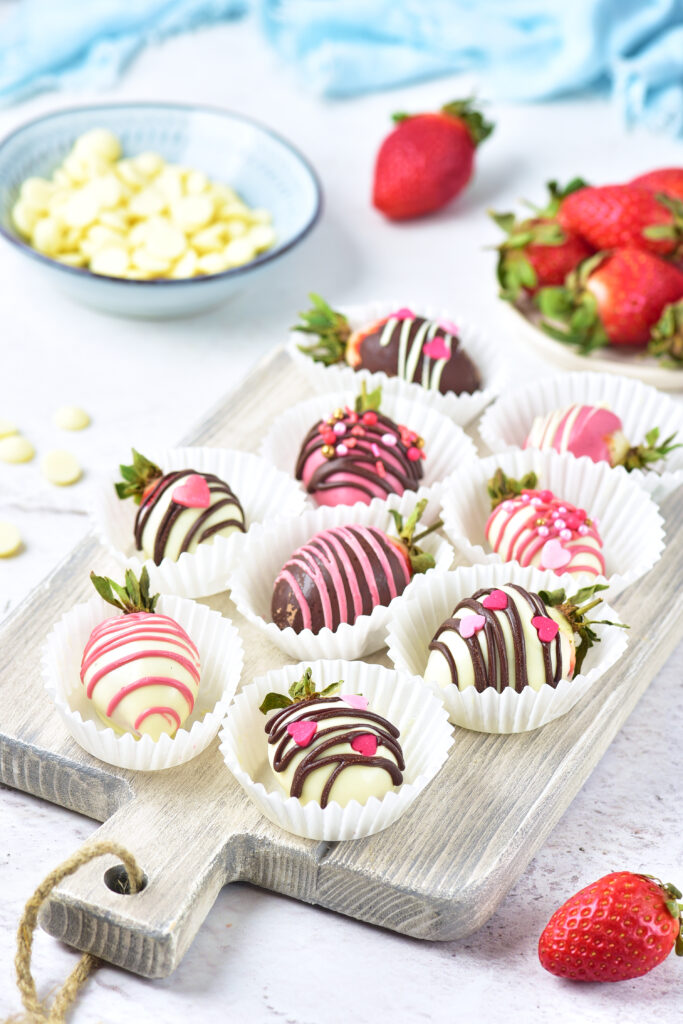
Turn them into gifts: Arrange them in a box or on a platter with mini cupcake liners to make them feel extra special.
Serving & Storing
-
Serve them fresh: Chocolate covered strawberries are best the day they’re made, when the chocolate is glossy and the berries are juicy.
-
Perfect for platters and gifting: Arrange them on a pretty serving tray or tuck them into a box lined with parchment for easy gifting.
-
Keep them cool: If you’re not serving right away, store them in a single layer in the fridge to keep the chocolate set and the strawberries fresh.
-
Avoid stacking: Layering or stacking can cause the chocolate to smudge or stick together, especially once they warm up.
-
Let them sit briefly before serving: Pull them from the fridge about 10 minutes before serving so the chocolate isn’t too firm when you bite in.
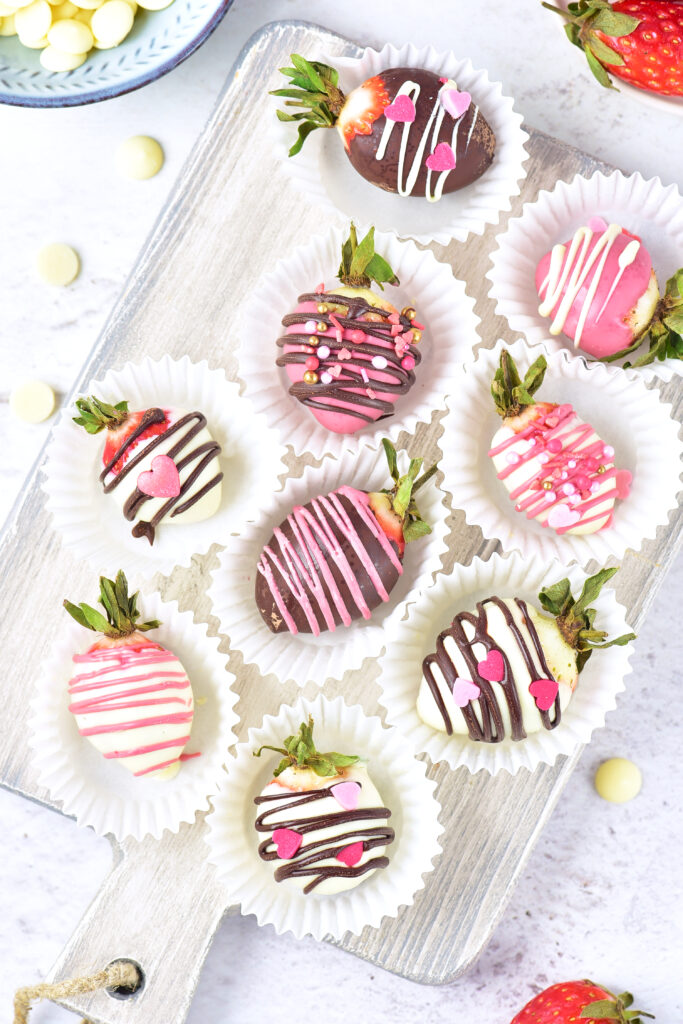
Picture-Perfect Chocolate Covered Strawberries
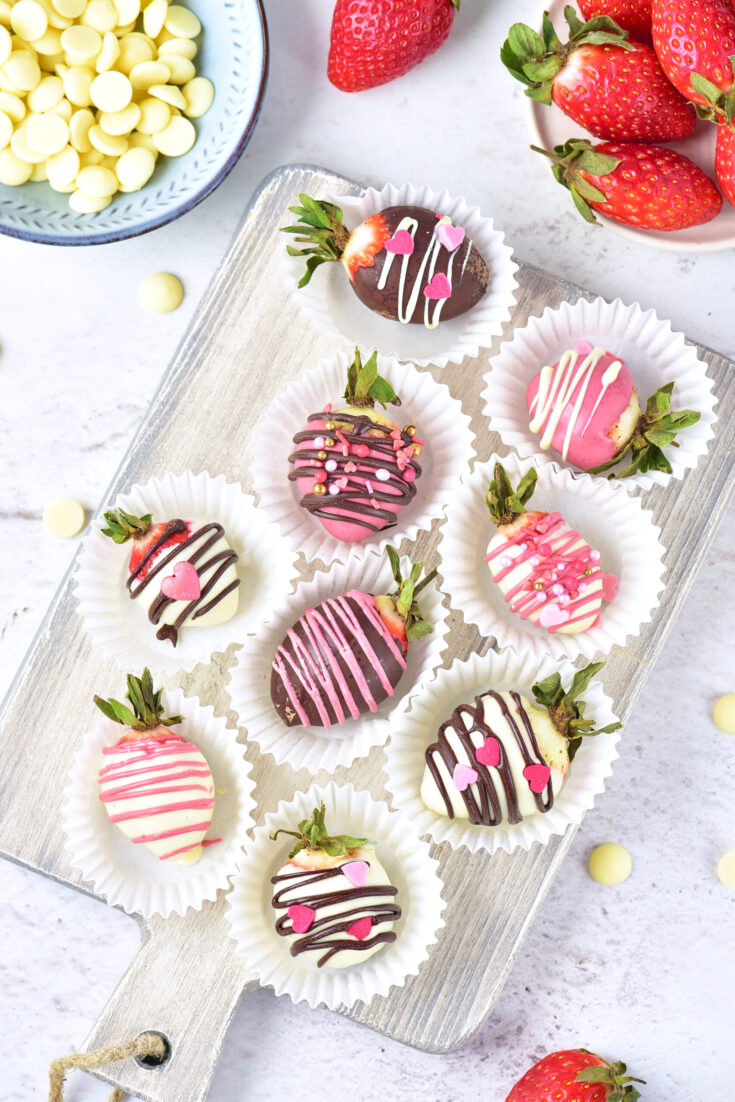
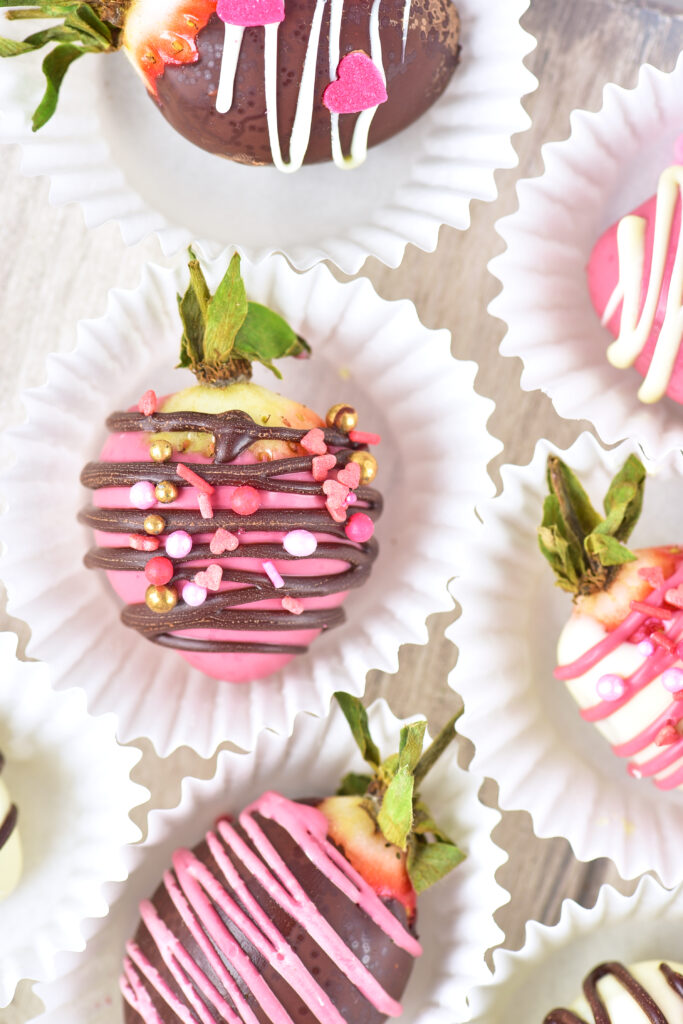
These picture-perfect chocolate covered strawberries are made with fresh berries, melted milk, white, and ruby chocolate, then finished with pretty drizzles and sprinkles for an easy, elegant treat that’s perfect for gifting, parties, or a sweet homemade dessert.
Ingredients
- 16–20 strawberries
- 5 tbsp milk chocolate callets
- 5 tbsp white chocolate callets
- 5 tbsp ruby chocolate callets
- 2 tbsp sprinkles
Instructions
- Add each type of chocolate callet to its own small bowl. Microwave in 30-second bursts, stirring well after each round, until the chocolate is completely melted and smooth. This usually takes 4–6 rounds, depending on your microwave.
- Hold each strawberry by the stem, dip it into the melted chocolate, and place it on a parchment-lined baking tray. Allow the coating to set for about 5–10 minutes.
- Spoon the remaining melted chocolates into small piping bags.
- Cut a tiny tip off the end of each piping bag, then drizzle the chocolates over the strawberries in decorative patterns using different colors.
- Finish with sprinkles, then let the strawberries sit at room temperature or refrigerate until the chocolate is fully set.
Notes
- Make sure the strawberries are completely dry before dipping or the chocolate may not stick properly.
- Melt the chocolate slowly in short bursts and stir often to keep it smooth and glossy.
- If the chocolate starts to thicken, reheat it briefly for a few seconds and stir well.
- Add sprinkles right after dipping or drizzling so they stick before the chocolate sets.
- For the best texture and appearance, enjoy these the same day they’re made.
- Store leftovers in a single layer in the refrigerator and avoid covering them tightly to prevent condensation.
Nutrition Information:
Yield:
16Serving Size:
1Amount Per Serving: Calories: 82Total Fat: 5gSaturated Fat: 3gUnsaturated Fat: 2gCholesterol: 3mgSodium: 11mgCarbohydrates: 9gFiber: 0gSugar: 8gProtein: 1g


