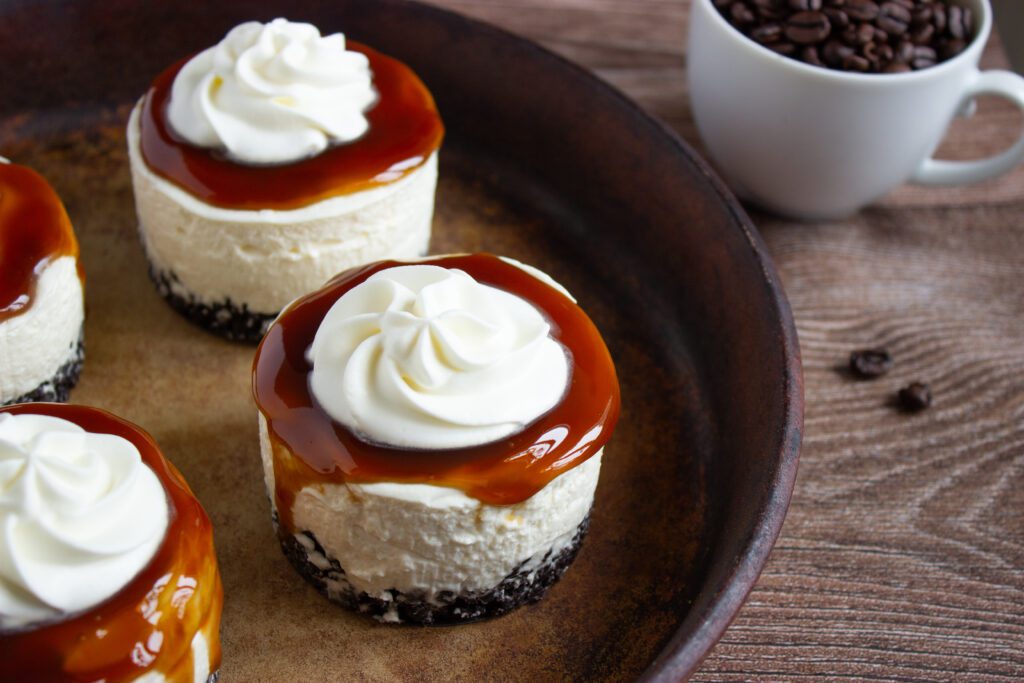
How to Make No-Bake Coffee Cheesecakes with an Oreo Twist
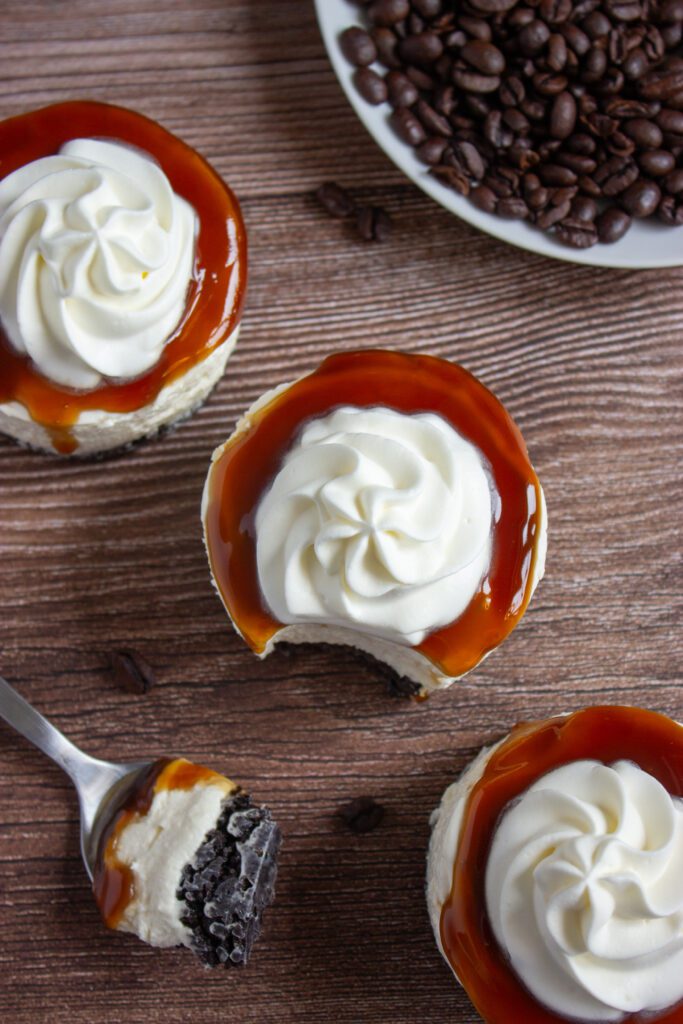
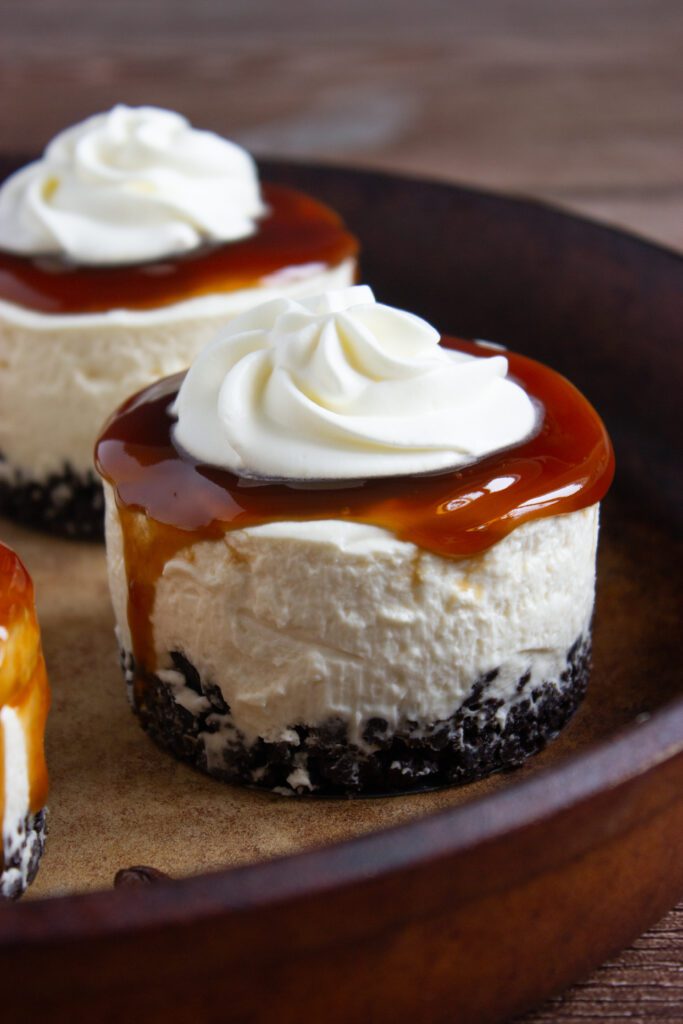
If you love coffee and cheesecake, you’re going to be obsessed with this recipe. I’m talking about no-bake coffee cheesecakes with a crunchy Oreo crust — yes, please! These little desserts are super easy to make and perfect for when you want something creamy, rich, and just a little bit fancy without turning on the oven or spending hours in the kitchen. Plus, the Oreo crust adds that perfect chocolatey crunch that takes these cheesecakes over the top.
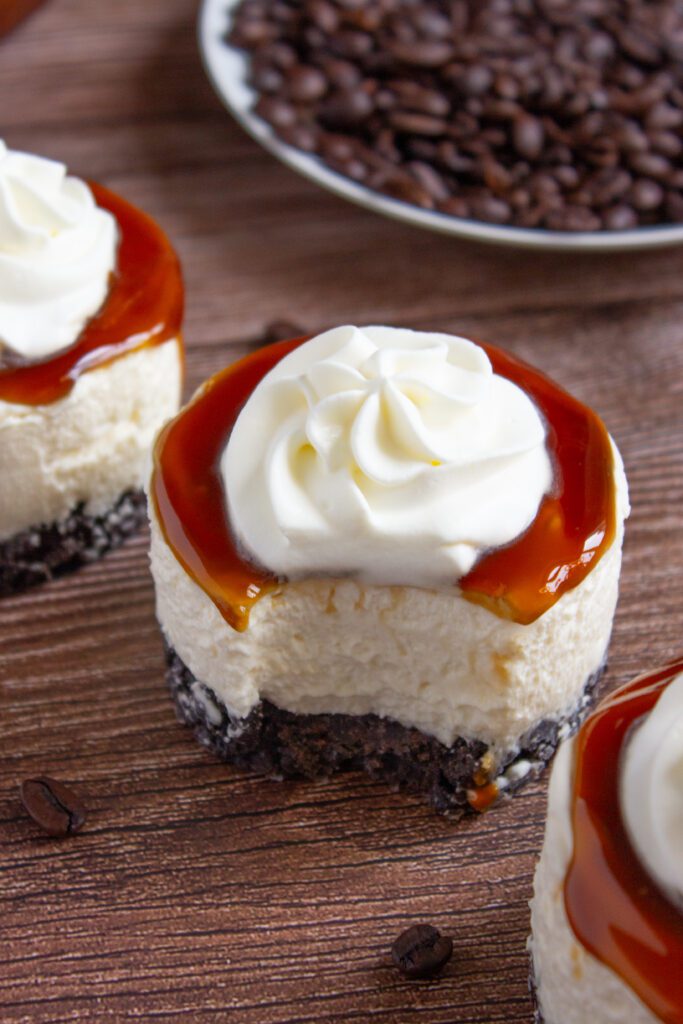
What I really love about this recipe is how smooth and silky the filling turns out thanks to the whipped cream and gelatin. It’s light but still has that classic cheesecake feel. And the coffee syrup drizzled on top? Total game-changer. It adds a lovely punch of bold coffee flavor that perfectly balances the sweetness, making each bite so satisfying. Honestly, these mini cheesecakes make a great treat for any occasion. whether it’s a casual weeknight dessert or something to impress guests at your next get-together.
The best part is how simple they are to throw together. You just crush up some Oreos for the crust, whip up the filling, let everything chill, and then finish with that luscious coffee syrup. No baking means no stress, and the whole process is pretty hands-off once you mix everything. If you’re a fan of coffee and easy desserts, these no-bake coffee cheesecakes with an Oreo twist might just become your new favorite!
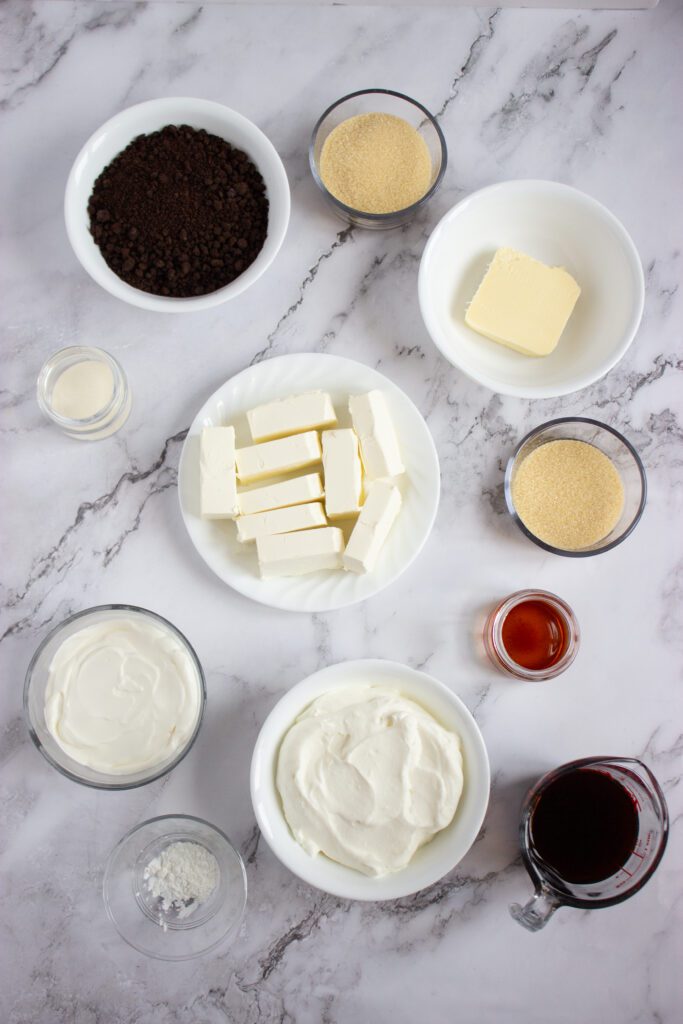
Ingredients
Oreo Crust:
-
1 ½ cups crushed Oreos (about 18 cookies): These crushed Oreos give the crust that perfect chocolate crunch we all love.
-
5 tbsp melted butter: Melted butter helps hold the crust together and adds a rich, buttery flavor.
Cheesecake Filling:
-
12 oz cream cheese, softened: Cream cheese is the creamy base that makes the filling so smooth and dreamy.
-
¾ cup sour cream: Sour cream adds a tangy twist and keeps the cheesecake light.
-
⅜ cup (6 tbsp) granulated sugar: Just the right amount of sugar to sweeten things up without overpowering the coffee flavor.
-
1 ½ tsp vanilla extract: Vanilla gives a lovely depth of flavor that complements the coffee perfectly.
-
1 ½ tsp gelatin + 3 tbsp warm water: Gelatin helps the filling set nicely while keeping it silky smooth.
-
¾ cup heavy cream, whipped: Whipped cream makes the filling light and fluffy for that melt-in-your-mouth texture.
Thick Coffee Syrup:
-
1/2 cup strong brewed coffee or espresso: This strong coffee is the star of the show, giving the syrup its bold, rich flavor.
-
1/4 cup sugar: Sugar sweetens the coffee syrup just enough to balance its bitterness.
-
1 tsp cornstarch mixed with 2 tsp water (optional, for extra thickness): A little cornstarch slurry helps thicken the syrup for the perfect drizzle.
Step-by-Step Instructions
You can find a printable recipe card at the bottom of this post.
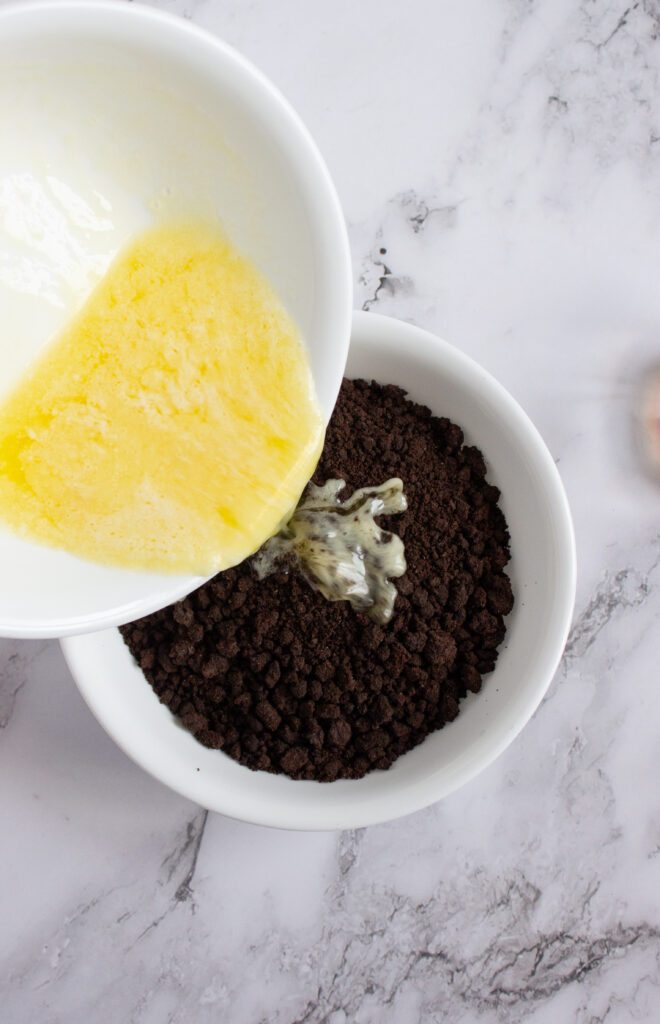
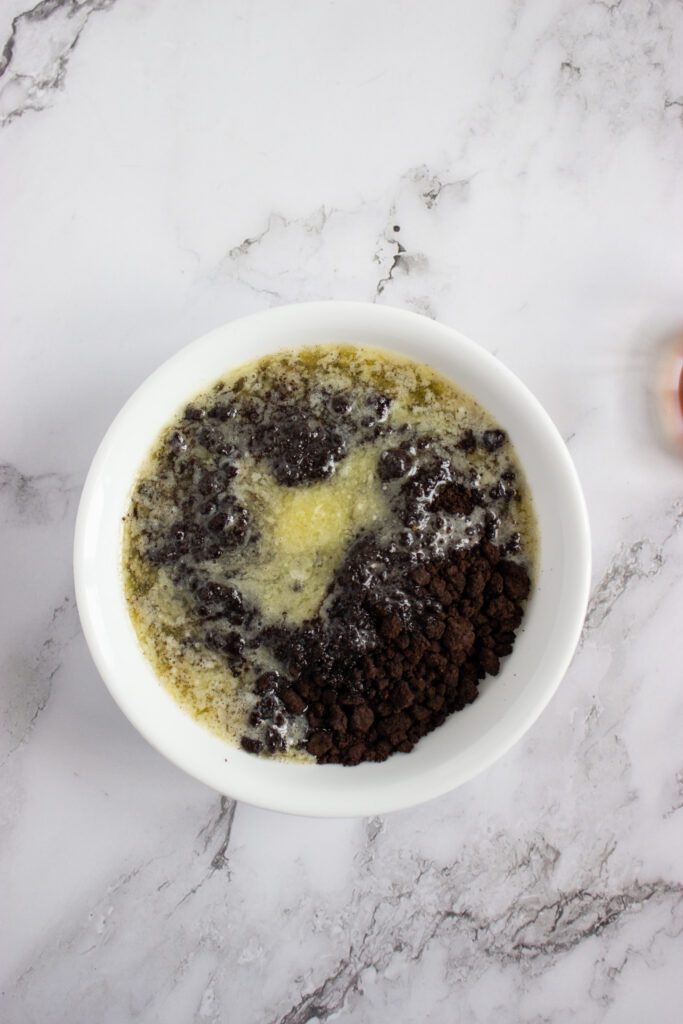
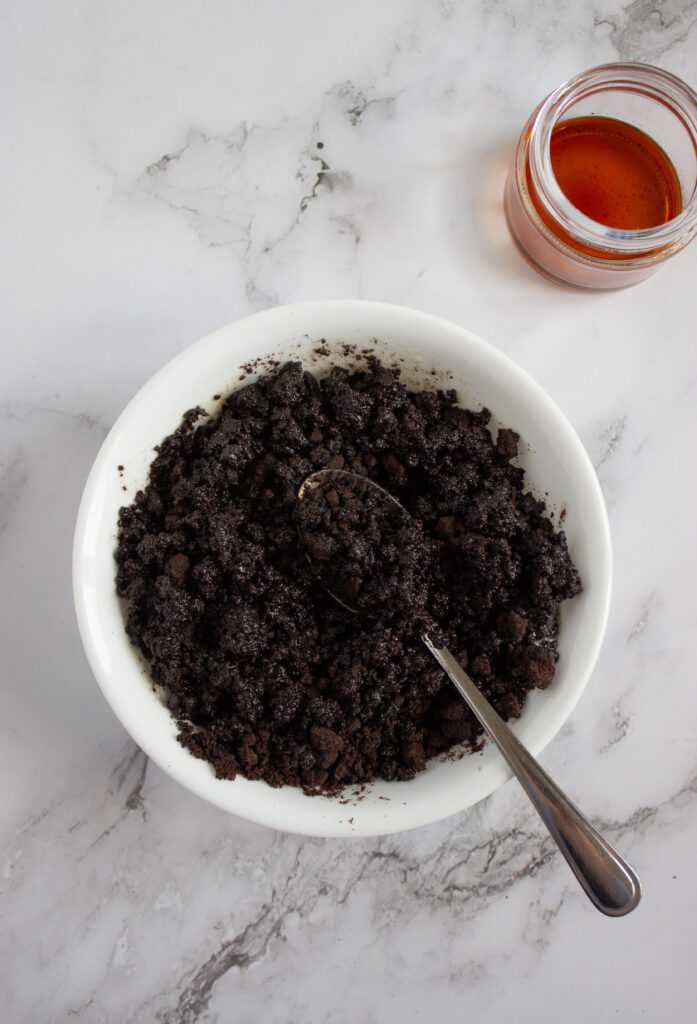
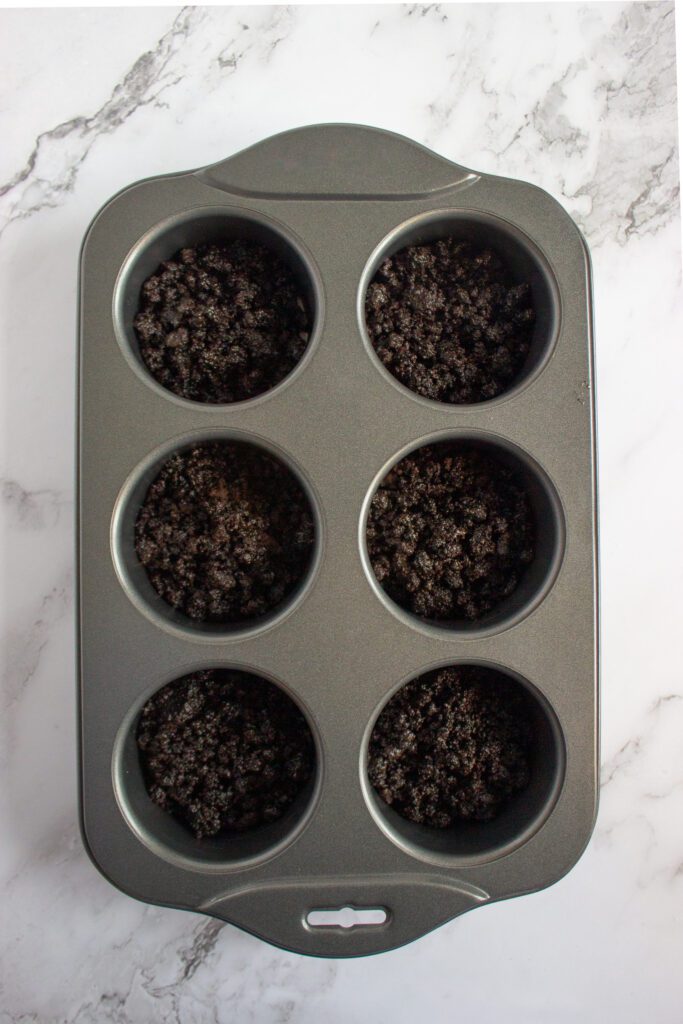
1. Mix crushed cookies with melted butter to make the crust. Press the mixture firmly into mini cheesecake molds or lined muffin tins.
2. Chill the crusts for 10 minutes.
3. Dissolve gelatin in warm water and let it sit for 5 minutes.
4. Beat together cream cheese, sour cream, sugar, and vanilla until smooth. Stir in the dissolved gelatin.
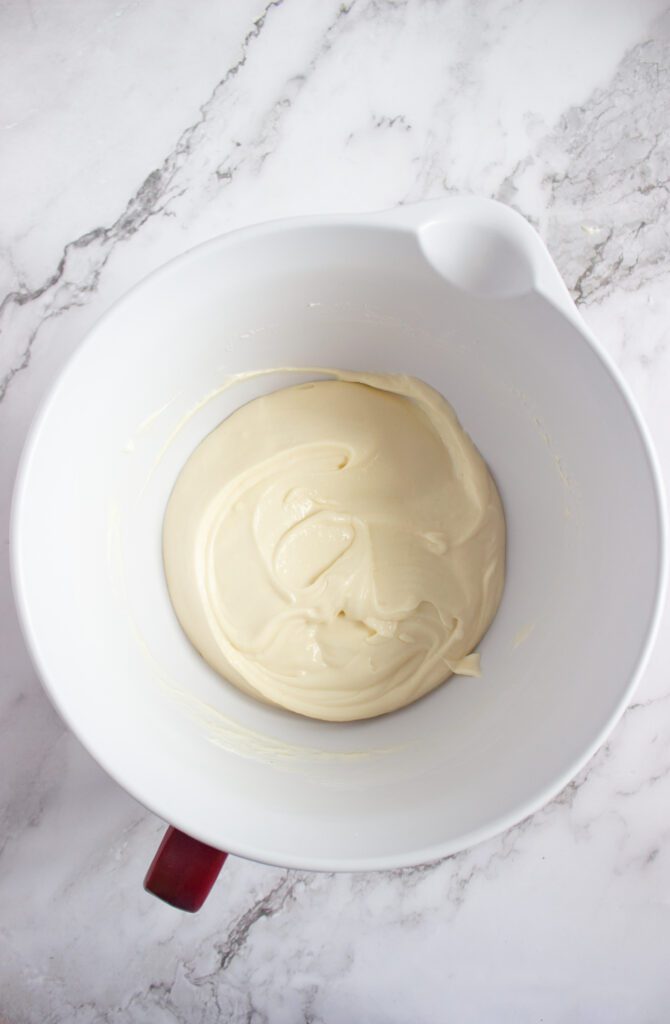
5. Gently fold in whipped heavy cream.
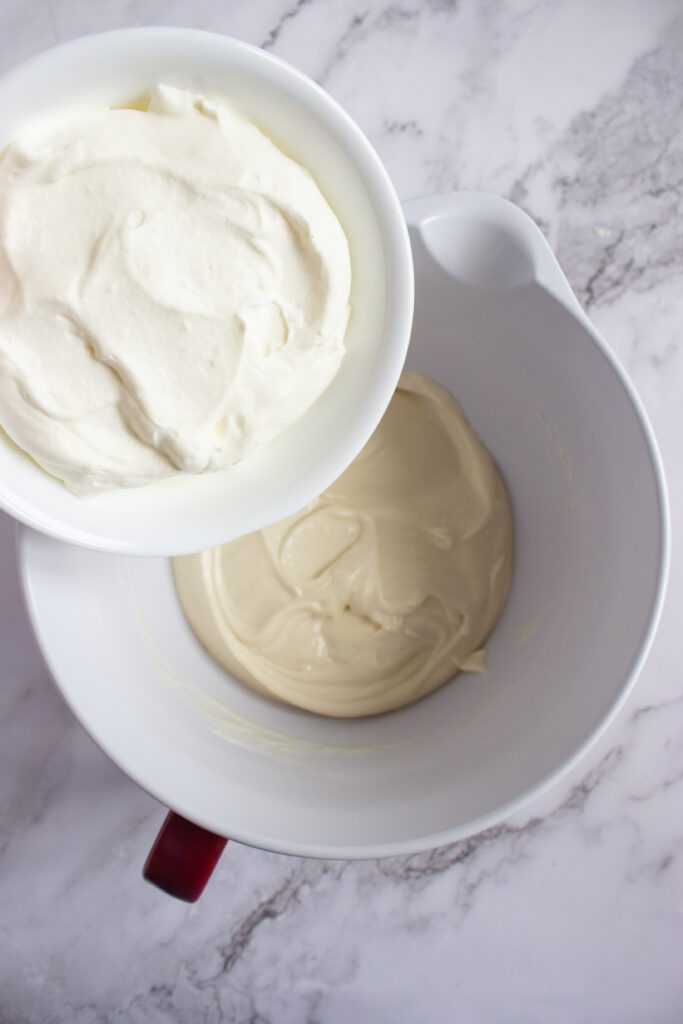
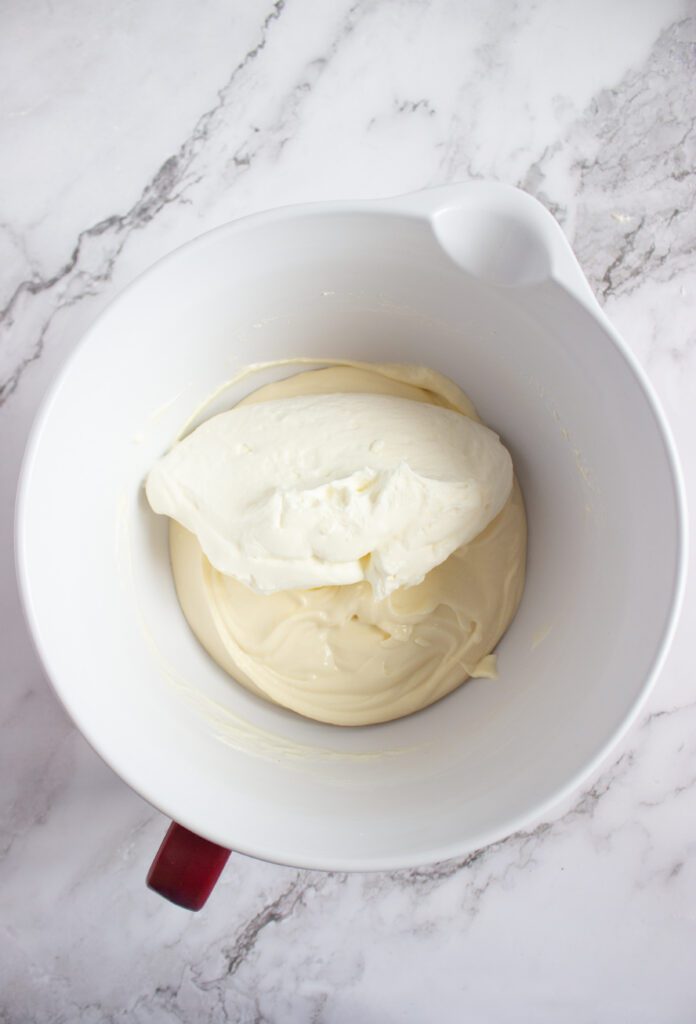
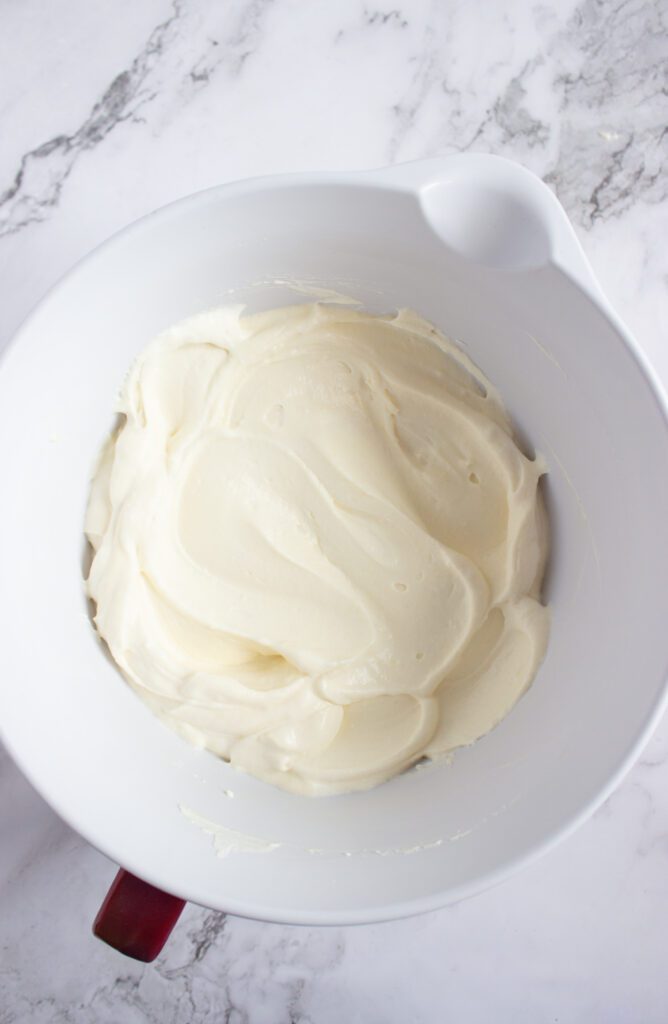
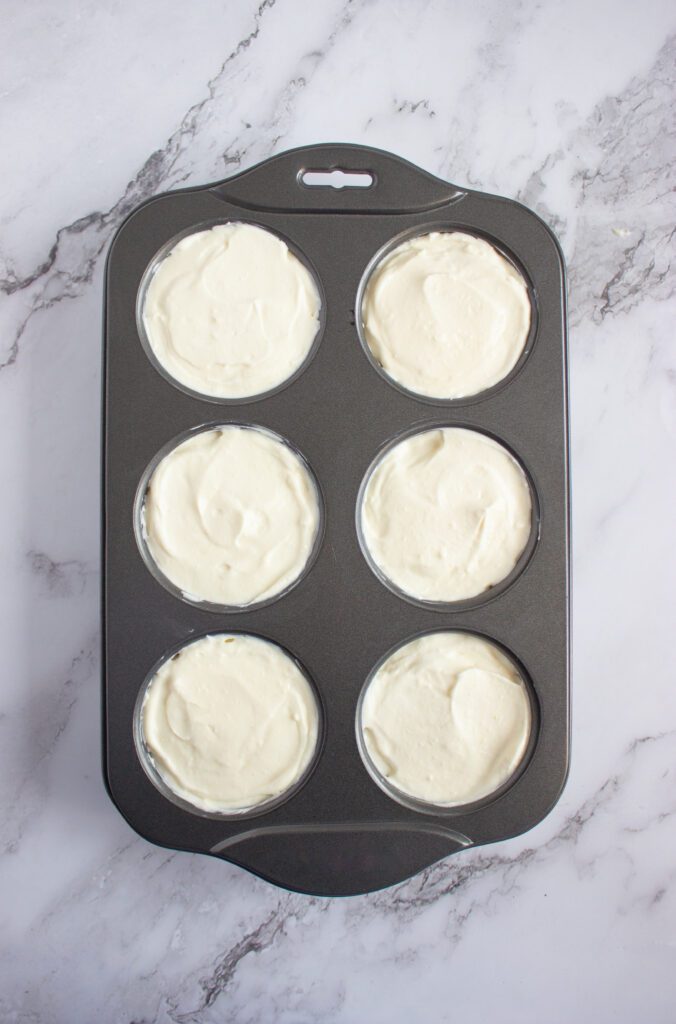
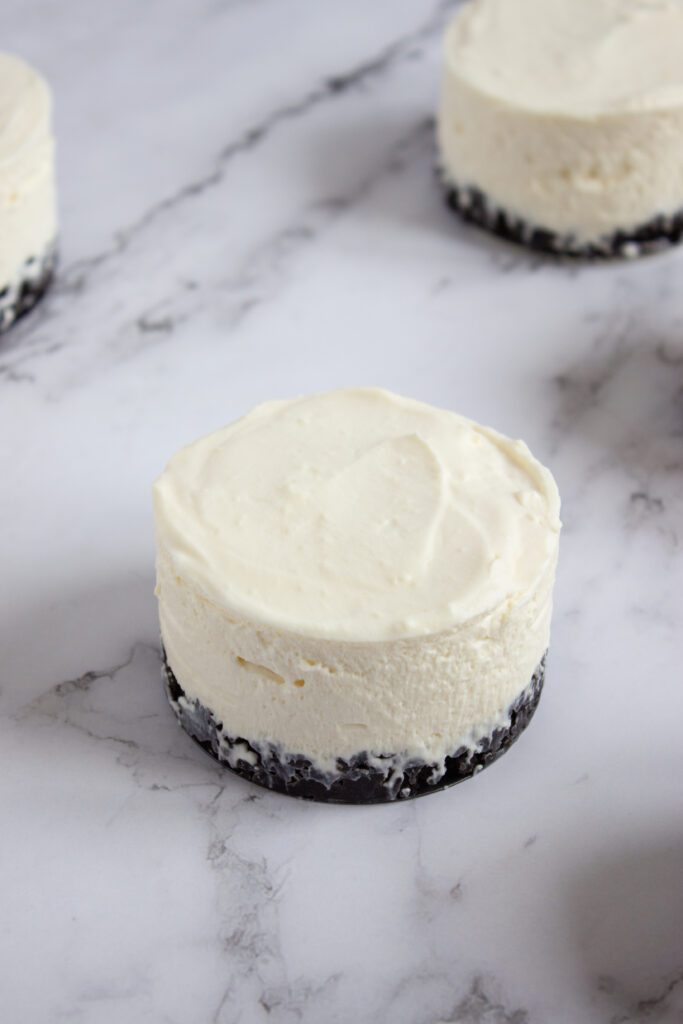
6. Spoon the filling over the chilled crusts, smoothing the tops. Refrigerate for at least 4 hours or overnight for the best texture.
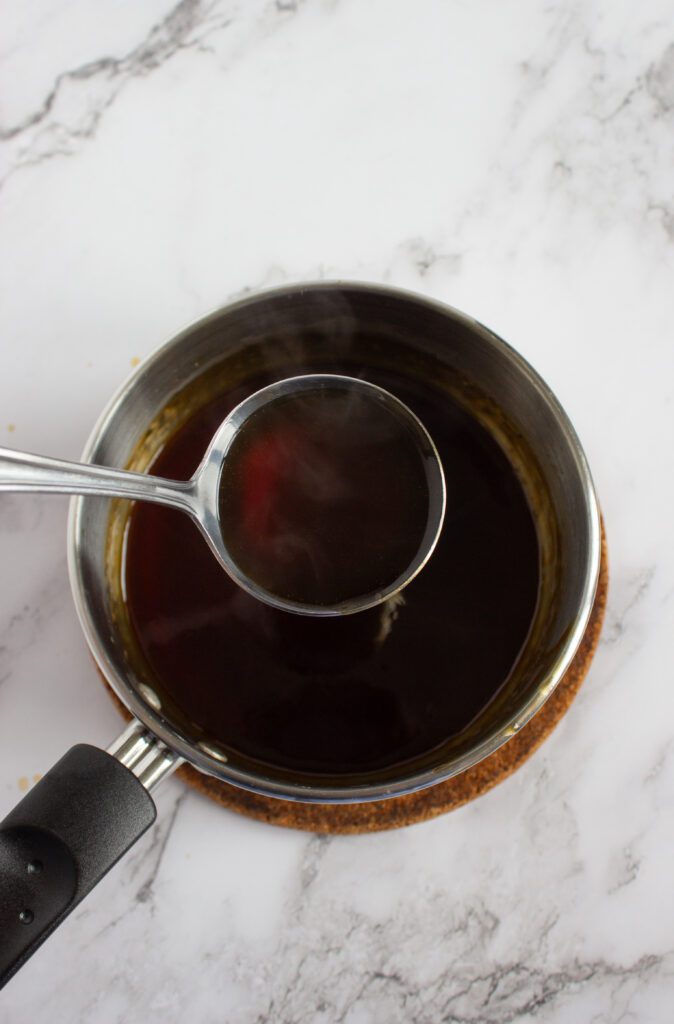
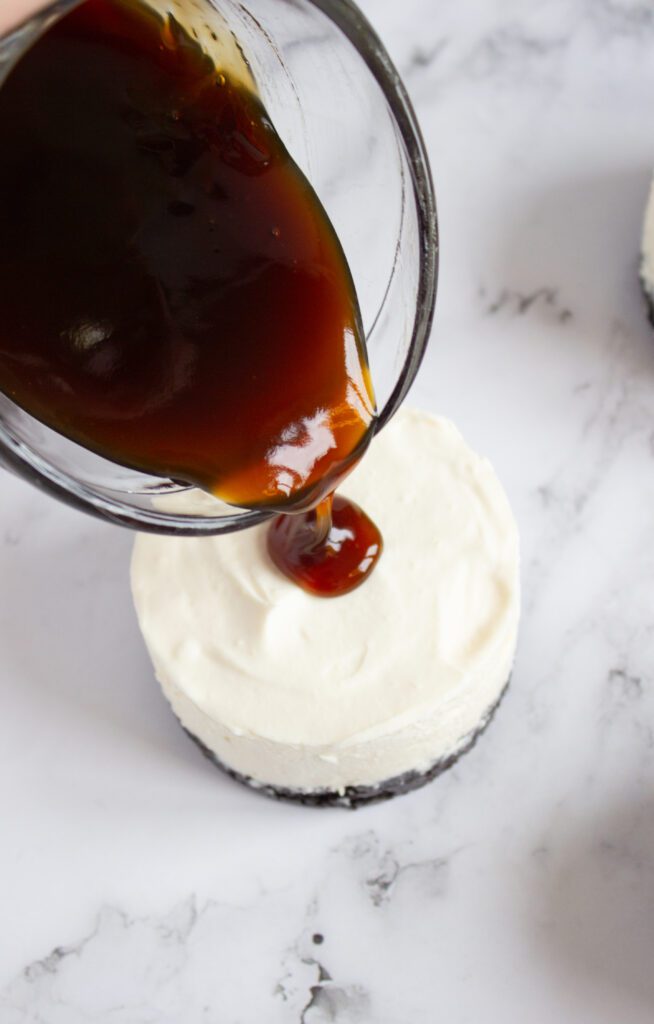
7. To make the coffee syrup, simmer coffee and sugar until thickened (about 10 minutes). If needed, stir in a cornstarch slurry to thicken further. Let the syrup cool, then drizzle it over the cheesecakes before serving.
Tips for the Perfect No-Bake Coffee Cheesecakes
-
Make sure your cream cheese is nice and soft before you start. It makes mixing so much easier and keeps the filling super smooth.
-
Don’t skip the chilling time! Giving the cheesecakes at least 4 hours (or overnight if you can) helps them set up perfectly and makes slicing or serving way easier.
-
When whipping the heavy cream, keep an eye on it. You want soft peaks, not super stiff, so it folds in gently for that light, fluffy texture.
-
If you want a stronger coffee kick, use espresso instead of regular brewed coffee for the syrup. It adds a nice depth without extra bitterness.
-
Press the Oreo crust down firmly into your molds or tins so it holds together well and gives you that satisfying crunch with every bite.
-
Feel free to play around with toppings. A sprinkle of crushed Oreos, a dusting of cocoa powder, or even a few coffee beans can add a cute finishing touch!
-
Use a small spatula or the back of a spoon to smooth the cheesecake filling over the crust, it helps make those mini cheesecakes look extra neat and inviting.
Get Creative!
-
Swap out the Oreos for chocolate graham crackers or gingersnaps if you want a different crust vibe, each one brings its own fun twist!
-
Mix a little cinnamon or espresso powder right into the cheesecake filling for an extra flavor boost that coffee lovers will adore.
-
Try adding a splash of your favorite liqueu, like Kahlúa or Bailey, into the filling or coffee syrup for a grown-up dessert twist.
-
Top your mini cheesecakes with whipped cream and sprinkle some crushed toffee, chocolate shavings, or chopped nuts for added texture and flair.
-
For a fun presentation, serve these cheesecakes in cute little mason jars or even espresso cups. They’re perfect for parties or gifts!
-
Turn these into an ice cream-style treat by freezing them for a few hours before serving. Hello, coffee-flavored frozen cheesecake bites!
-
Drizzle some caramel or chocolate sauce along with the coffee syrup for a richer, extra indulgent finish.
Serving & Storing
-
These mini cheesecakes are best served chilled. Take them out of the fridge about 10 minutes before digging in so they’re creamy but not too firm.
-
They make a great after-dinner treat or a special pick-me-up anytime you need a coffee-flavored snack fix.
-
Store leftovers covered in the fridge for up to 3 days. They’ll keep their texture and flavor, just make sure to keep them sealed tight so they don’t pick up fridge smells.
-
If you want to prep ahead, these cheesecakes freeze well too. Just wrap them individually and thaw in the fridge overnight before serving.
-
When serving at parties, keep them chilled on a tray over ice to make sure they stay fresh and delicious for your guests.
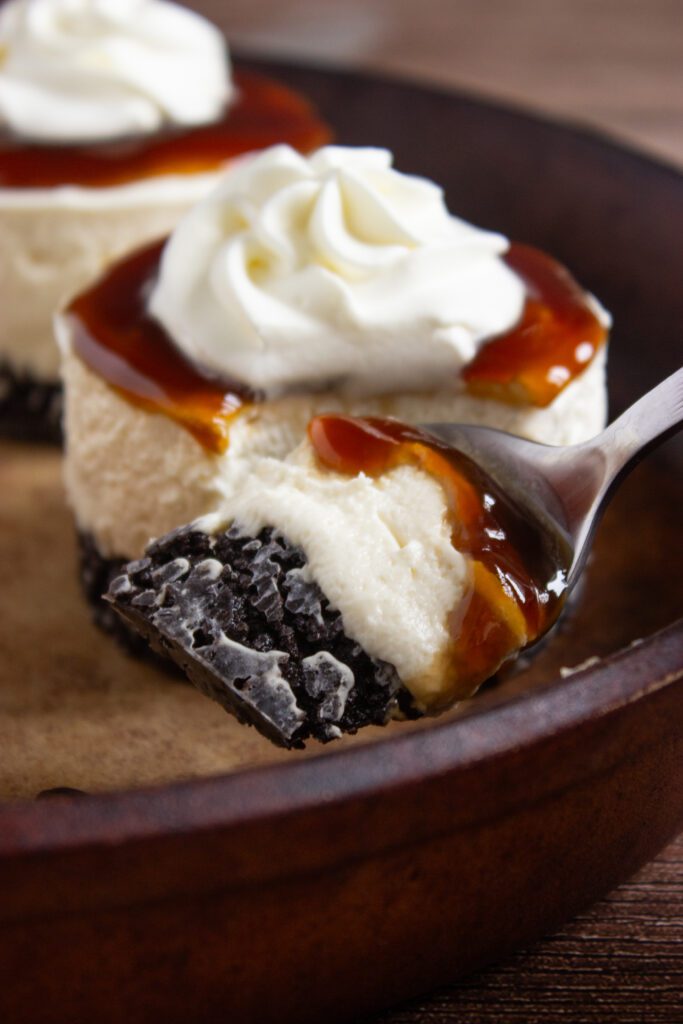
No-Bake Coffee Cheesecakes with an Oreo Twist

No-bake mini coffee cheesecakes with a crunchy Oreo crust, creamy filling, and a rich homemade coffee syrup drizzle. Easy to make, fridge-set, and perfect for any coffee lover’s sweet tooth!
Ingredients
Oreo Crust:
- 1 ½ cups crushed Oreos (about 18 cookies)
- 5 tbsp melted butter
Cheesecake Filling:
- 12 oz cream cheese, softened
- ¾ cup sour cream
- ⅜ cup (6 tbsp) granulated sugar
- 1 ½ tsp vanilla extract
- 1 ½ tsp gelatin + 3 tbsp warm water
- ¾ cup heavy cream, whipped
Thick Coffee Syrup:
- 1/2 cup strong brewed coffee or espresso
- 1/4 cup sugar
- 1 tsp cornstarch mixed with 2 tsp water (optional, for extra thickness)
Instructions
- Mix crushed cookies with melted butter to make the crust. Press the mixture firmly into mini cheesecake molds or lined muffin tins.
- Chill the crusts for 10 minutes.
- Dissolve gelatin in warm water and let it sit for 5 minutes.
- Beat together cream cheese, sour cream, sugar, and vanilla until smooth. Stir in the dissolved gelatin.
- Gently fold in whipped heavy cream.
- Spoon the filling over the chilled crusts, smoothing the tops. Refrigerate for at least 4 hours or overnight for the best texture.
- To make the coffee syrup, simmer coffee and sugar until thickened (about 10 minutes). If needed, stir in a cornstarch slurry to thicken further. Let the syrup cool, then drizzle it over the cheesecakes before serving.